May 10, 2024 | Annual Catalog, New Release, Product Suite |
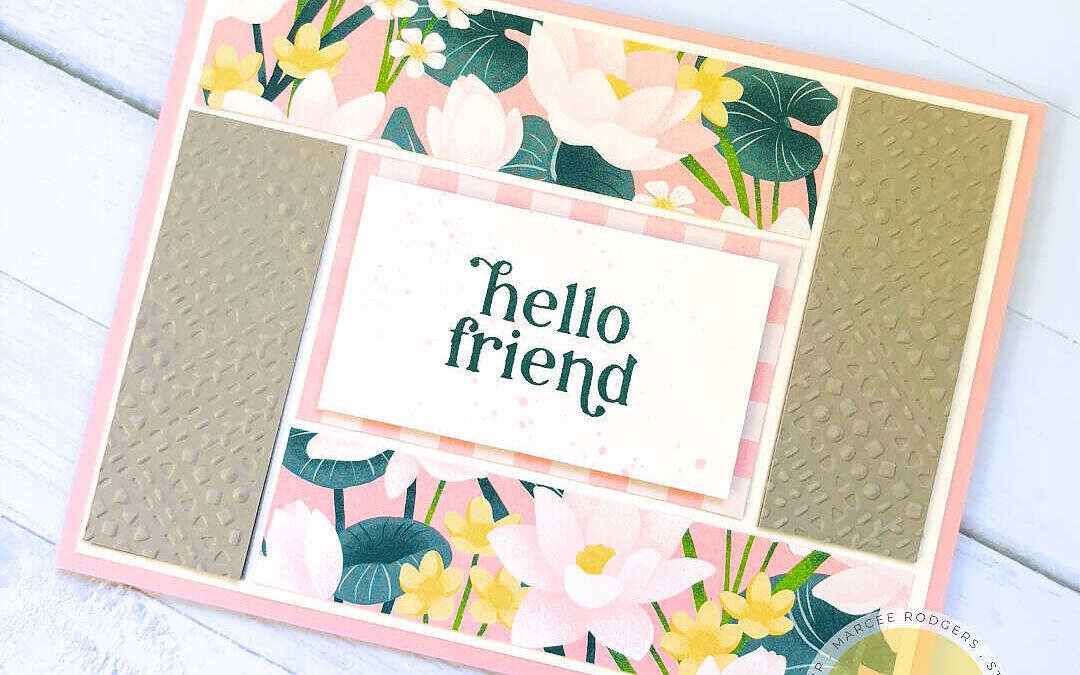
Today I am sharing a couple cards I made with the Lily Pond Lane Suite. I really love the DSP in this suite of products and wanted to play with them first.
My first card is what I call a quilt pattern. I chose the color palette based on colors that were listed to go along with the DSP.
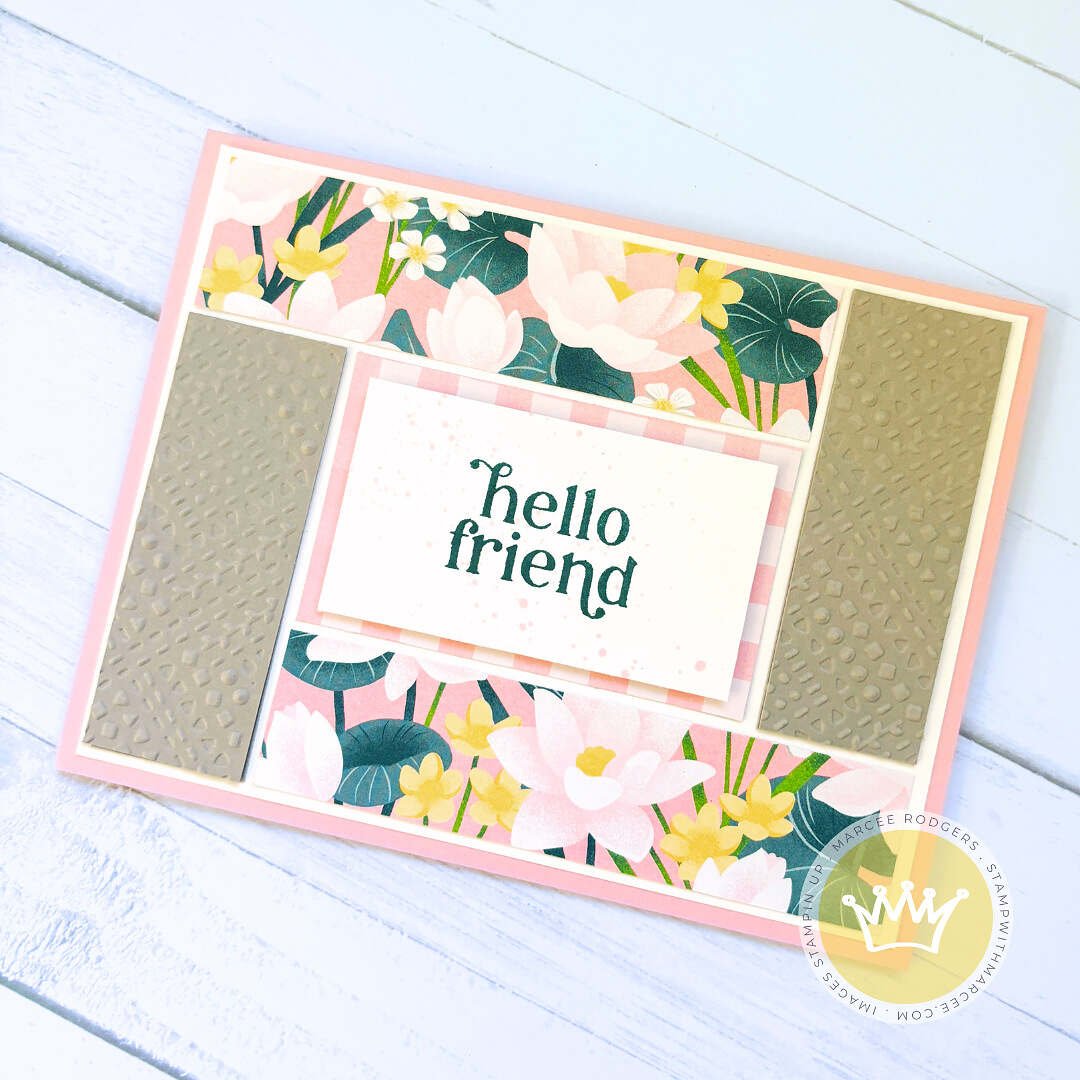
Measurements (card base is A2), White Panel: 5 1/4 x 4, DSP Strips: 4 x 1, Cardstock Strips: 2 3/4 x 1, DSP (middle): 2 7/8 x 1 3/4, White (middle): 2 5/8 x 1 1/2
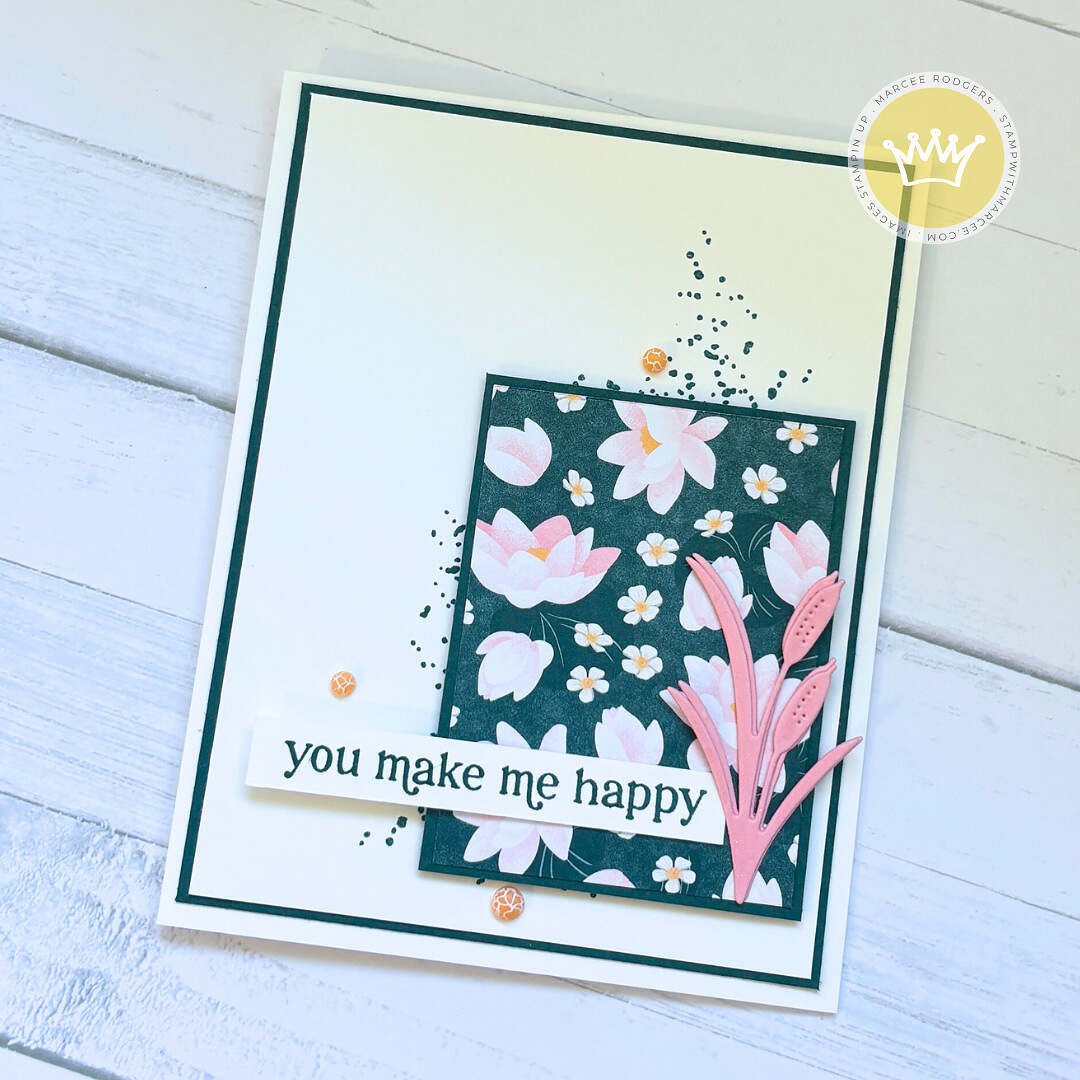
The next card is just simple alternating layers of Basic White and Pretty Peacock with a piece of coordinating DSP. To create the splatter, I used a stamp from the Country Birdhouse stamp set, but you could easily use a Stampin’ Blend marker to get the same effect. To bring out the Peach Pie in the lilies I chose the matching Dappled Dots. For an added pop of color I chose to die cut the cattails in Pretty In Pink.
Did you get the Lily Pond Lane Suite? Share your projects with me by tagging me on social media @stampwithmarcee
Product List
May 8, 2024 | Annual Catalog, New Release |
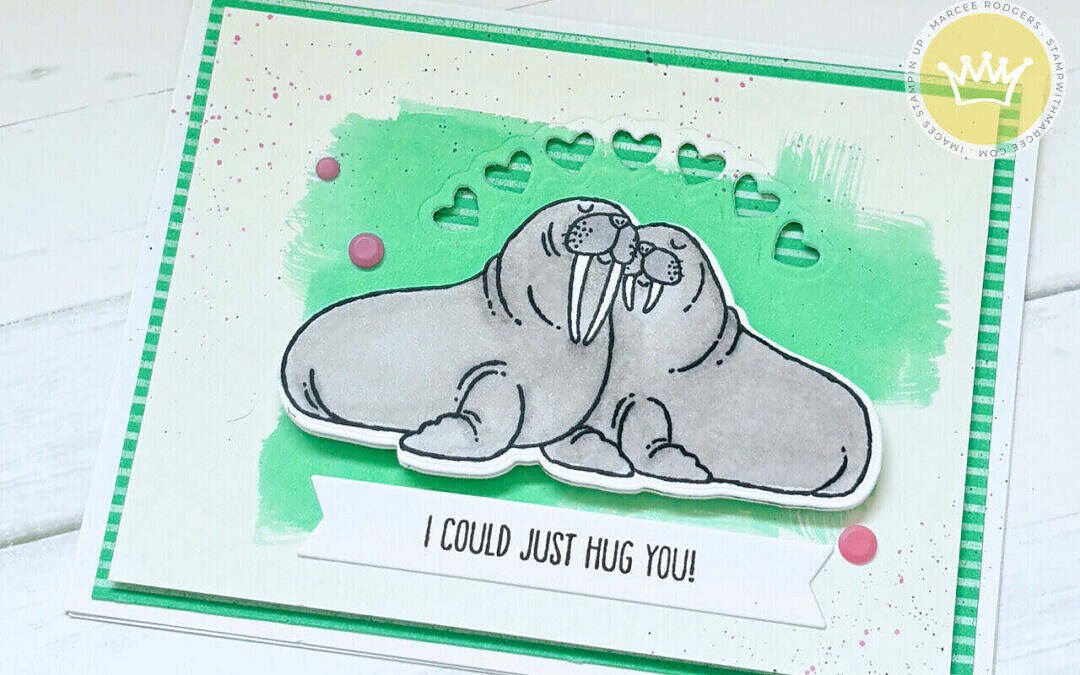
Here are a few cards I made with the Hearts & Hugs Bundle. I used my typical water color technique on a couple of them (ink pads and a water painter). The watercolor backgrounds are created with the water painter that has the widest brush. All of these cards were quick and easy to create and use the fabulous new In Colors. Supply list below.
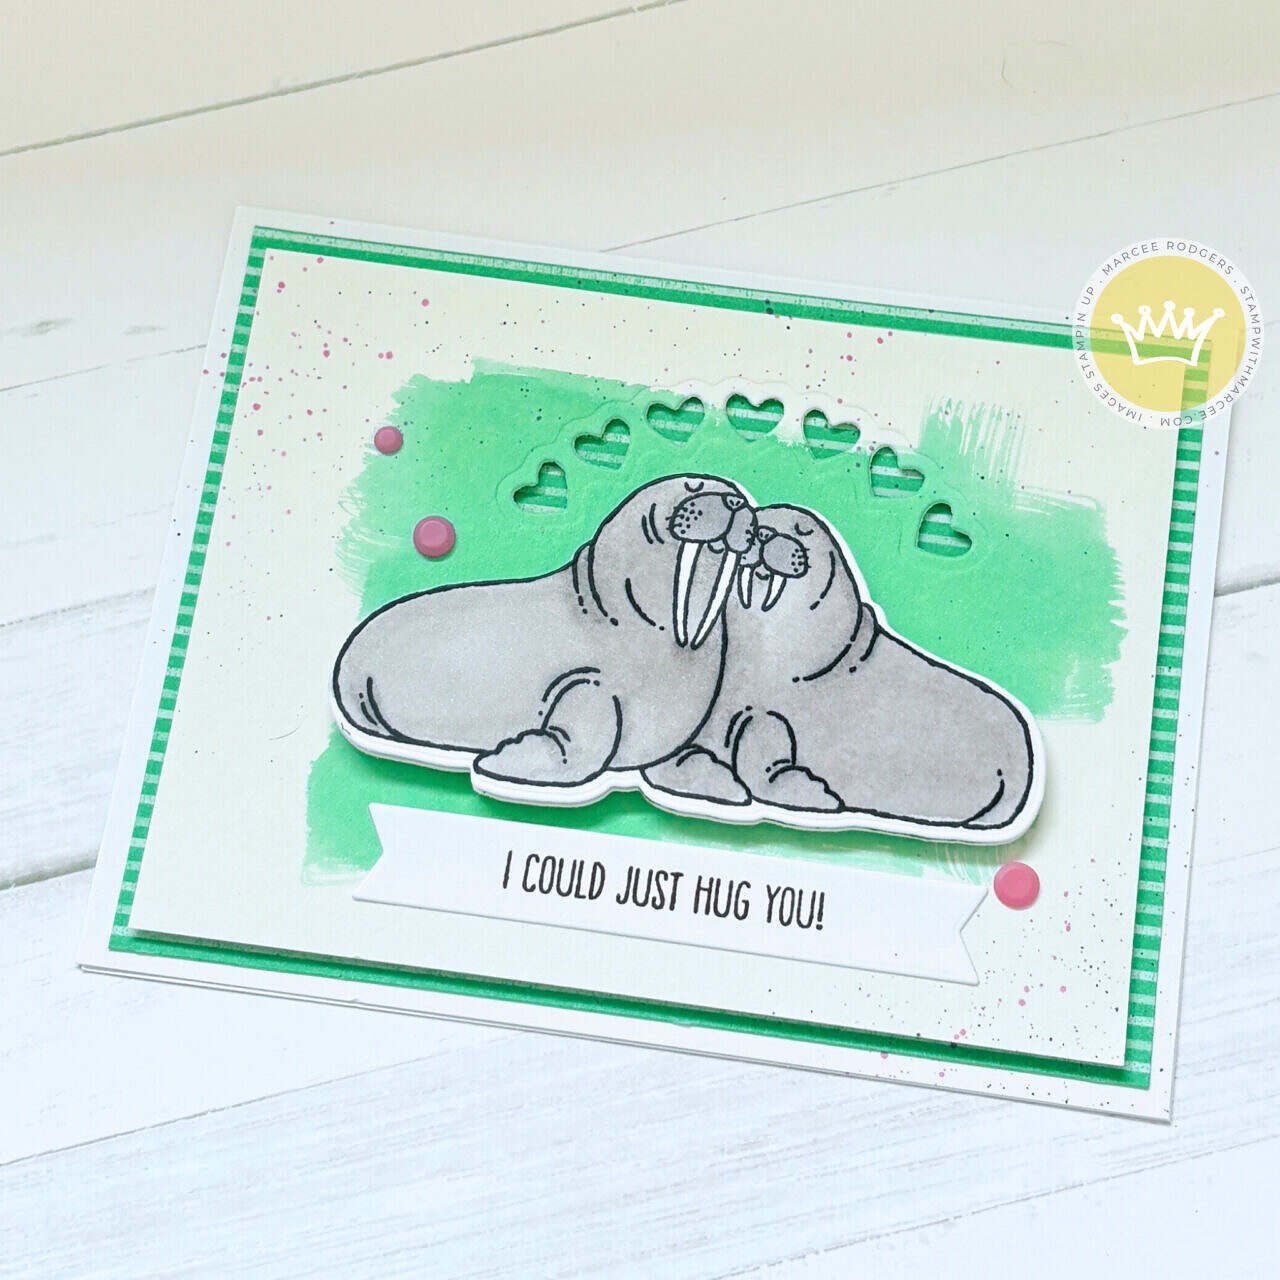

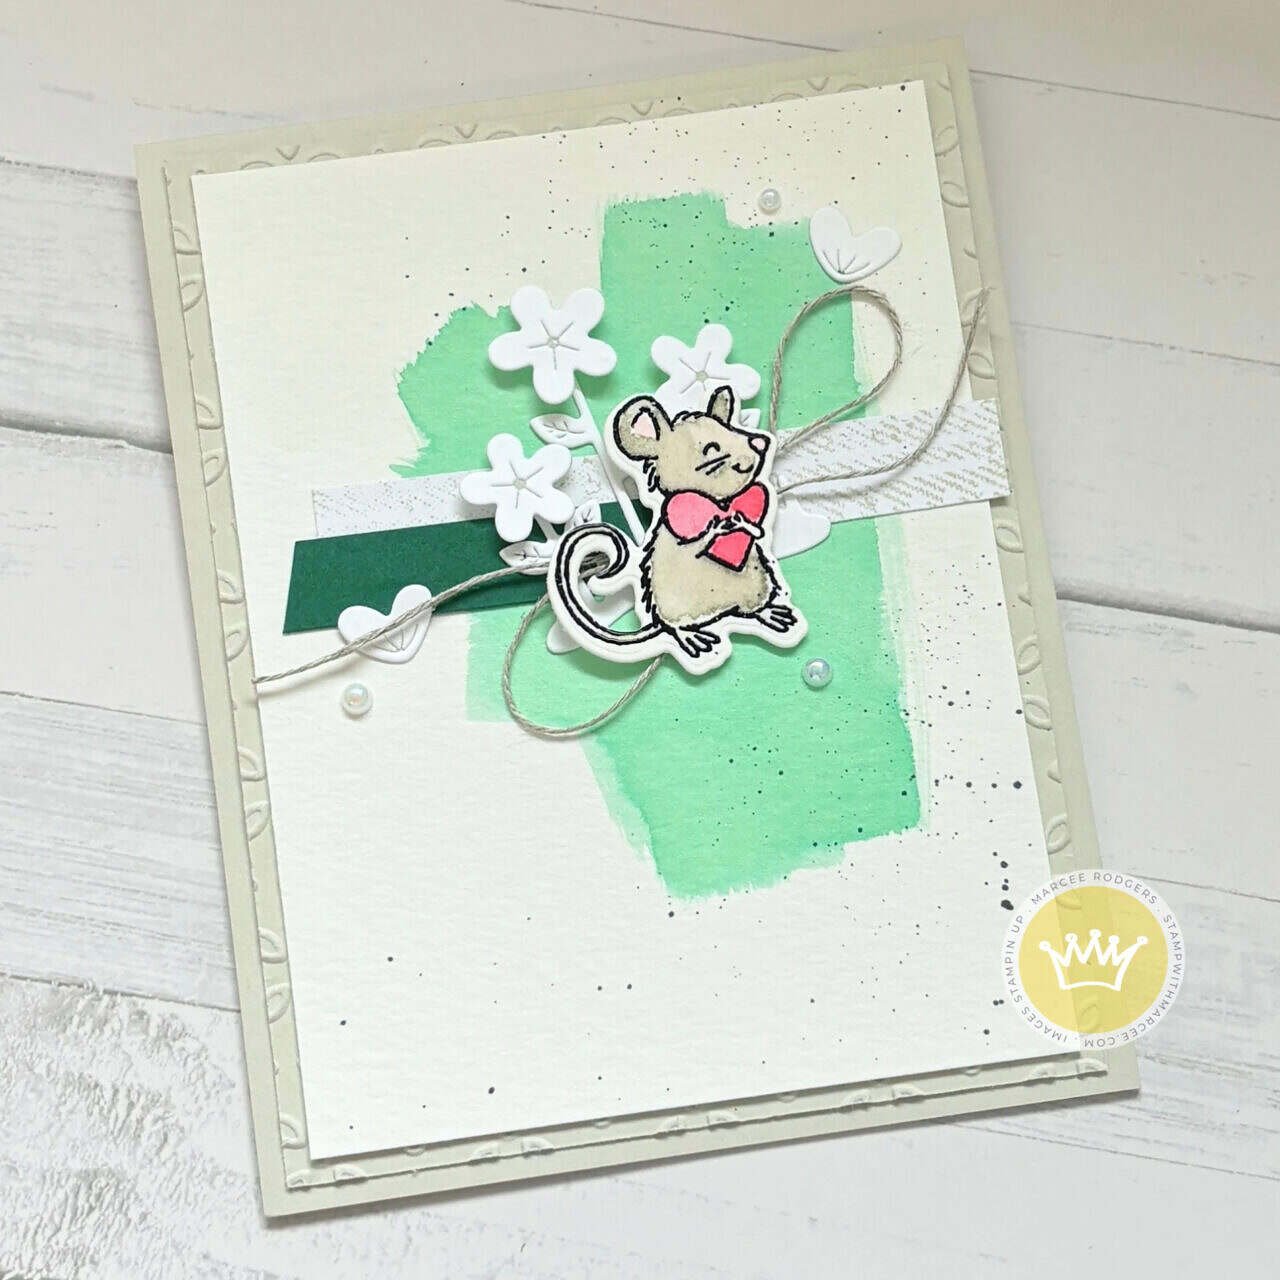
Product List
May 7, 2024 | Annual Catalog, New Release |
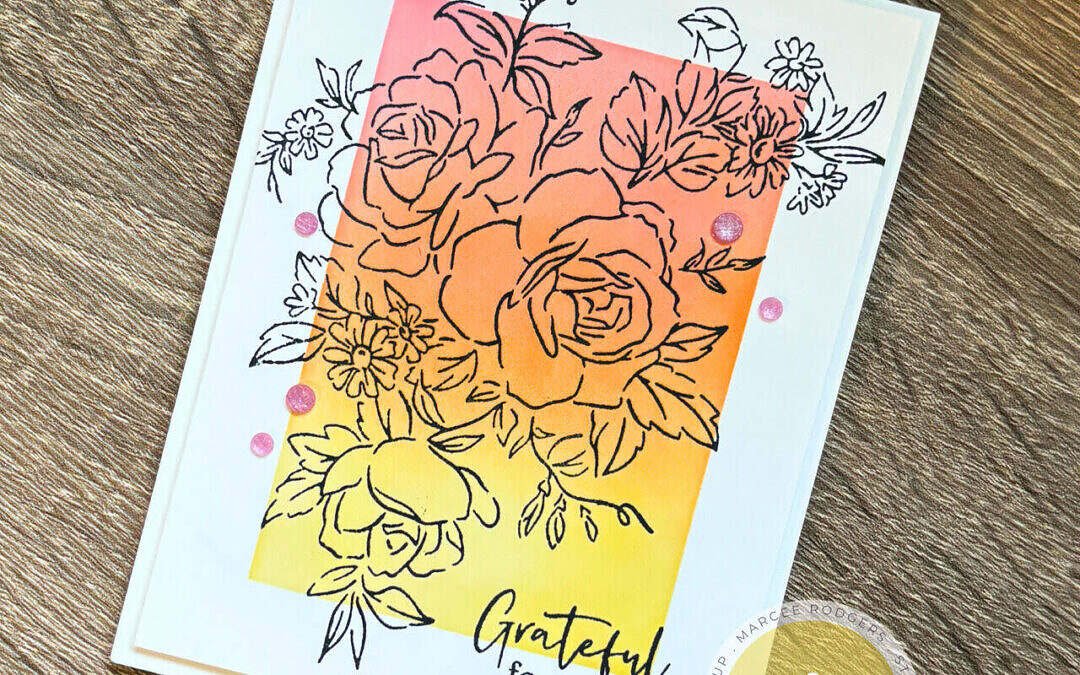
This is one of the most beautiful sets in the entire catalog in my opinion. I love how it can just be stamped, colored with your medium of choice or colored using the included stencil set ( I refuse to call them masks lol).
Fo the fist card I masked of a rectangle and the did some ink blending. All that was needed after that was to stamp the image in black and add a sentiment. Simple and striking.

For the second card I decided to do some watercoloring with ink pads. This is super easy. I just smash a little bit on a block, spray with water and use and empty water painter to mix it all up. Then I just put color where I want. If I want more color, I go back in when the first layer is dry. This is a really sloppy process as I’m not too particular about the inks blending together. I like the messy look of the pooled water. In addition, I always heat emboss an image before I watercolor it. It keeps the black crisp and keeps the ink inside the lines.

Once the image was dry, I cut it out with the die and adhered it to the front of a Basic Beige Panel. Another easy card.
Product List
May 6, 2024 | Annual Catalog, New Release |
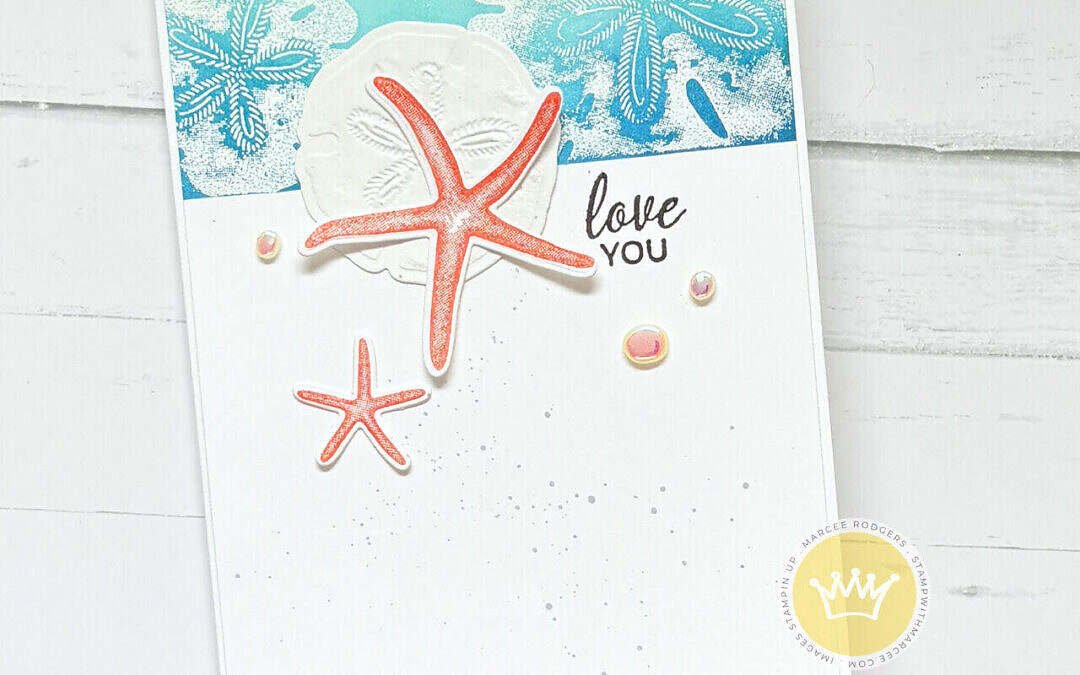
Today I am sharing two cards I made with the Seaside Wishes Bundle. I used Masking on both cards to create a focus area with ink blending.
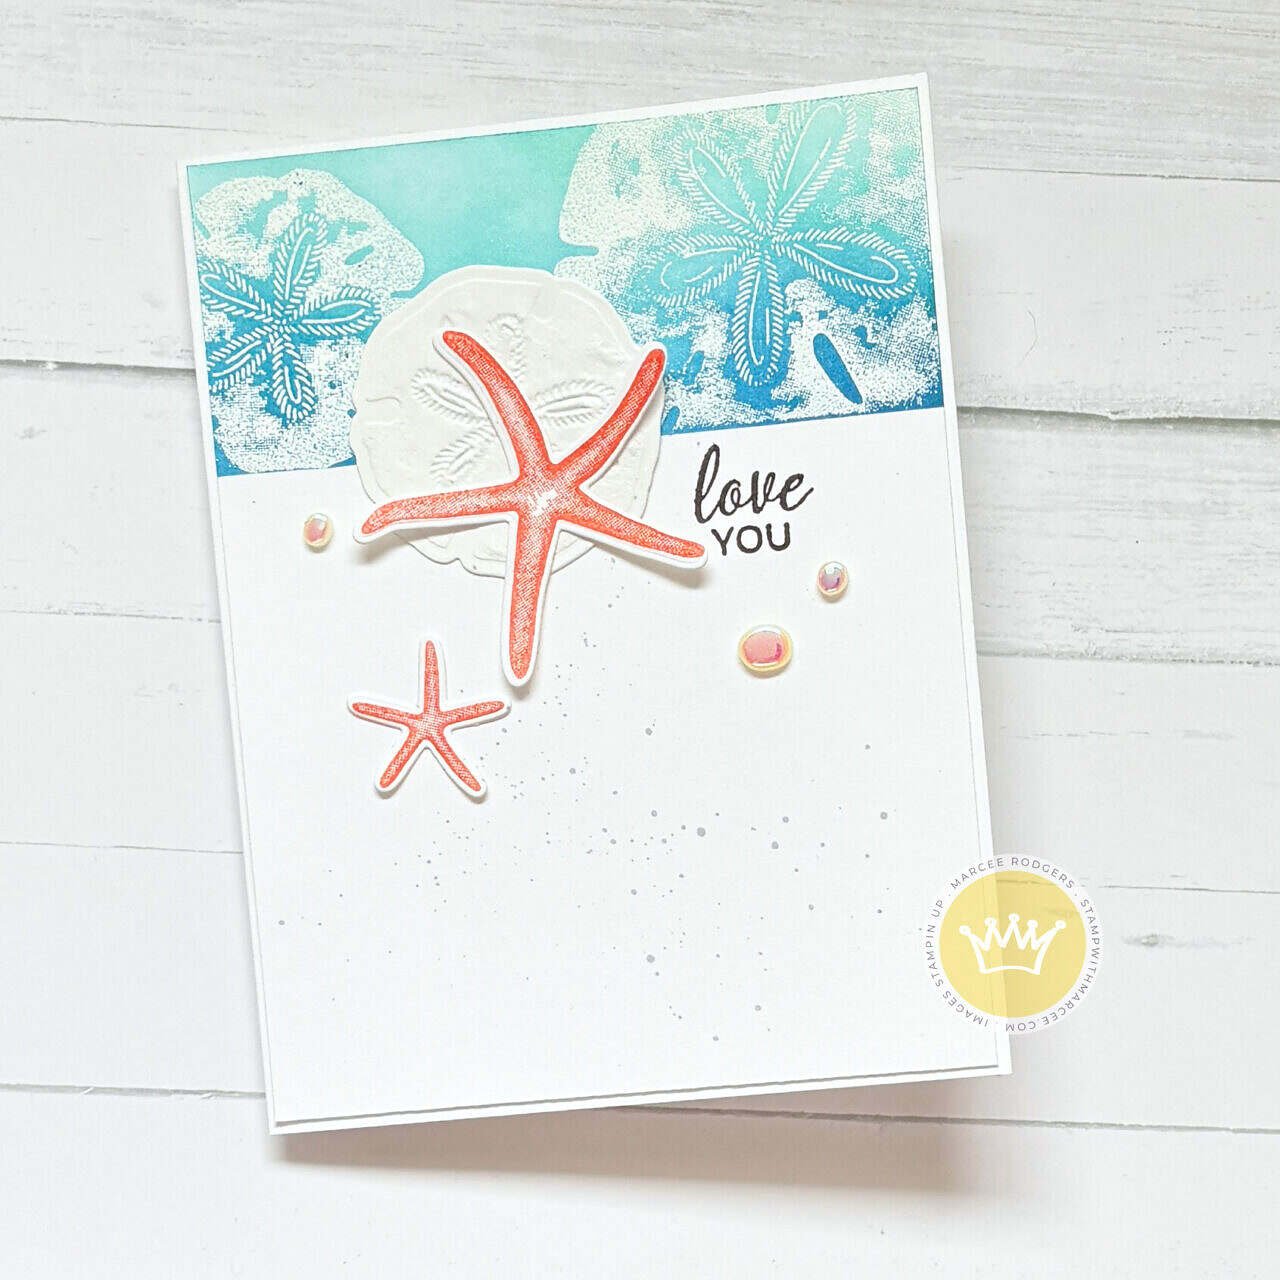
On the card above, I masked off an area and heat embossed two of the shell images in white. Then I blended ink over the top. To keep your white crisp looking, use a microfiber towel to gently wipe off any residual ink. Once finished gently remove your masking.

For this card I masked off a narrow area and did some ink blending. Next I stamped images from the stamp set on the area. When finished, I removed my masking and complete my card.
Both of these cards are super easy and don’t take must time. Supplies listed below.
Product List
May 3, 2024 | Annual Catalog, New Release |
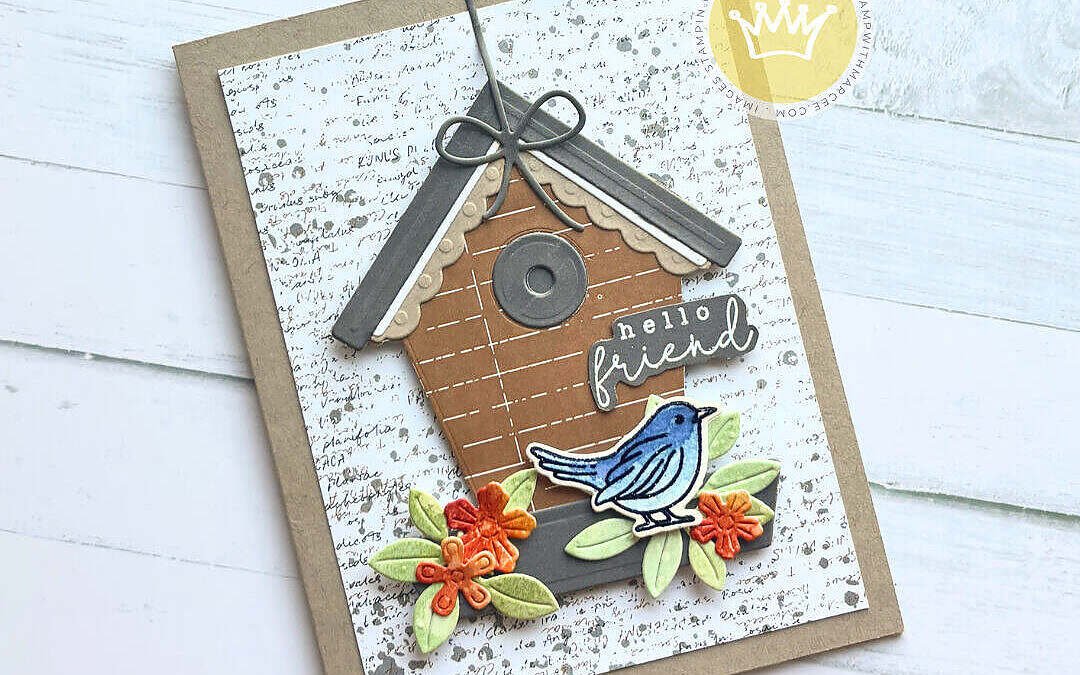
My favorite thing about this bundle is the dies. I love that this is more of a builder set and you can have so much fun cutting paper and putting it together. I love doing what I call a mash up-using products that weren’t paired together upon release. Instead of using the coordinating DSP for this bundle I chose to use the Nature’s Sweetness DSP.
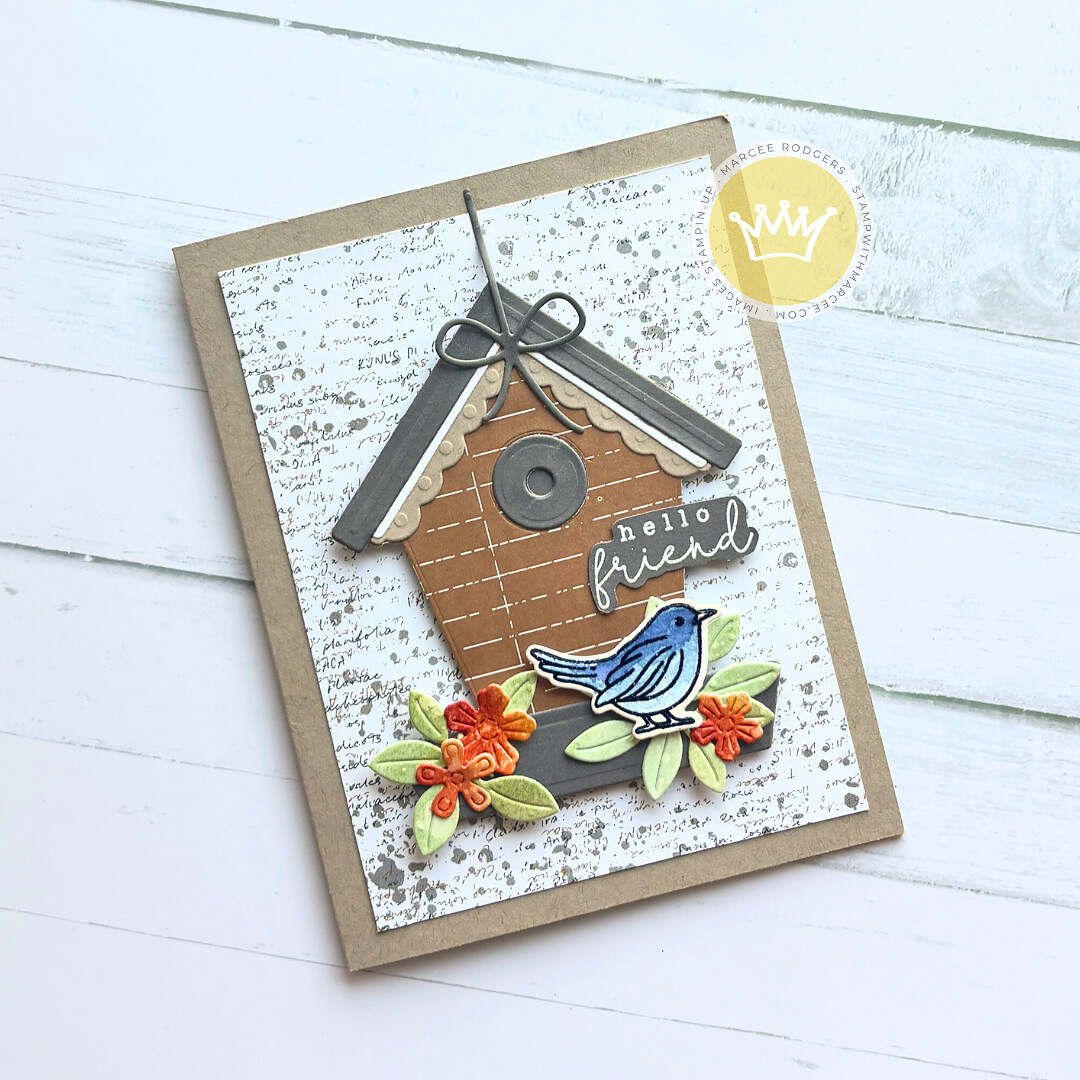
I wanted more of a watercolor look for the die cut images so chose to ink blend different colors on cardstock and then spray them with water. Once dry, I cut them out with dies. I chose to watercolor the bird with some inks and a waterpainter. The sentiment is heat embossed in white and hand cut.
Don’t be afraid to mix and match your products. Coordinating products are just a suggestion. Products listed below.
Product List

Apr 19, 2024 | Annual Catalog |
Hey Crafty Crew!
Exciting news alert! Stampin’ Up is gearing up to drop a game-changer on May 1st: the Layers of Beauty Bundle! 🎉 Picture this: a treasure trove of stamps, dies, and masks just waiting to transform your crafting dreams into reality. Whether you’re a seasoned pro or just dipping your toes into the crafting pool, this bundle is about to become your new best friend.
So, what’s the deal with this bundle? Imagine delicate floral stamps that add a touch of elegance to any project. Picture intricate dies that effortlessly cut through paper, creating stunning layers with every slice. And let’s not forget the awesome masks that make crafting a breeze – because who has time for stress when there are cards to be made?
Now, here’s the kicker: this bundle isn’t just about crafting for crafting’s sake. With wedding season right around the corner, it’s the perfect time to level up your card game. Imagine the look on your friend’s face when they receive a handmade wedding card that’s as beautiful as it is heartfelt. That’s the power of the Layers of Beauty Bundle.
Get ready to elevate your crafting game to new heights – the Layers of Beauty Bundle is coming, and it’s about to change the game.
Check out another card I made with the Layers of Beauty stamp set here.
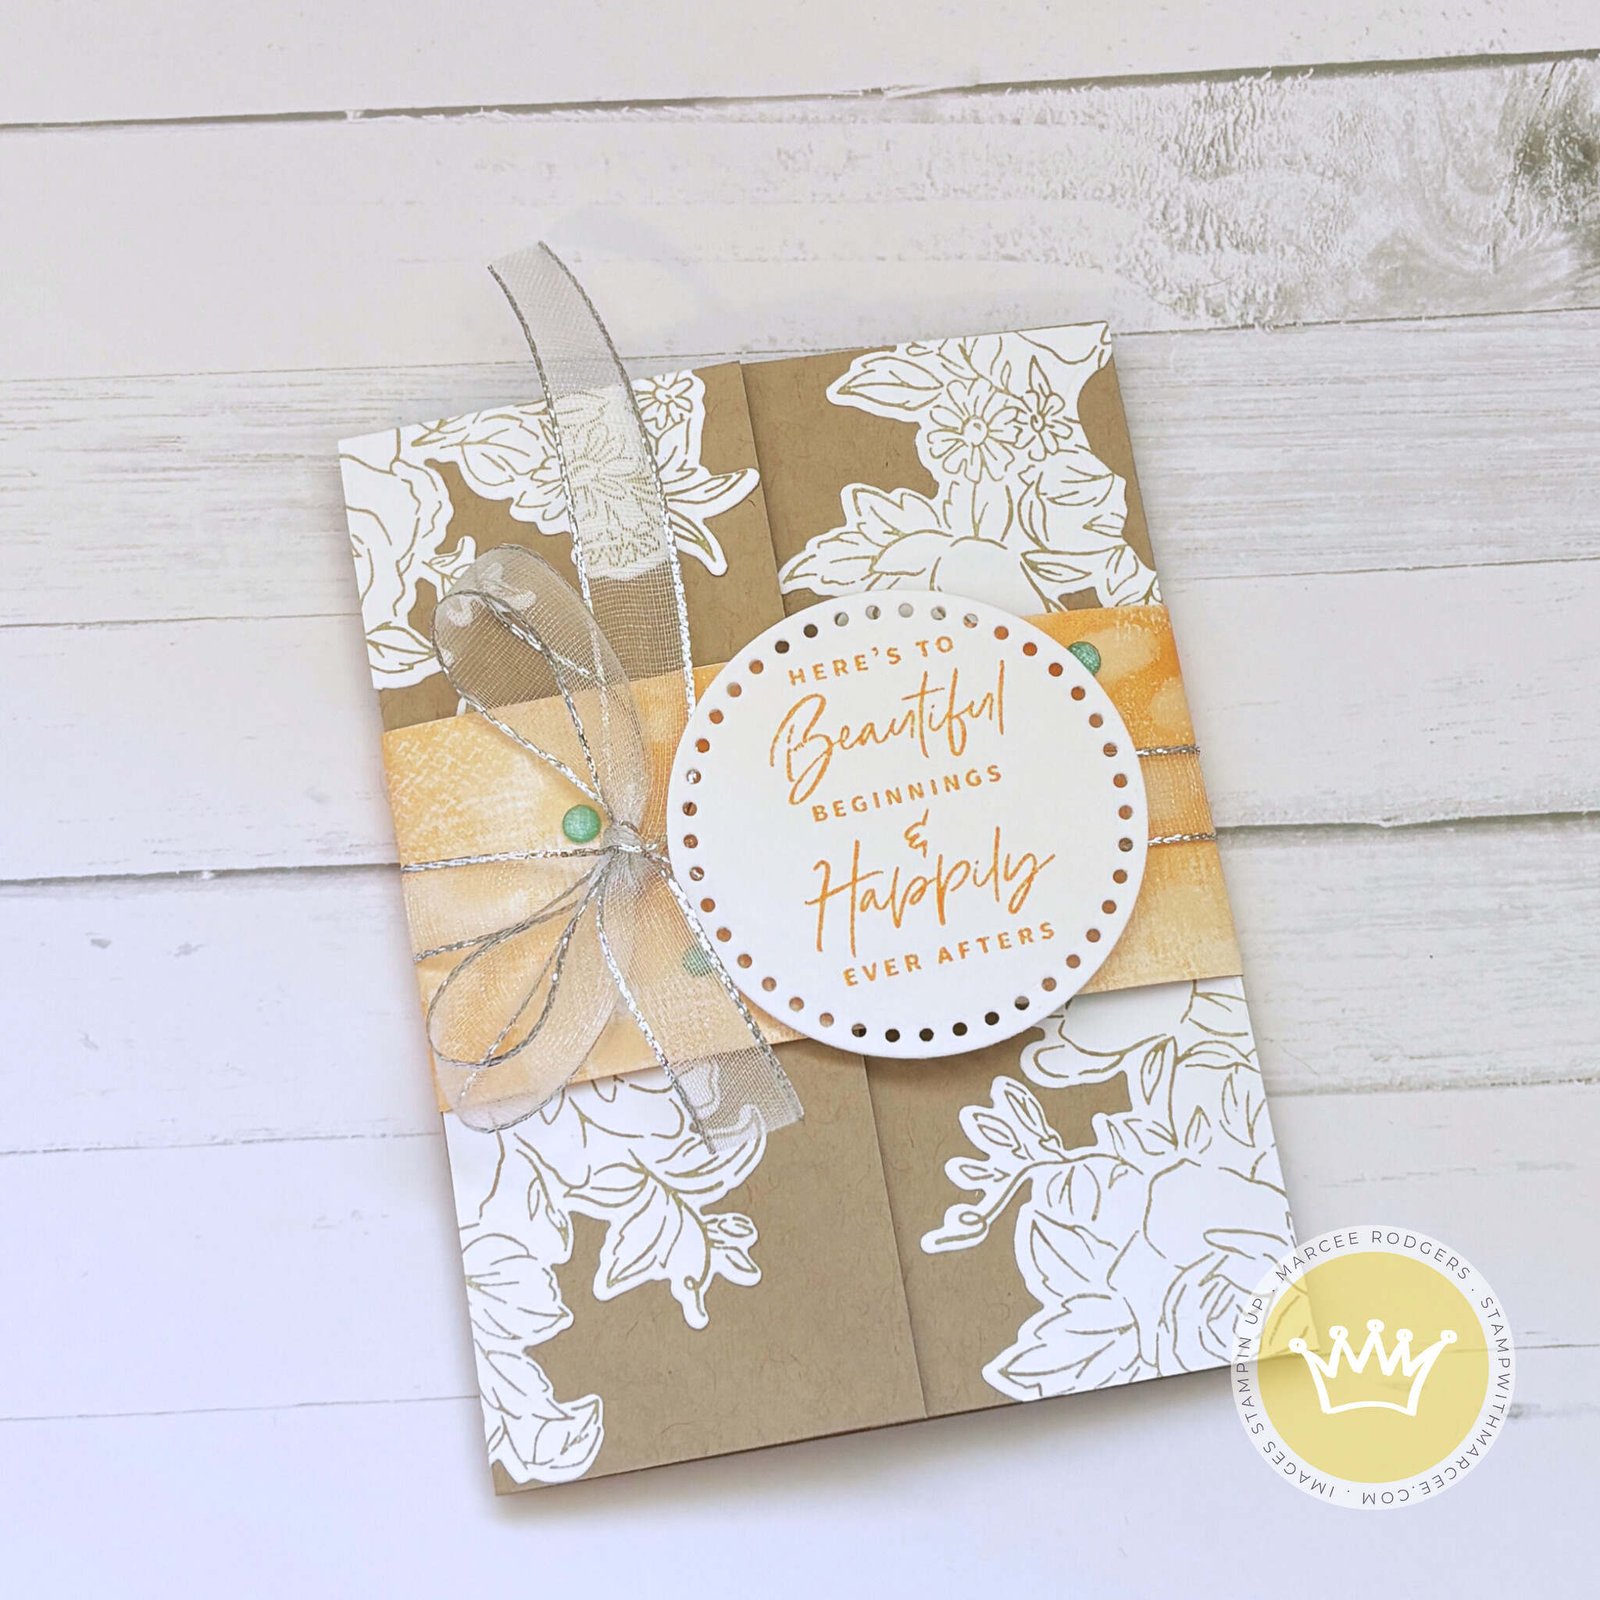
Products available May 1: Layers of Beauty Bundle, Unbounded Love DSP, 24-26 In Color Shimmer Gems, Peach Pie Ink & Blends
Product List


