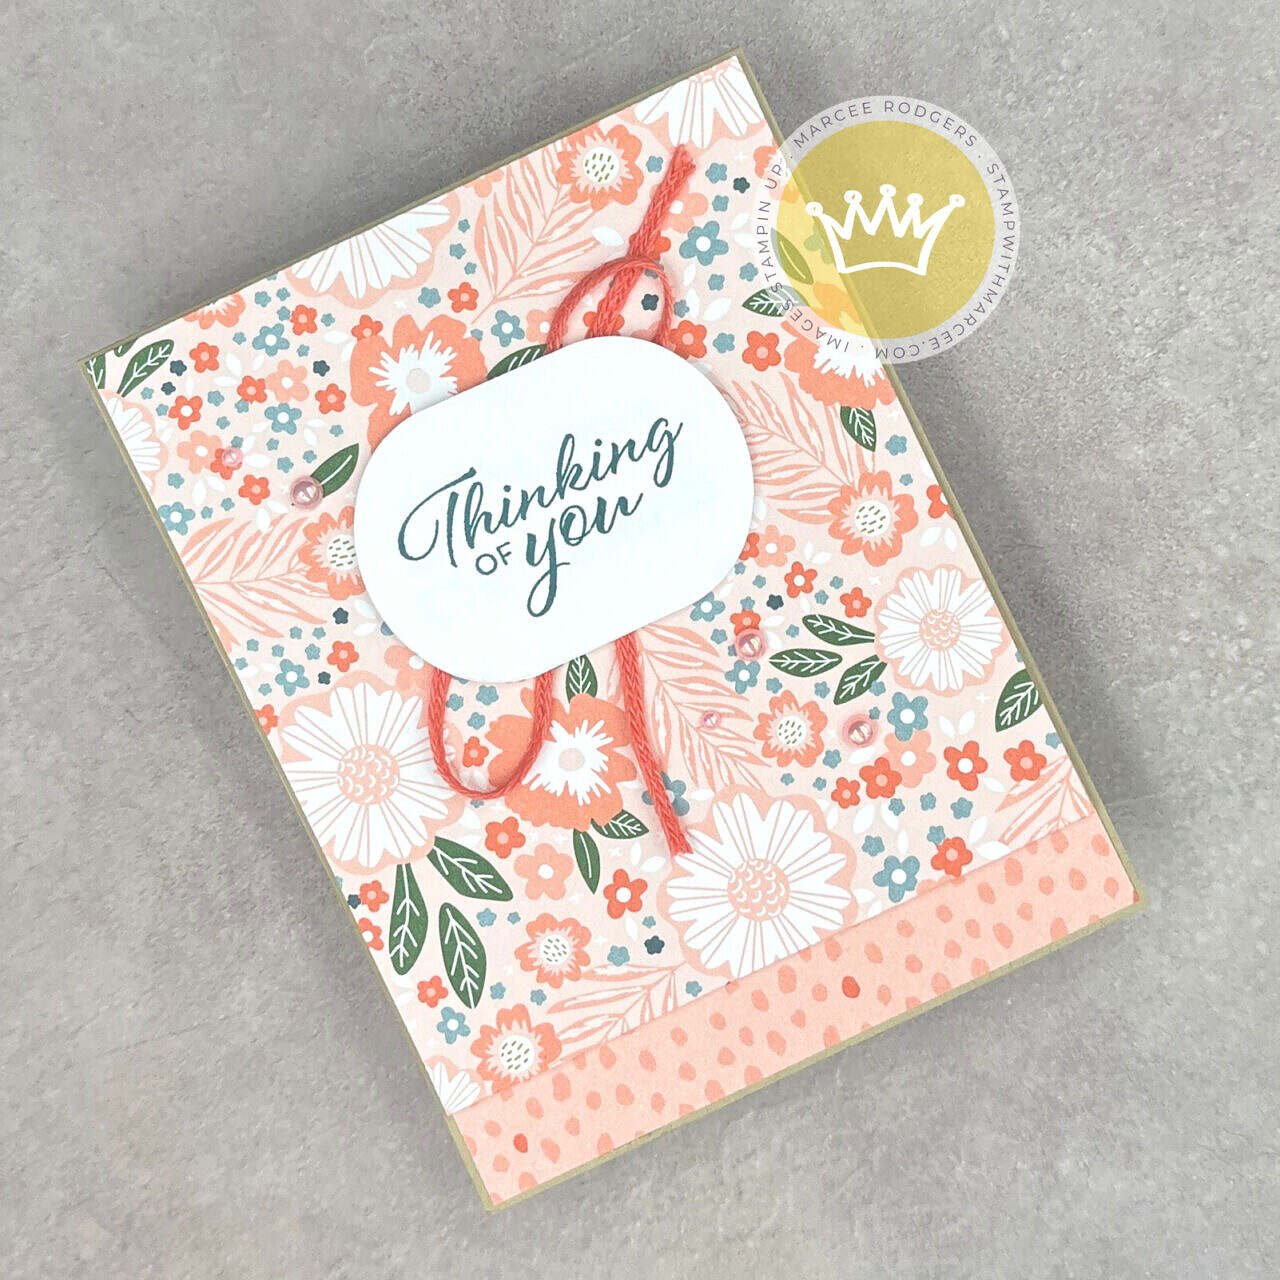
Today I am sharing a couple cards I made with the Lily Pond Lane Suite. I really love the DSP in this suite of products and wanted to play with them first.
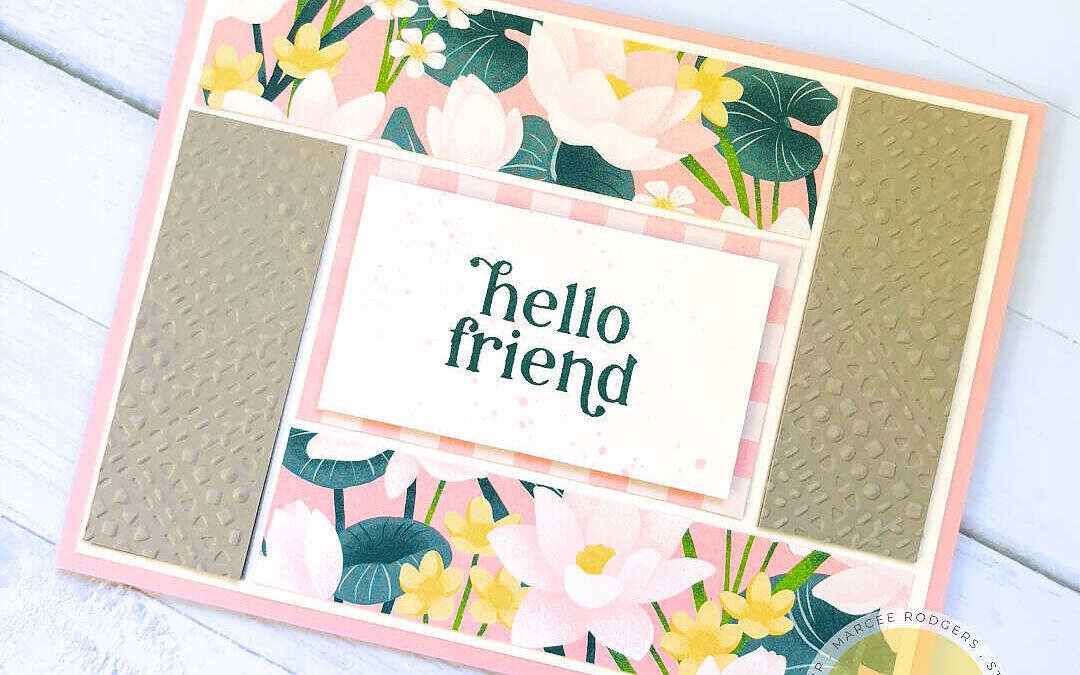
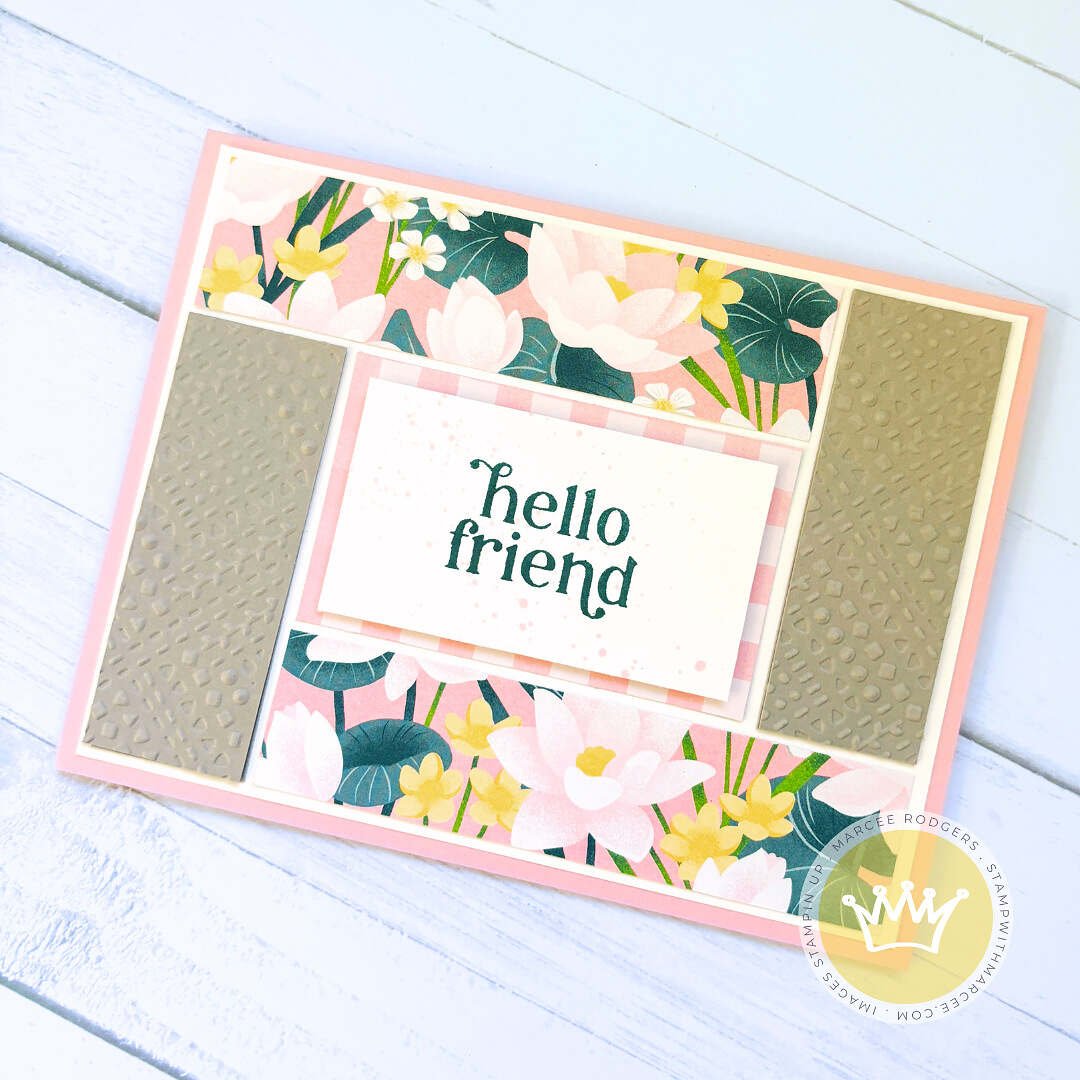
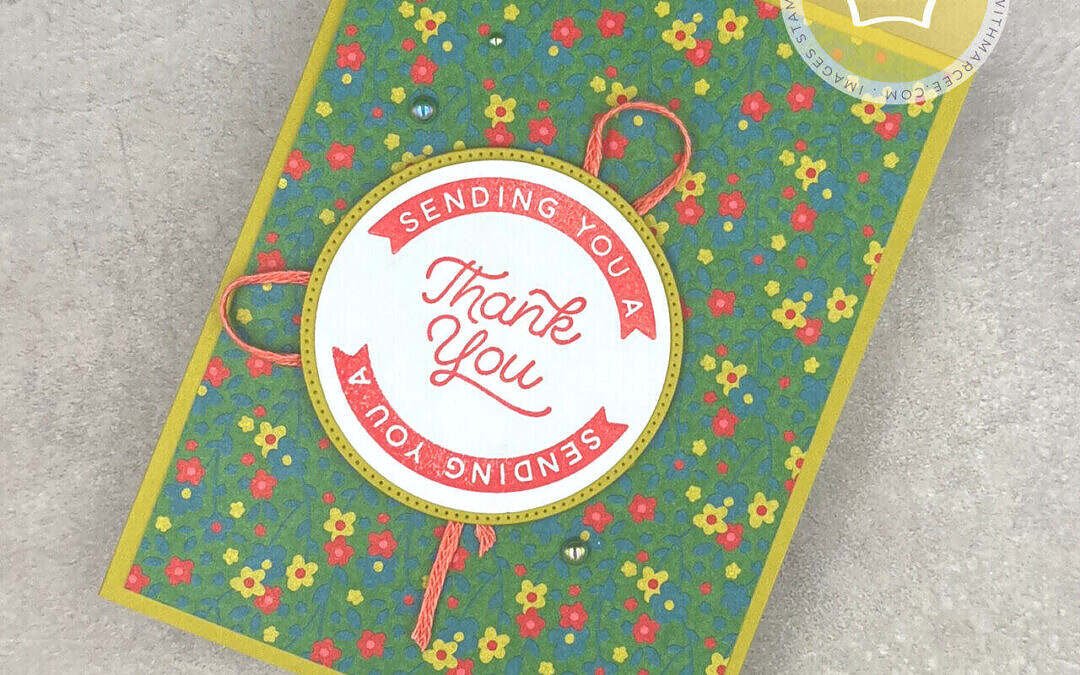
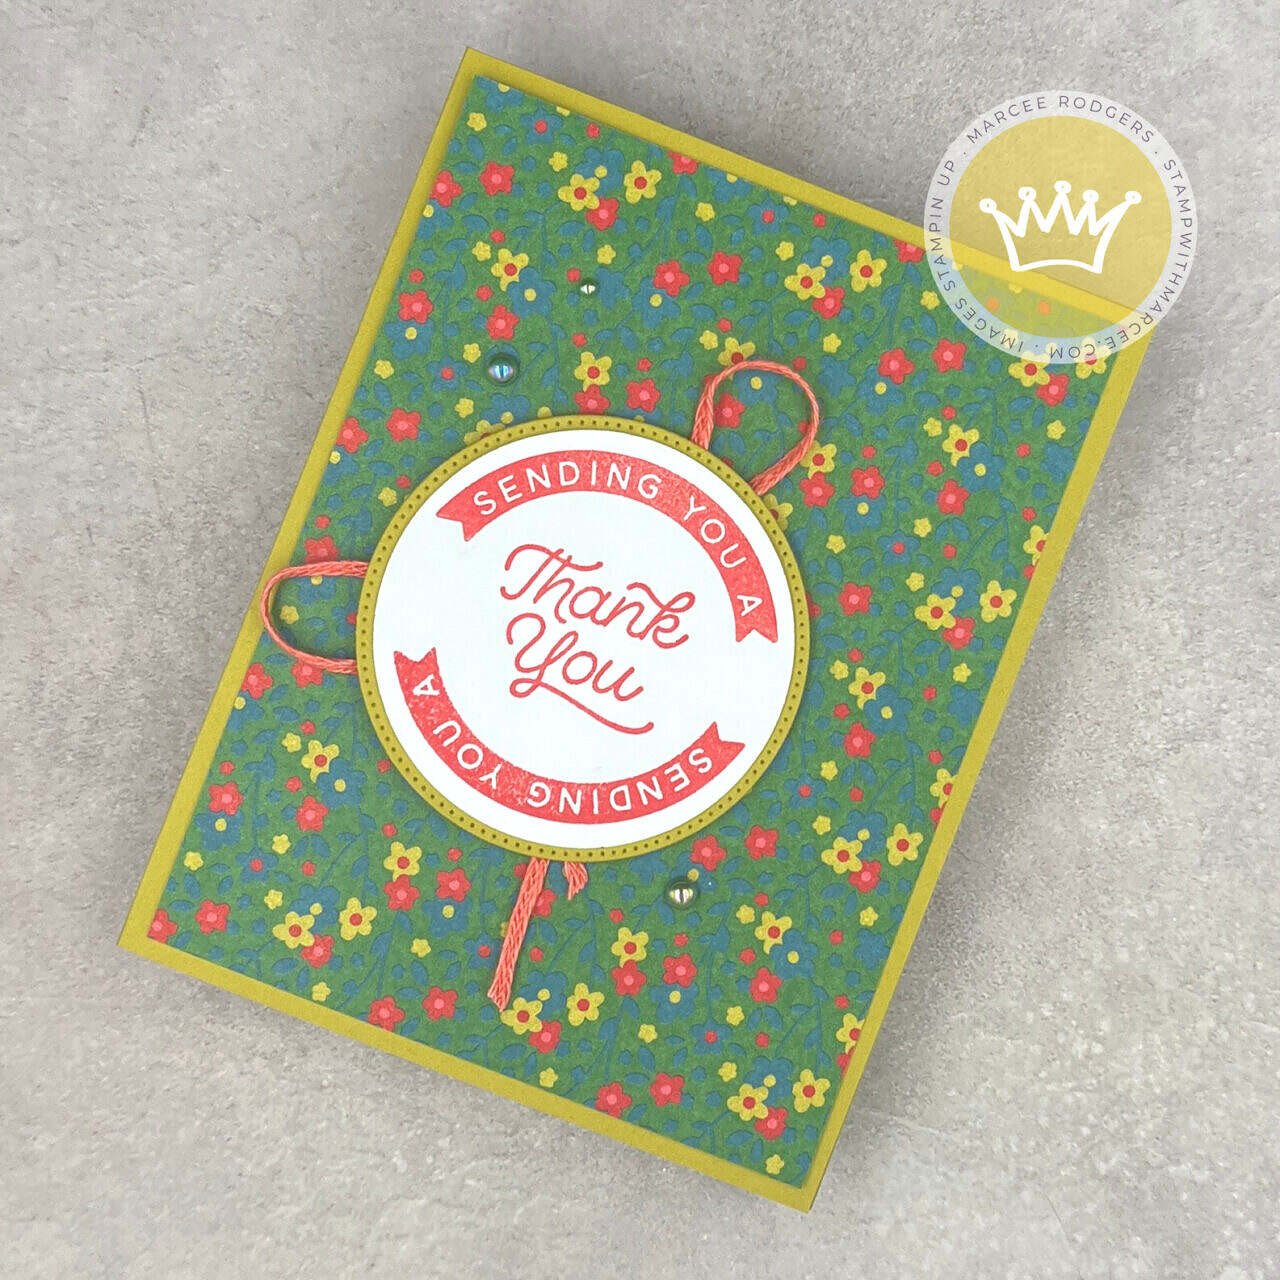
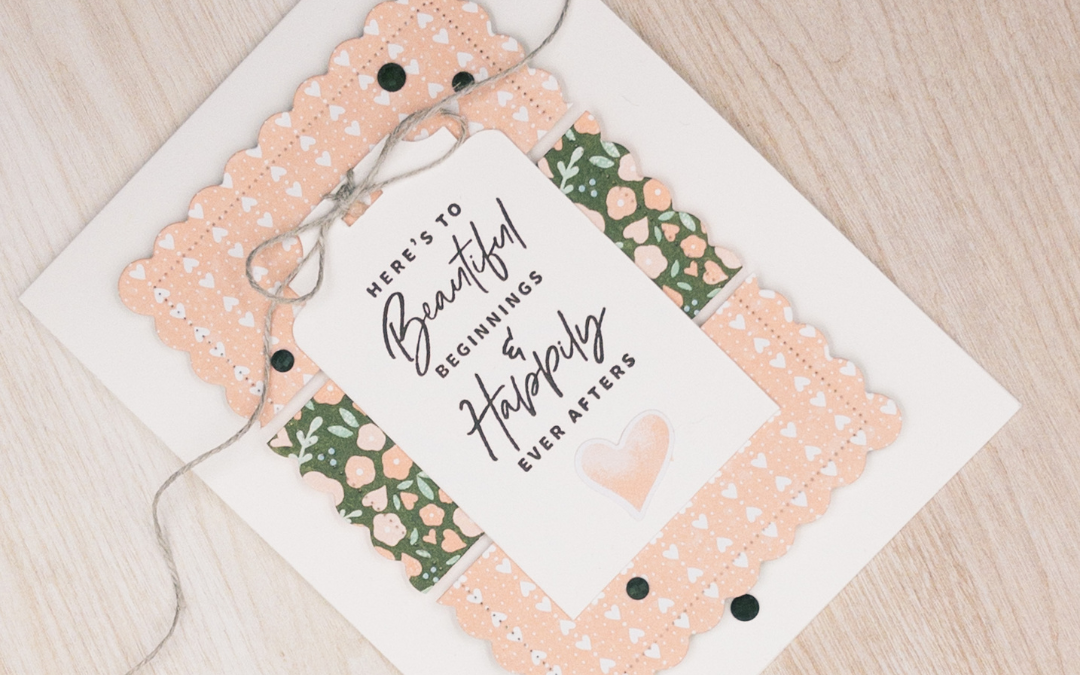
My first card is what I call a quilt pattern. I chose the color palette based on colors that were listed to go along with the DSP.
Measurements (card base is A2), White Panel: 5 1/4 x 4, DSP Strips: 4 x 1, Cardstock Strips: 2 3/4 x 1, DSP (middle): 2 7/8 x 1 3/4, White (middle): 2 5/8 x 1 1/2
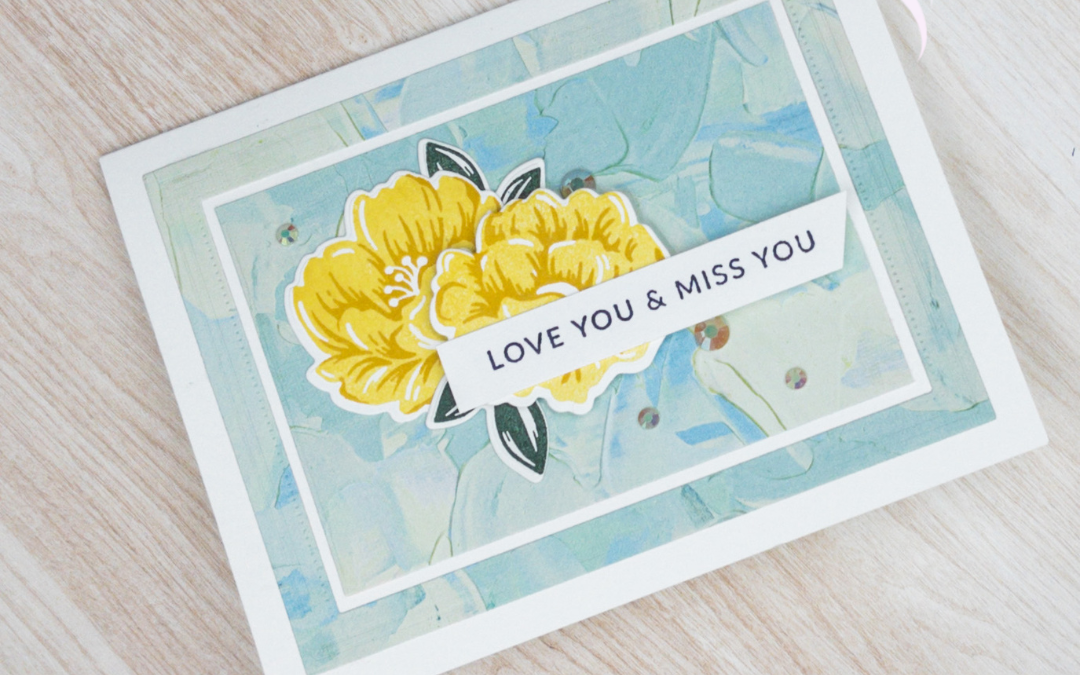
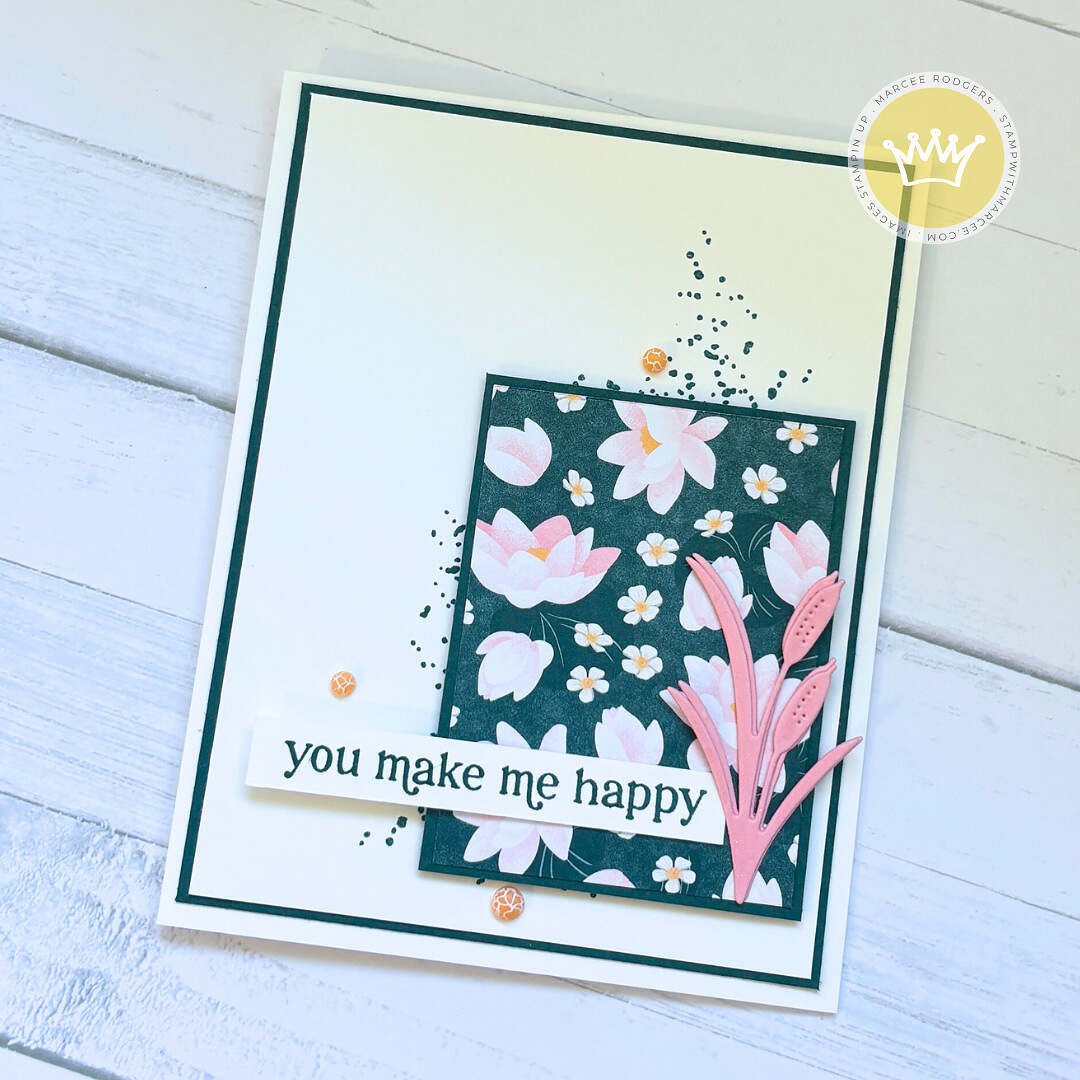
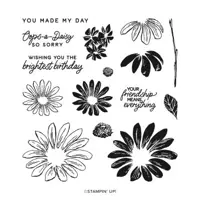
The next card is just simple alternating layers of Basic White and Pretty Peacock with a piece of coordinating DSP. To create the splatter, I used a stamp from the Country Birdhouse stamp set, but you could easily use a Stampin’ Blend marker to get the same effect. To bring out the Peach Pie in the lilies I chose the matching Dappled Dots. For an added pop of color I chose to die cut the cattails in Pretty In Pink.
Did you get the Lily Pond Lane Suite? Share your projects with me by tagging me on social media @stampwithmarcee
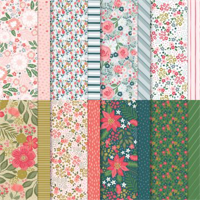
Happy Saturday! Anyone else ready for Fall? It’s my favorite season here in the PNW. I’m going to miss it this year as we are moving to Arizona, but I know I’m not going to miss all the rain. Maybe I’ll save some pieces of this gorgeous All About Autumn DSP and frame it to hang in my new craft room. The great thing about this being a 6×6 DSP pack is that it contains 48 sheets, so you get 4 of each pattern. That makes it a little less hard to cut (maybe).
All dimensions are listed under each card and you will find currently available products linked below. All other products will be available September 6th. If you’d like Mini Catalog products sooner, you can join my community and add them to your Starter Kit.
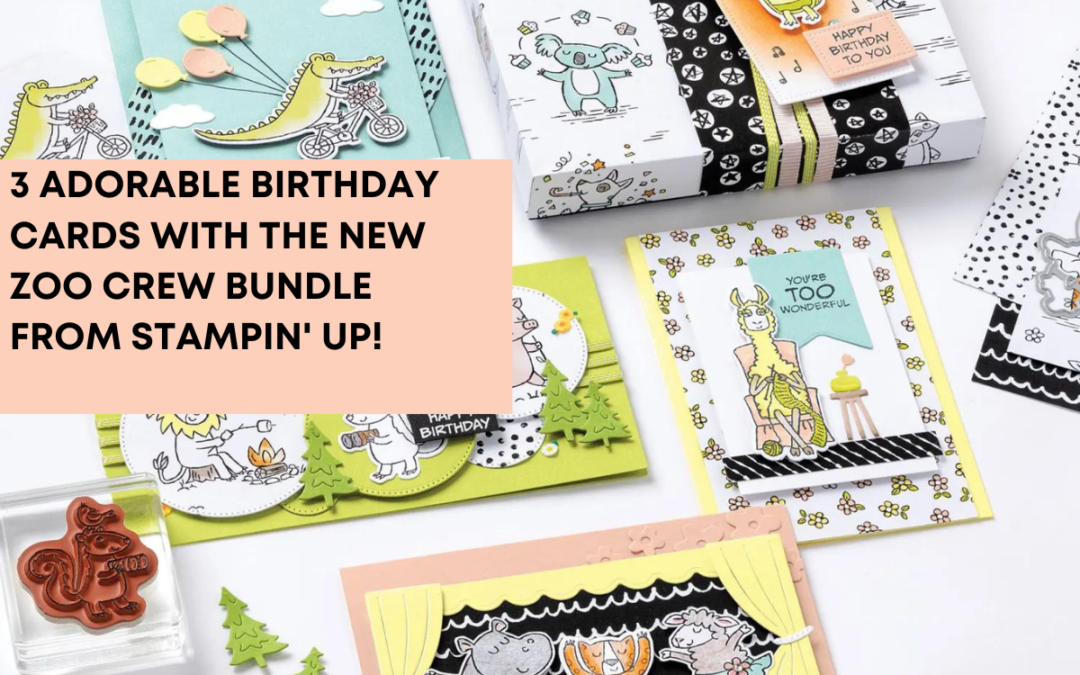
Stampin’ Up’s Zoo Crew Bundle is a delightful collection that animal lovers and crafters alike will appreciate. The bundle includes a stamp set, coordinating dies, designer series paper and ribbon, making it a versatile and fun addition to any card making arsenal. In this blog post, I’ll showcase three different cards made with the Zoo Crew Bundle.
Let’s explore the Zoo Crew Designer Series Paper and coordinating dies to create a fun and playful birthday card.
Start by die cutting the turtle and fussy cutting the bear.
Take a 4 1/4″ x 11″ piece of Crumb Cake cardstock and fold it in half to create a card base. Cut a piece of 3 3/4″ x 5 1/2″ Basic White cardstock and emboss it with one of the Basics 3D Embossing Folders. Next, use Lemon Lime Twist Stampin’ Blends markers to flick on some color to the embossed paper, then adhere it to the card front. Cut a strip of the same DSP to 4 1/4″ x 1 1/2″ and overlap it onto the first Basic White layer. Cut a square from Lemon Lime Twist cardstock using the Stylish Shape dies and adhere it to the card front.
Stamp the “Happy Birthday To You” sentiment onto the Lemon Lime Twist square. Arrange the die-cut animals on the card front and use Stampin’ Dimensionals to adhere them.
To finish off the card, add some Pastel Adhesive Back Sequins for a pop of color and sparkle.
Let’s take a look at another card using the Zoo Crew Designer Series Paper.
Start by cutting a piece of Thick Basic White cardstock to 4 1/4″ x 11″ and fold it in half to create a card base. Cut a piece of the DSP to 4 1/4″ x 5 1/2″, then cut it on the diagonal. Cut a scalloped rectangle out of Crumb Cake cardstock using the Scalloped Contours dies. Die cut the llama from the DSP.
Using Memento Tuxedo Black ink, stamp the “Something Great To Celebrate-You!!” sentiment on the Crumb Cake rectangle. Adhere the diagonal DSP onto the card front with Stampin’ Seal. Next, adhere the rectangle onto the card front and add the llama to the rectangle using Stampin’ Dimensionals.
To finish off the card, add some Pastel Adhesive Back Sequins for some extra sparkle and shine.
Let’s talk about the final card made with the Zoo Crew Designer Series paper and the Zany Zoo Dies.
Start by folding a piece of Petal Pink cardstock to 4 1/4″ x 11″ to create a card base. Cut a piece of Crumb Cake cardstock to 3 3/4″ x 5 1/2″ and adhere it to the card base. Cut and emboss a 3 1/2″ x 5 1/2″ piece of Basic White cardstock and adhere it to the Crumb Cake panel.
Using the Stylish Shape dies, cut a circle from the Zoo Crew DSP and use the Zany Zoo dies to cut out an alligator critter. Cut a banner flag from Lemon Lolly cardstock with the Zany Zoo dies and stamp the “You’re Too Wonderful” sentiment in Memento Tuxedo Black ink. Add a piece of Pool Party 3/8″ Grograin ribbon to the embossed Basic White panel.
Adhere the alligator to the DSP circle with Stampin’ Seal, then place it on top of the ribbon. Tuck the sentiment flag under the circle, using Stampin’ Seal to keep it in place.
To finish off the card, add some Iridescent Pastel Gems for some extra sparkle and shine.
I hope you enjoyed these fun and creative birthday card ideas using the new Zoo Crew Suite from Stampin’ Up!, the possibilities for creating adorable and unique cards are endless. Whether you’re a seasoned paper crafter or just starting out, these ideas are sure to inspire your next project. Don’t forget to share your creations with me, and happy crafting!
If you missed the Live be sure to check out the replay on YouTube or Facebook! I love sharing paper crafting ideas and hope you’ll join me for more fun in the future.
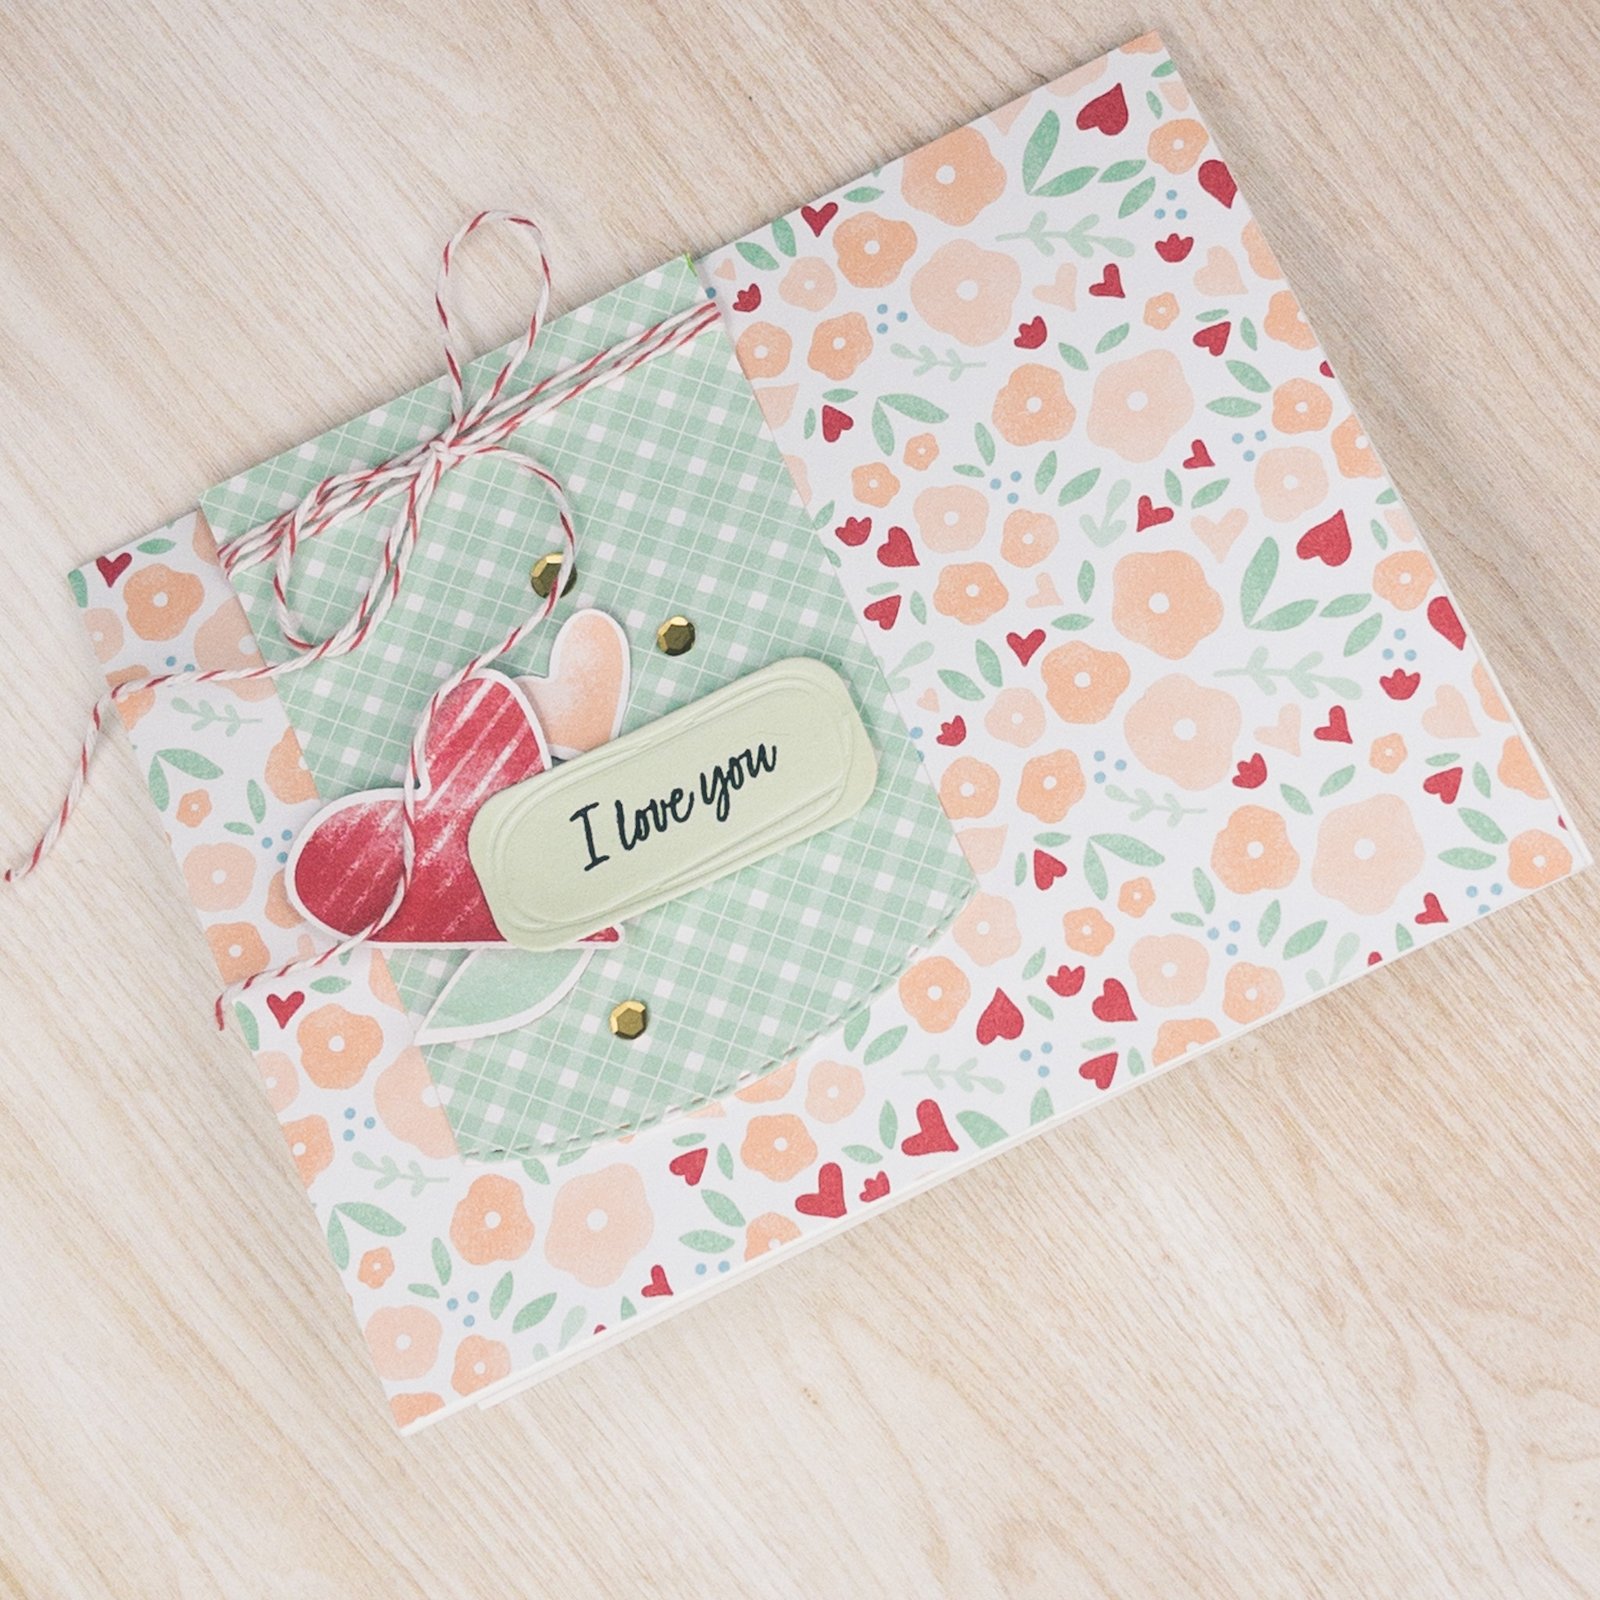
I am IN LOVE with this Suite! I don’t know what else to say about it. I had to force myself to stop playing with it last night-mostly because the mess got so bad and I had nowhere else to work 🙄
I have incorporated other new products from the upcoming Mini Catalog as well. I’m telling you-the new Mini is SOOOO good. You can get all of these products now when you join my community OR they will be available January 5th. Also starting January 5th is Sale-A-Bration. Need a catalog? Submit your request here and I will get them to you right away.
")


")


")

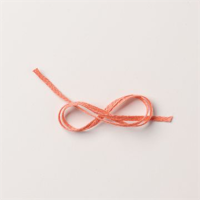
 Grosgrain Ribbon")


")


")