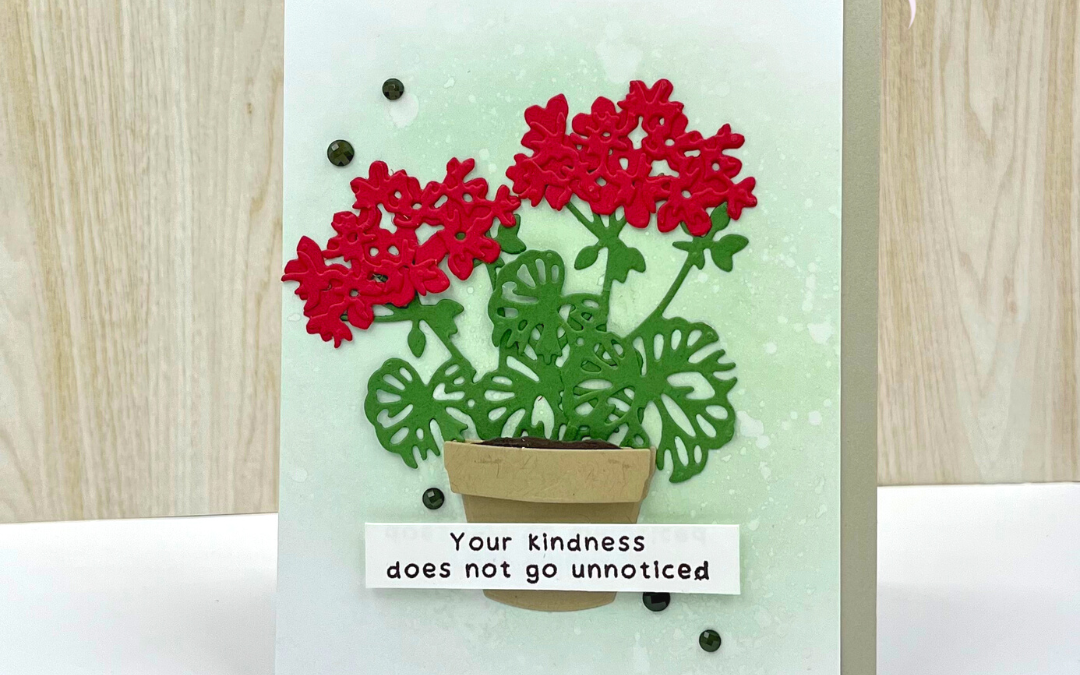
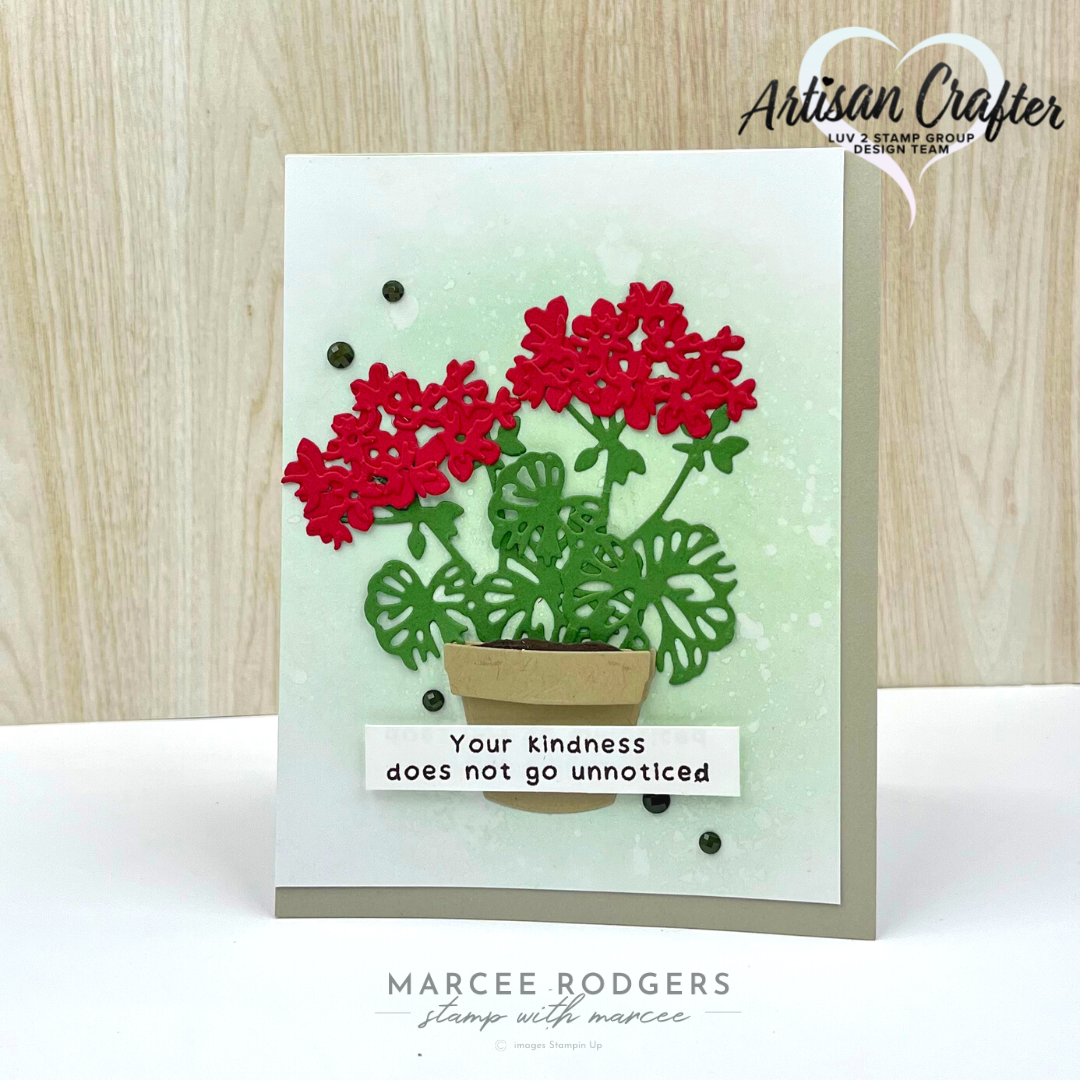
Stampin Up Potted Geranium Kindness Card


Will you be crafting along during the FREE event on October 1st? If you are not registered you, you can do so here
Registration Dates*: 11 August–1 October
Language of Event: The event will be in English with language interpretation voiceover and subtitles in English, French, German, and Dutch
To make the most of this experience, you can order the Cottage Rose Bundle from the 2022–2023 Annual Catalog, the Cottage Wreaths Bundle from the July–December 2022 Mini Catalog, or the Warm Welcome Bundle, which you can get early from the January–June 2023 Mini Catalog! If you want, you could even order all three bundles!
When you order one of these three bundles: you’ll get a FREE gift of Iridescent Pearl Basic Jewels! (Note that even if you order all three bundles, you’ll only receive one Iridescent Pearls gift.)
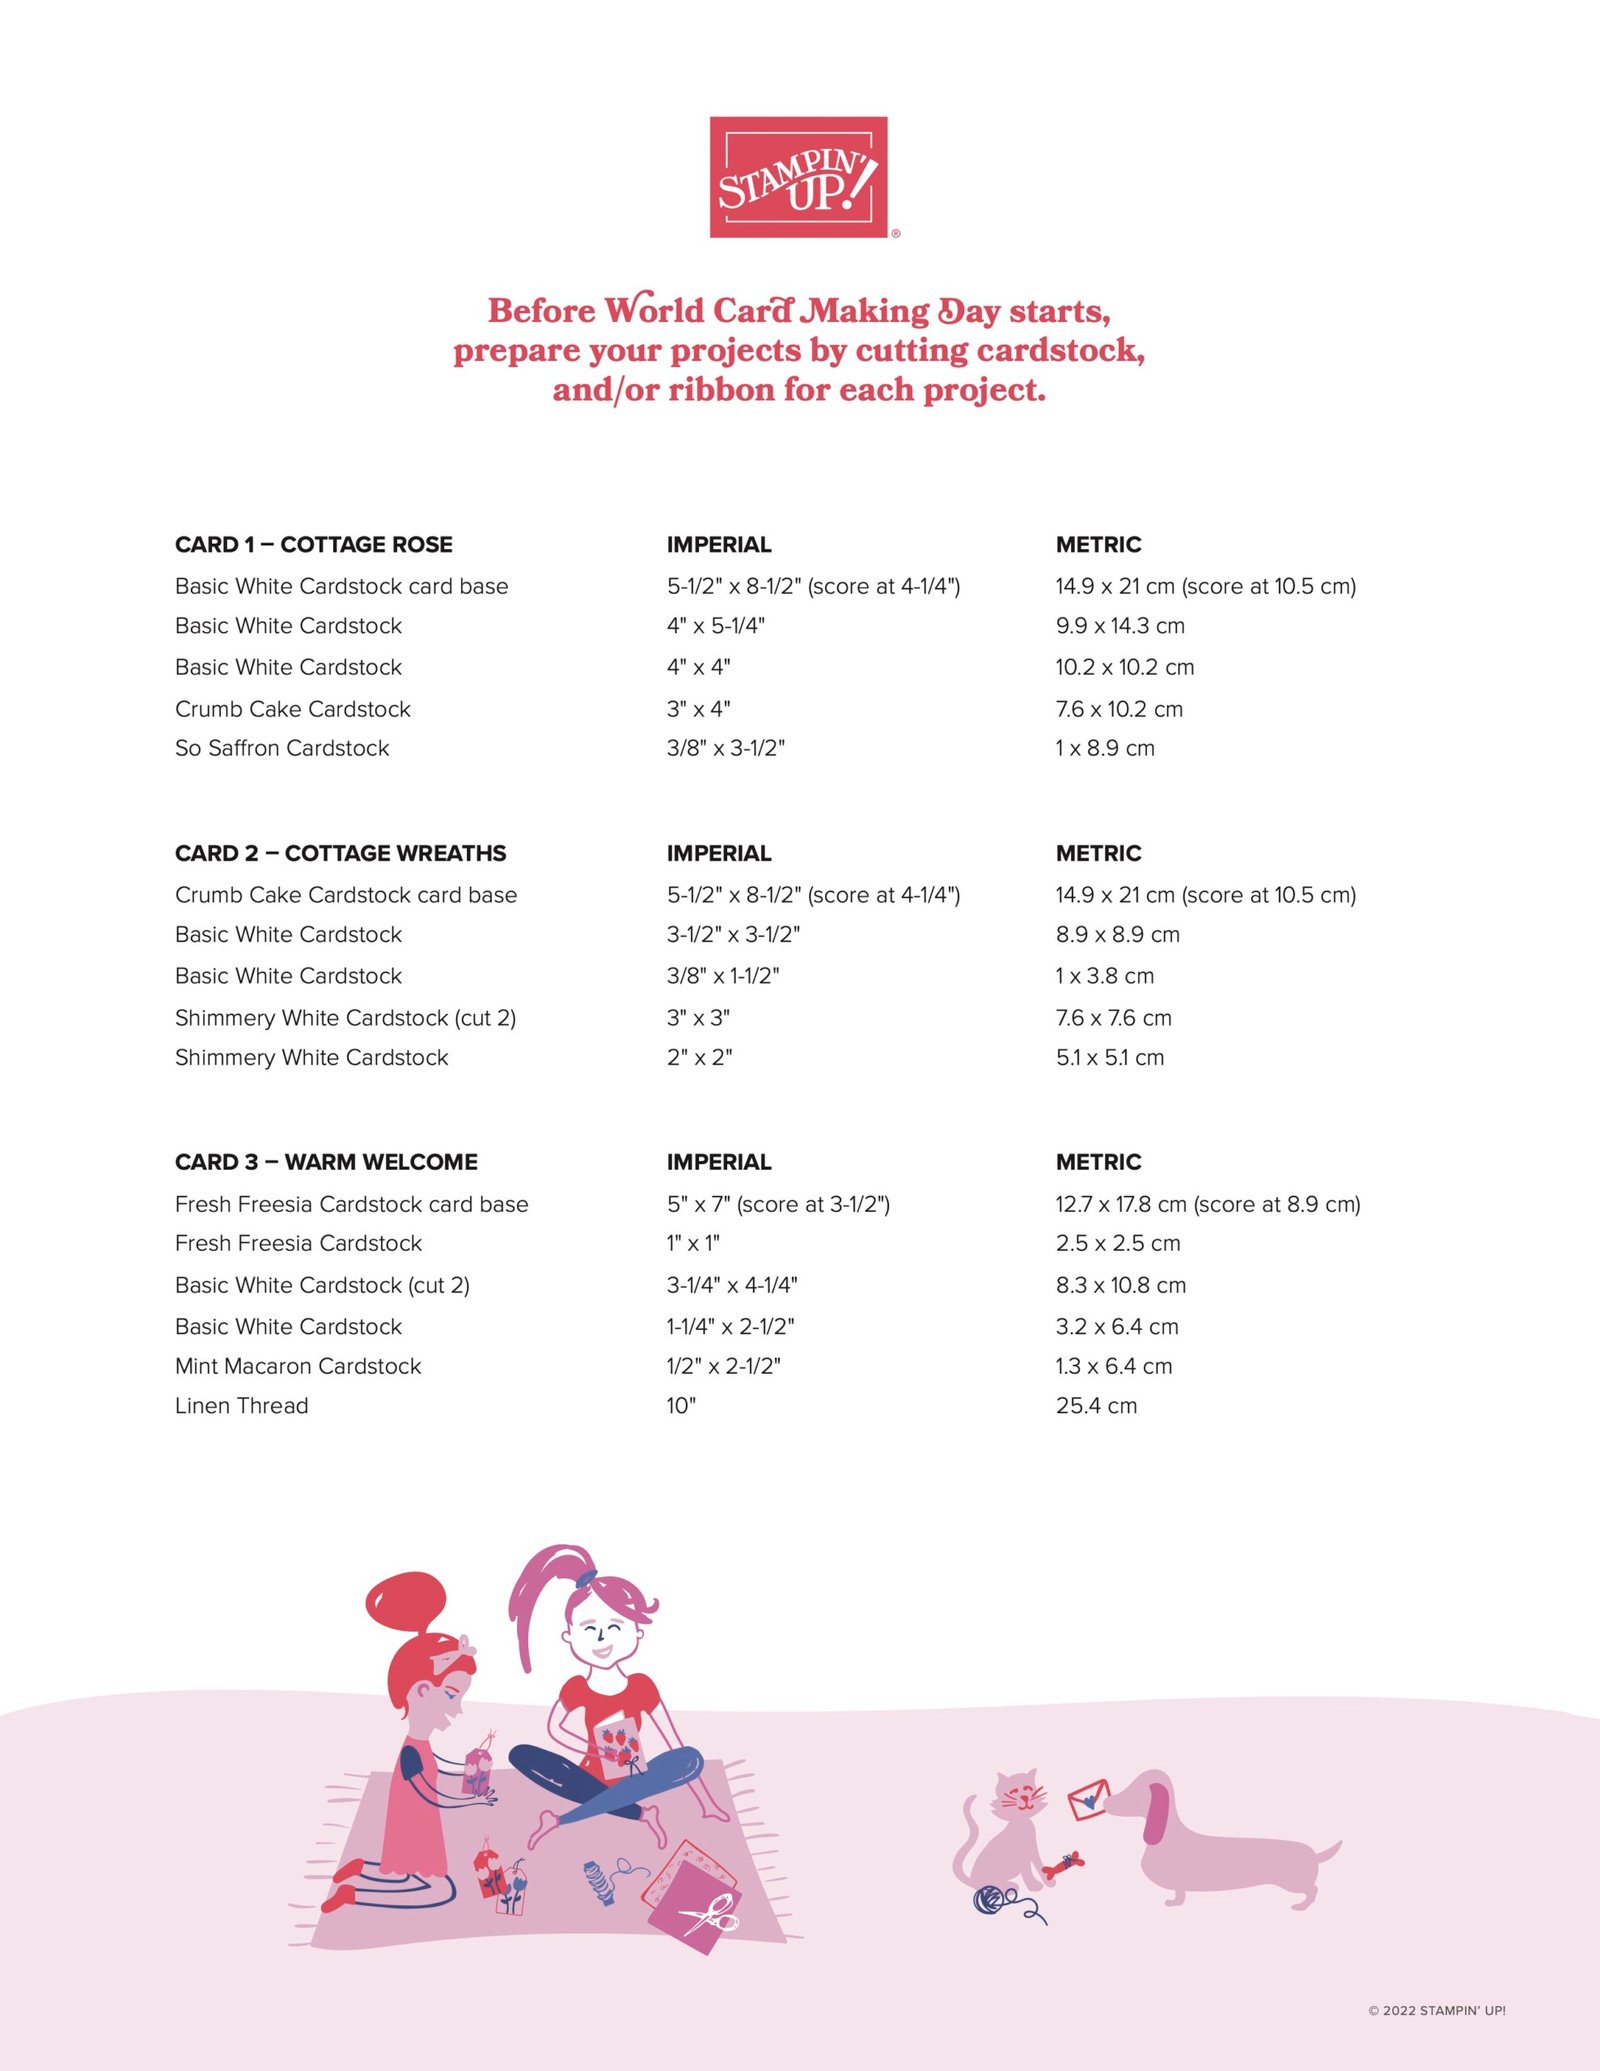
Before World Card Making Day starts, prepare your projects by cutting cardstock, and/or ribbon for each project.
How do I find the link to the event?
A few days before the event, a link will be added to this page. Click the Join Event link to participate.
Can I watch the event with people that didn’t register?
That’s a big yes! Anyone and everyone is welcome to join in the fun. Registration is the best way to keep up on event details, but it’s not required.
How do I get the free product?
Just place an order for any (or all) of the event bundles prior to 2 October. Be sure to add the Iridescent Pearl Basic Jewels (item 158987) embellishment to your cart when shopping for your bundle. As long as you have one bundle in your cart, the embellishment will be free during the checkout process
If I don’t already have a demonstrator, how do I find one?
I would love the opportunity to serve you! Feel free to contact me with any questions you have or just reach out to say Hi.
*This date is subject to change. If you are registered for the event, you will automatically be notified by email as soon as it becomes available.
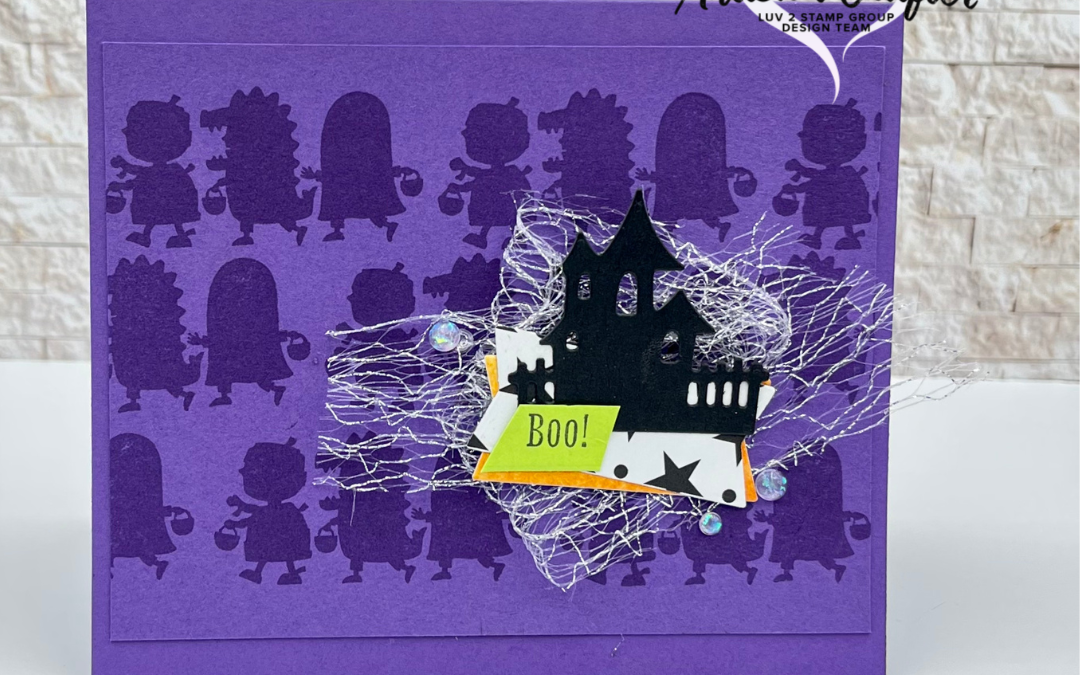
If you missed yesterday’s YouTube Live, it was a hoot! My Stampin Up BFF Tammy Civello from Cards by TLC was visiting from CA and joined me during the Live. You can check out the replay here.
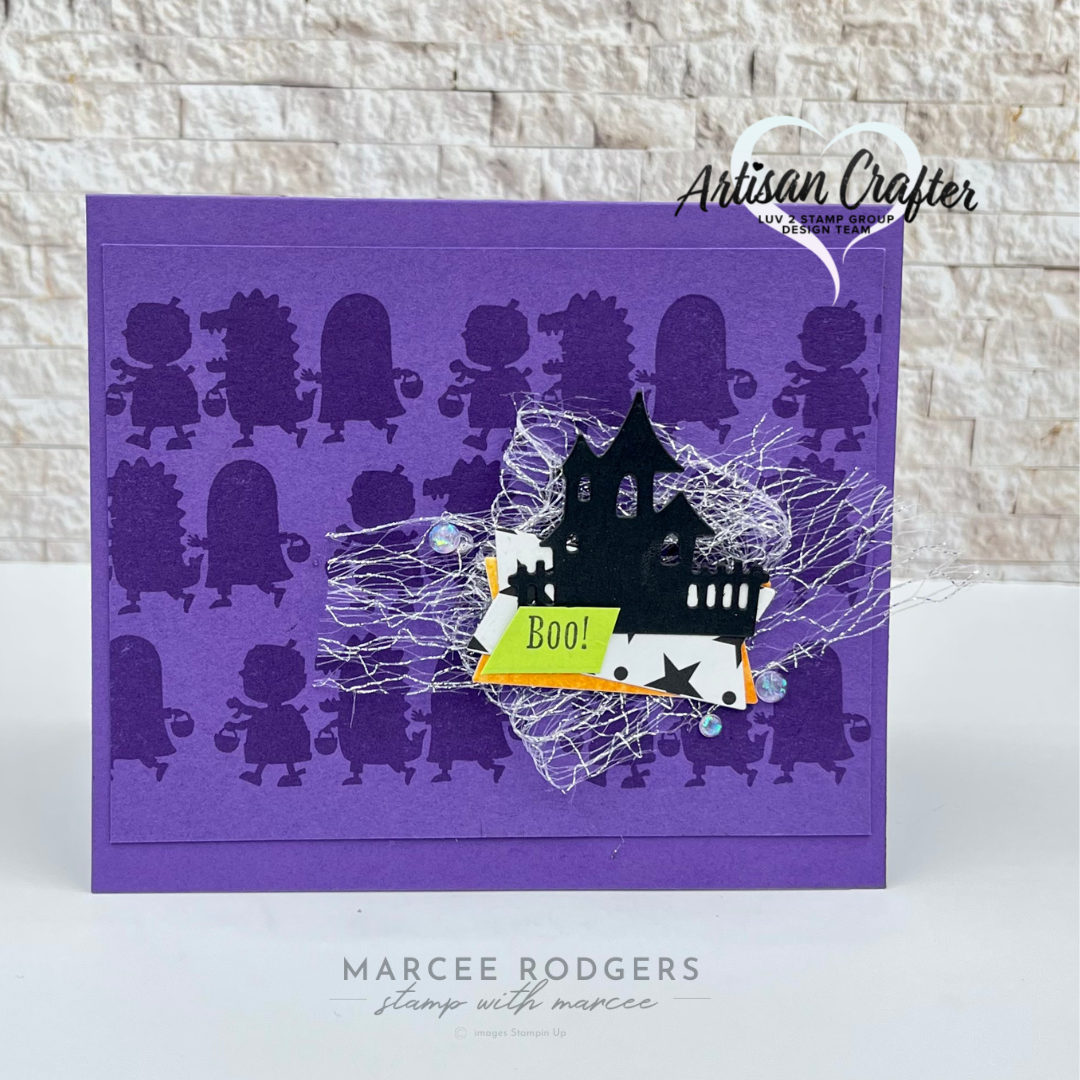
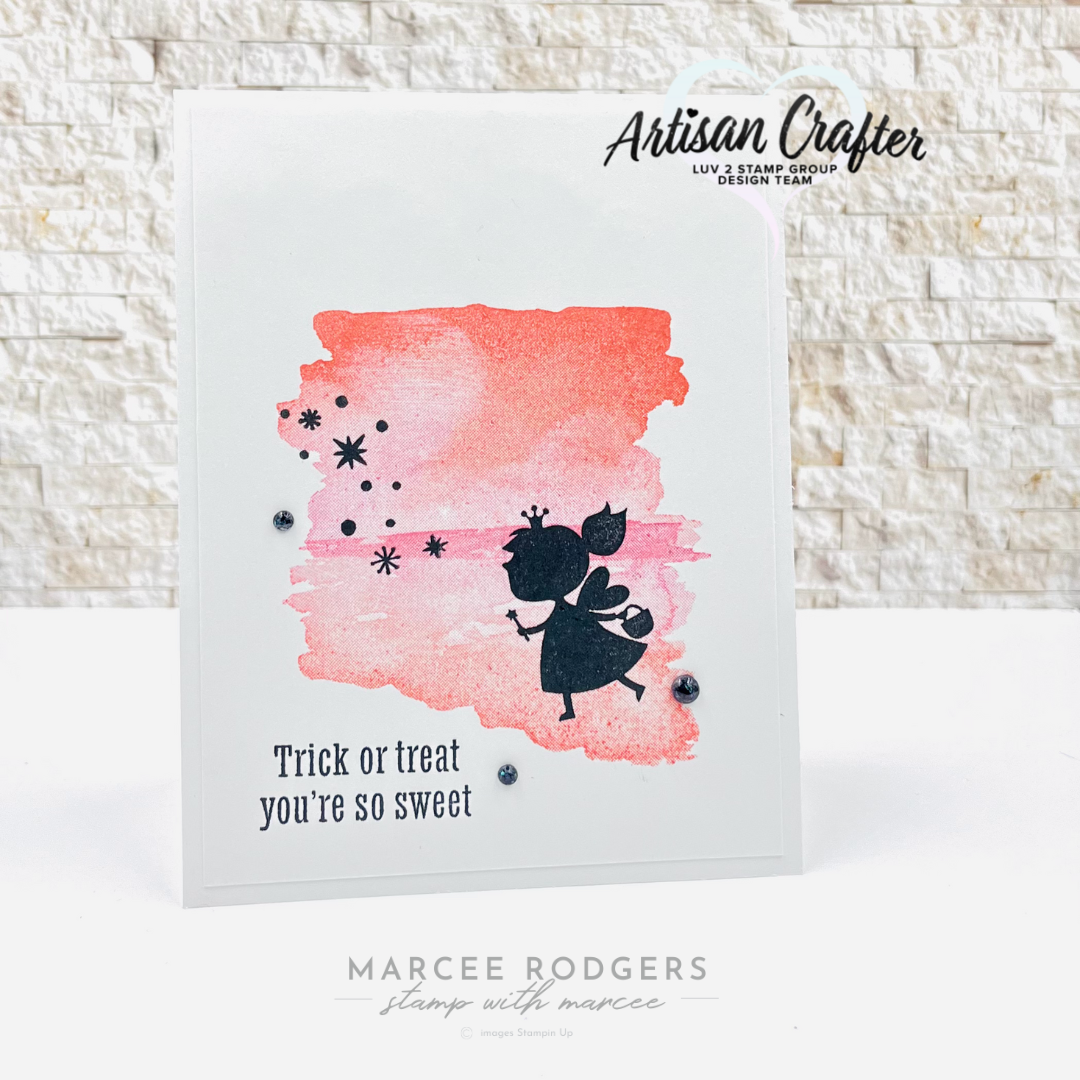
We made three cute projects with the Scary Cute Bundle. I hope you will check it out!
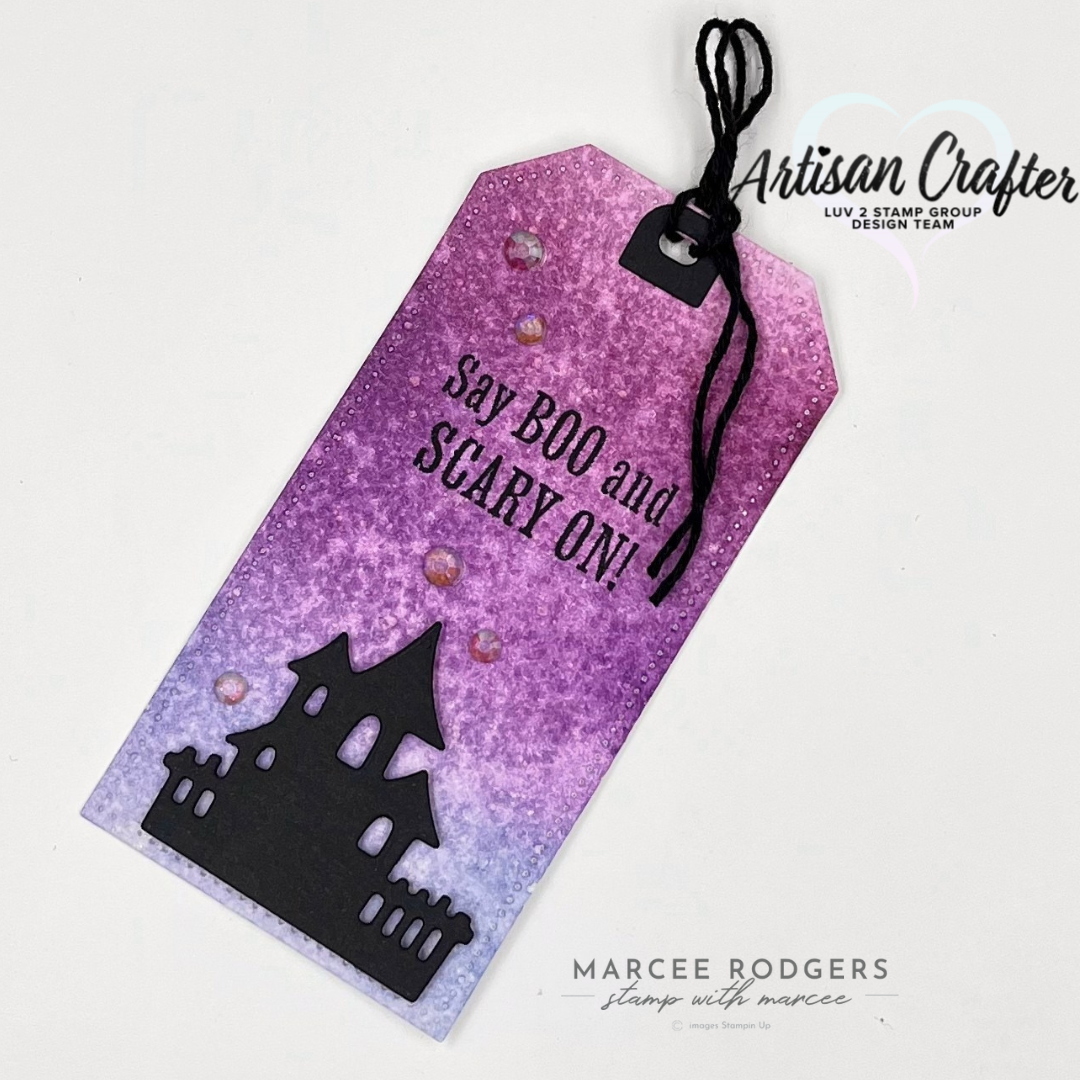
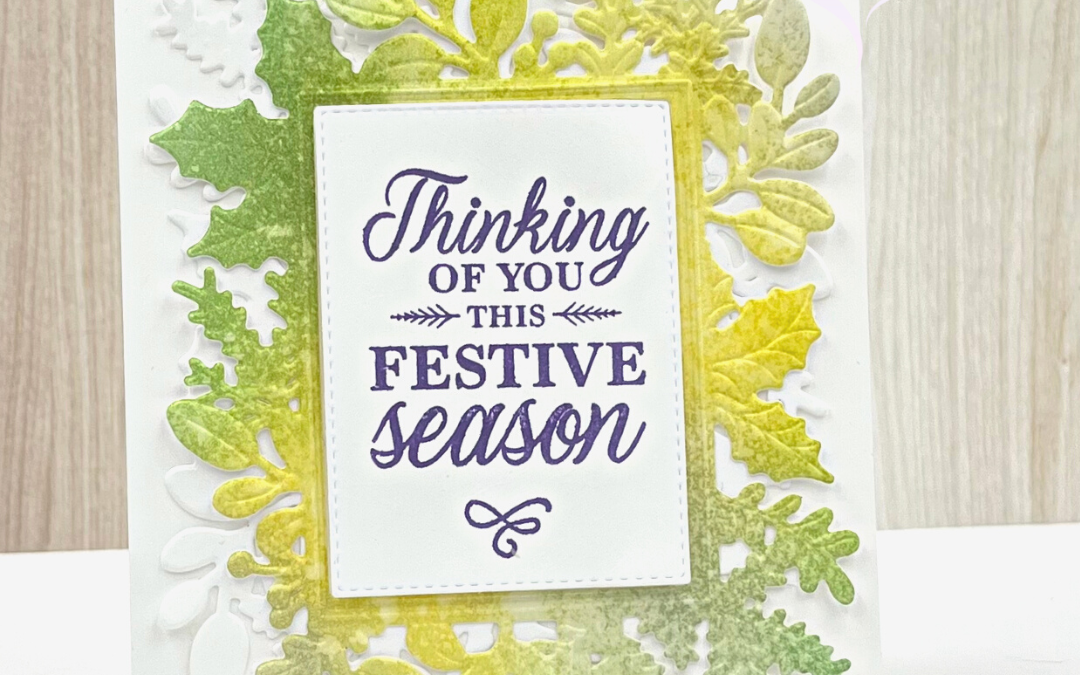
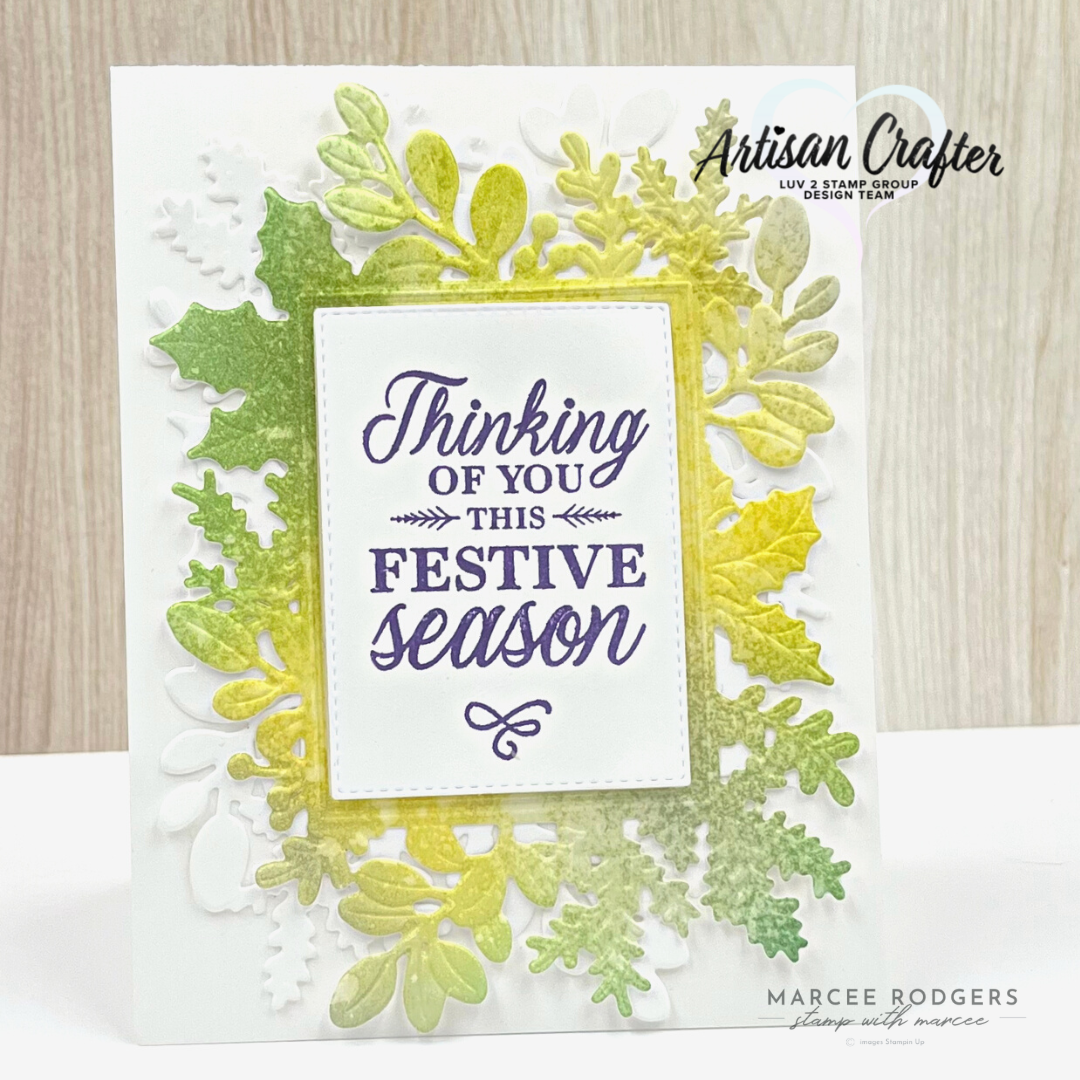
If you haven’t tried our Hybrid Embossing folders, you really should. They are amazing and so versatile. For this card I die cut one frame and adhered it to the A2 card base. Then I die cut and embossed a background I did some ink blending one. I rotated it 90 degrees and adhered it to the other frame. After that it was just a matter of stamping the sentiment and putting in the frame. Super simple. The ink blending takes the longest (which really isn’t that long at all). There is no need for the blending to be perfect as you are die cutting and embossing most of it. So don’t worry about blobs or splotches. A majority of the time I spray my backgrounds with water which also helps with any imperfections.
For a complete product list, please keep scrolling.
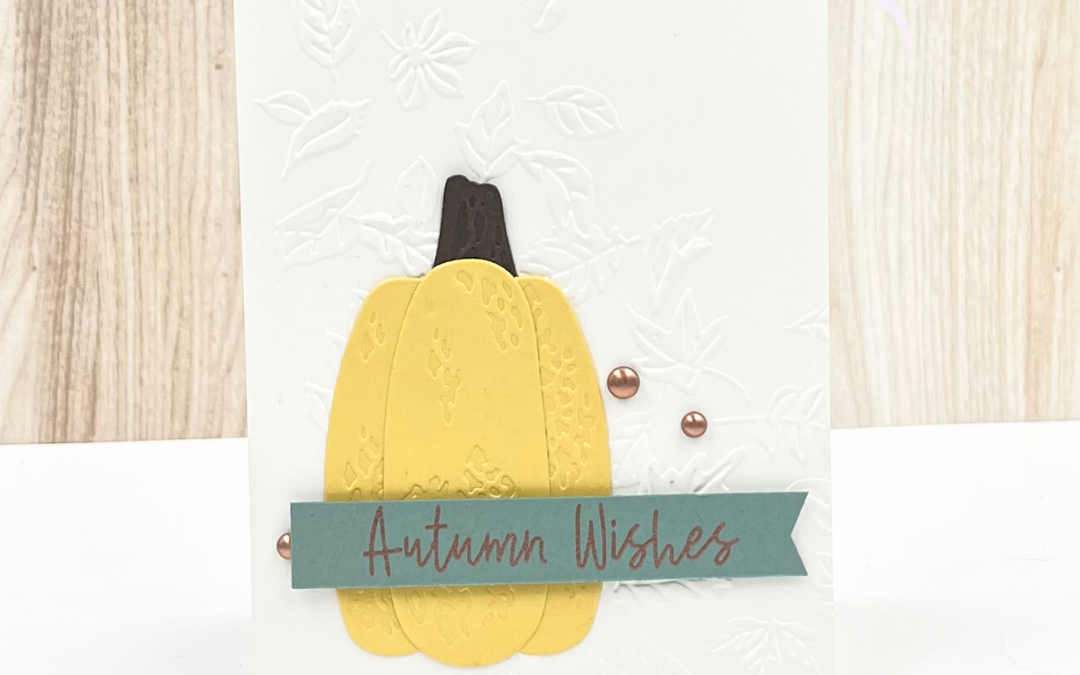
Anyone else ready for Fall? Fall is my favorite season and living in Oregon means I get to see a lot of gorgeous colors and cool crisp lovely air. Creating Fall cards is also one of my favorites, but honestly when it comes to creating I love all the seasons and color palettes. This is super simple card (no surprise), that uses somewhat nontraditional Fall colors and beautiful texture and dimension using an embossing folder and dies.
This card is not my traditional A2 sized card, but rather a 3×10. It’s a fun size to work with when creating a portrait oriented card. You still have plenty of space, but you don’t have to fill quite so much. I used the Leaf Fall 3D EBF for the background. This is hands down my current favorite embossing folder. I cut the pumpkin and stem with the Rustic Pumpkin dies, which also add the embossing to the die pieces. For a pop of color I used Soft Succulent for my sentiment strip and heat embossed Autumn Wishes in copper. To finish things off I added Copper Adhesive Dots. I quick and simple Fall themed card that is easy to create multiples of.
For a complete list of products, see below.

We created some Fall themed cards on my YouTube Live last week as well. Take a peek if you missed it.
Just a bit of housekeeping:
If you haven’t checked out the free gifts during Sale-A-Bration, a quick reminder that August 31st is the last day to take advantage. New items have been added to the free gift list! If you were thinking of getting either the Rings of Love DSP or the Wonderful World bundle before they sold out-they have been restocked.
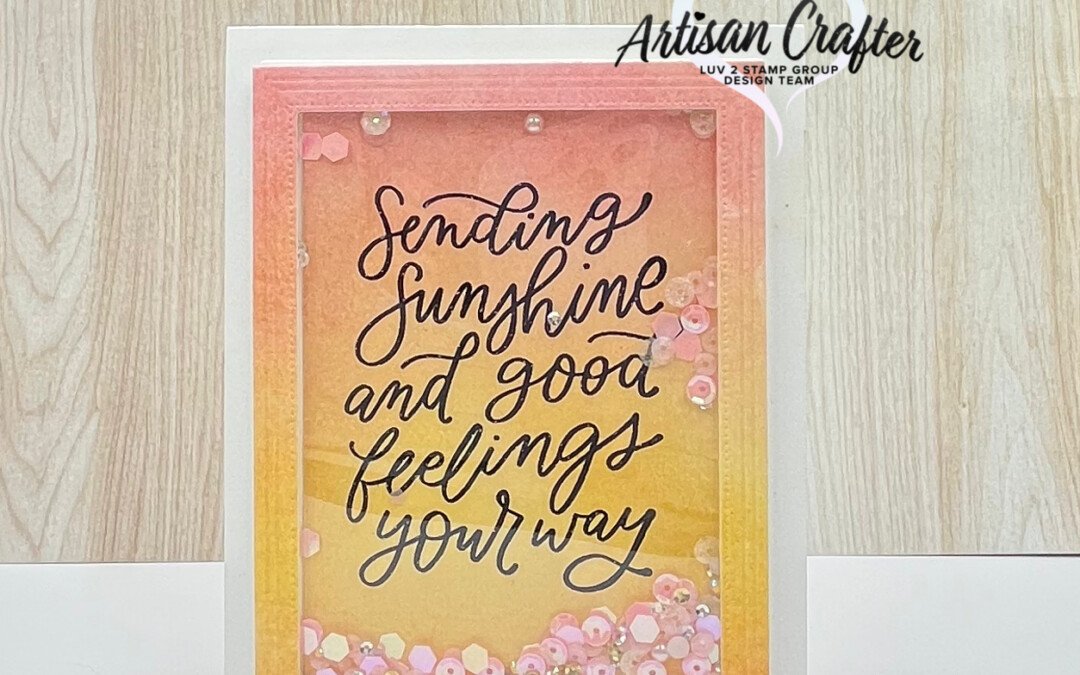
Now, let’s get into the card. This is (obviously) a shaker card. They are very easy to make with our Fabulous Frames dies. Our Stitched Rectangle dies would work great as well. For the acetate you can use leftover packaging from your embellishments or the sheet from our Photopolymer stamps sets.
The stamp I used is from the Good Feelings stamp set. This set is amazing because it does most of the work for you in one simple step. I’ve mentioned in posts before that I love to create custom backgrounds and this is one I had set aside. I did some ink blending (colors listed below) on Thick Basic White and then cut with the Fabulous Frames dies. Once the stamping is done and your pieces are cut, the assembly is fairly quick and easy. Below are some tips and tricks if you are interested. A complete product list is listed below as well.

Tips:
Let your ink blending backgrounds dry completely so the oils from your fingers don’t leave marks.
Considering cutting and stacking multiple pieces of your shaker frame. This is much easier than trying to make a shaker well that is deep enough for your shaker bits with foam adhesive strips or sheets. It is also seamless and doesn’t require cutting foam adhesive to size.
If you use adhesive strips to adhere your well to your card, don’t remove the backing all at once. Remove backing from one side only, get it lined up and then remove backing from the other sides.
If you find that your shaker bits are sticking to your acetate, rub your embossing buddy or a dryer sheet over it.
Don’t want all your shaker bits to fall to the bottom of the card, adhere a few in random places. You’ll notice I did this on my card.