Dec 7, 2022 | Annual Catalog, Mini Catalog, Product Suite |
I hope you enjoyed todays projects! Thank you for stopping by ❤️️
Oct 12, 2022 | Creative, Mini Catalog, Product Suite |
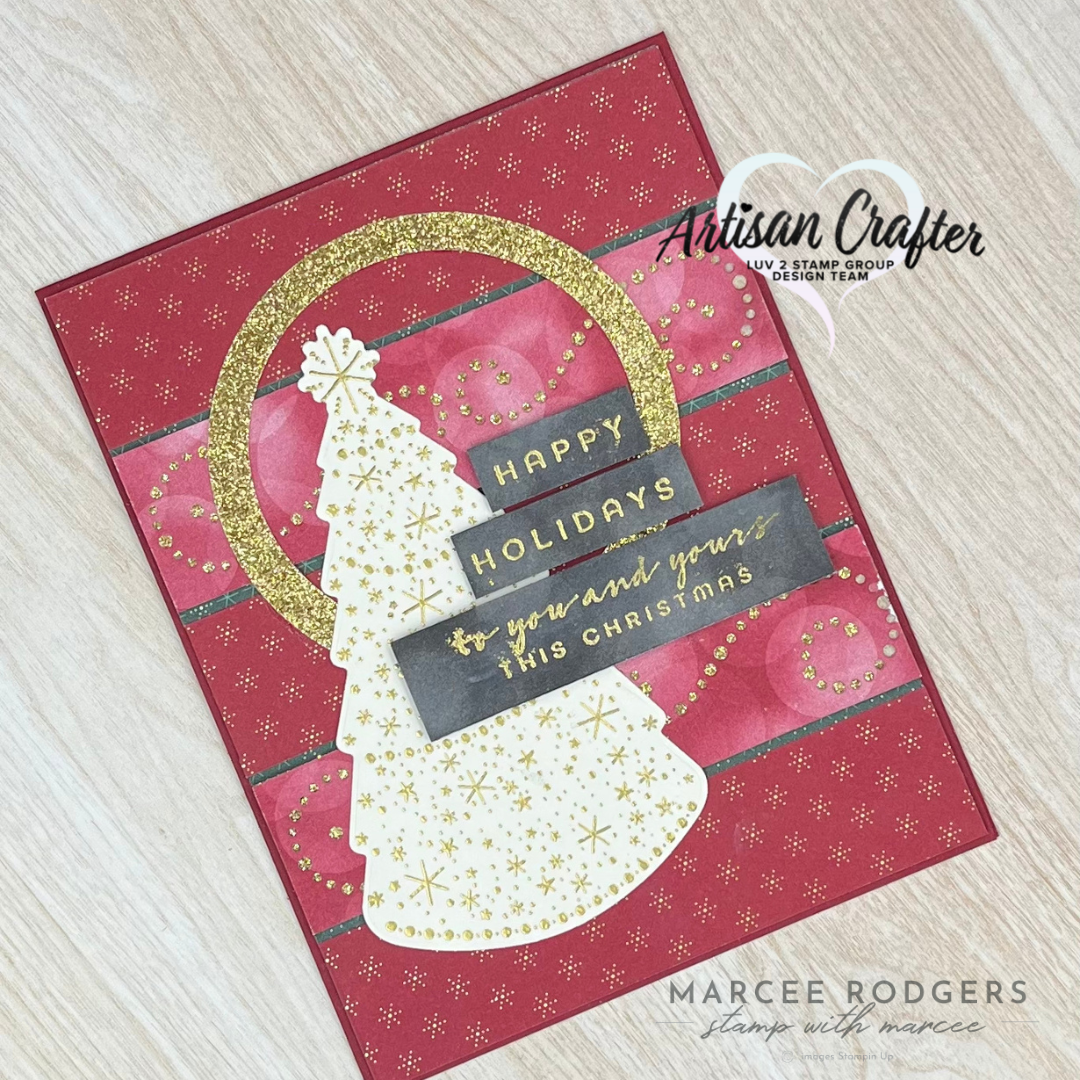
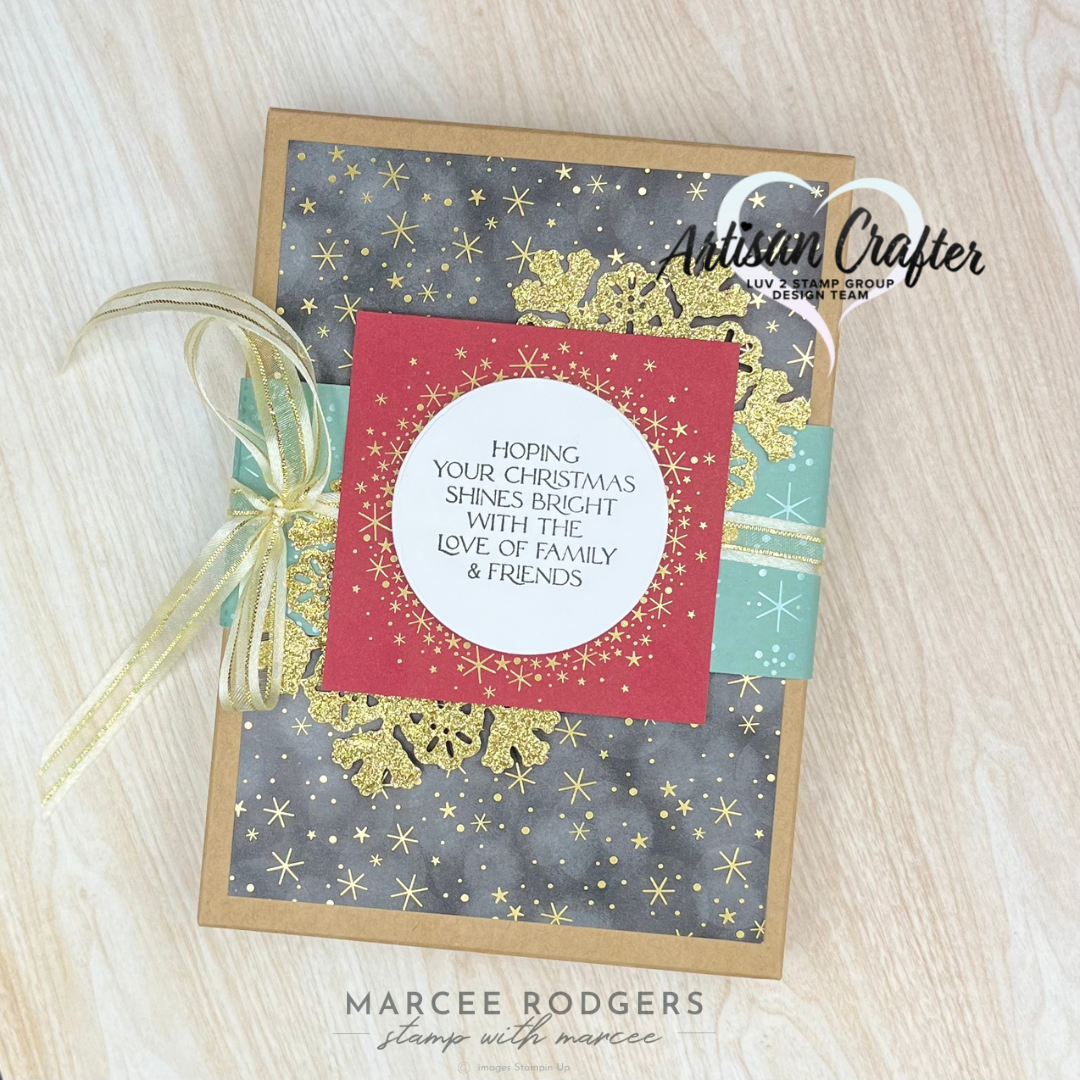
Happy Wednesday! Today I am featuring the projects I made on my YouTube Live using the Lights Aglow Suite Collection. These projects are CASE’d from the catalog with a few minor changes. This collection is back in stock, so if you’ve been eyeing the entire Suite or just some of the items, I recommend ordering before it goes back to non-orderable.
If you weren’t able to catch me Live, you can view the video
here.Each project has a complete supply list and measurements below.
Card Base: 5.5 x 4.25
Card Panel: 4 1/8 x 5 3/8
Green Print: 4 1/8 x 5 3/8
Red Print: 1″ strips x5
Gold Glimmer Paper: 1″ strips x2
Black Strips: 3/8 x 1.5 & 5/8 x 2.75
Gold Glimmer Paper: Cut circle with 3″ and 2.5″ circle dies from Layering Circle Dies
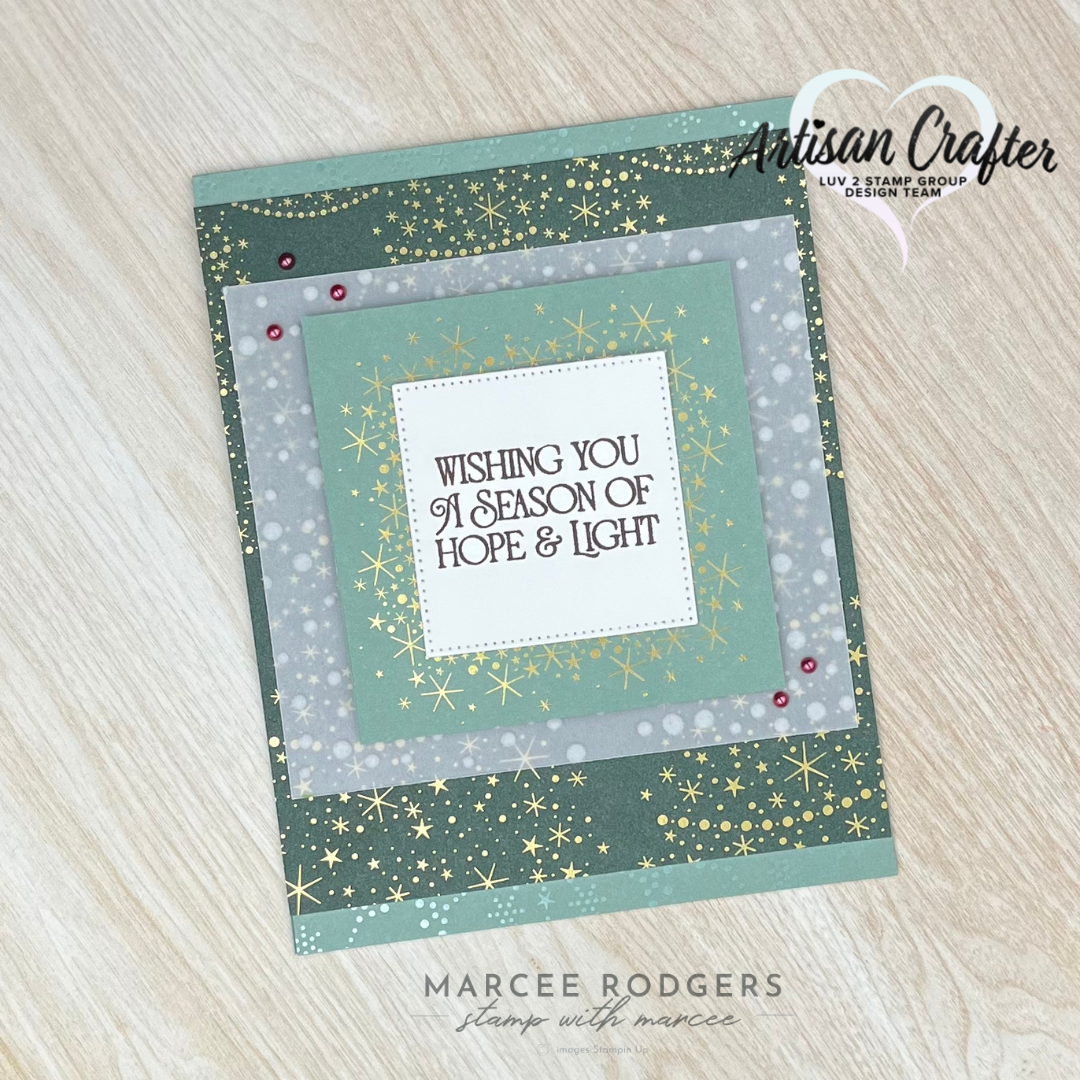
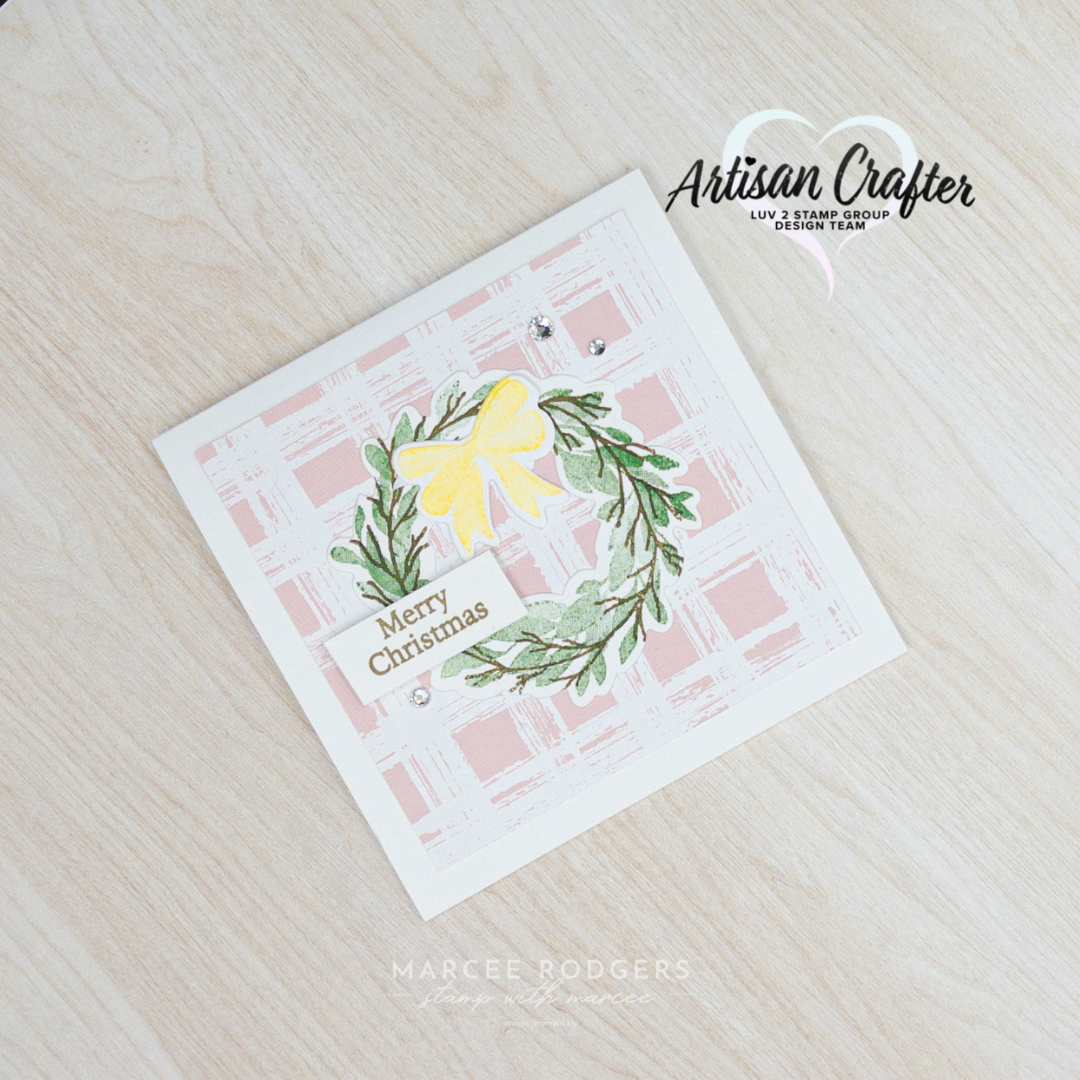
Card Base: 4.25 x 5.5
Card Panel: 4.25 x 5.5
Green Print: 4 1/8 x 5 3/8
Snowflake Vellum: 4 x 4 3/4
Green Square: 3 x 3
White Square: 2 x 2 cut with Stylish Shapes Dies
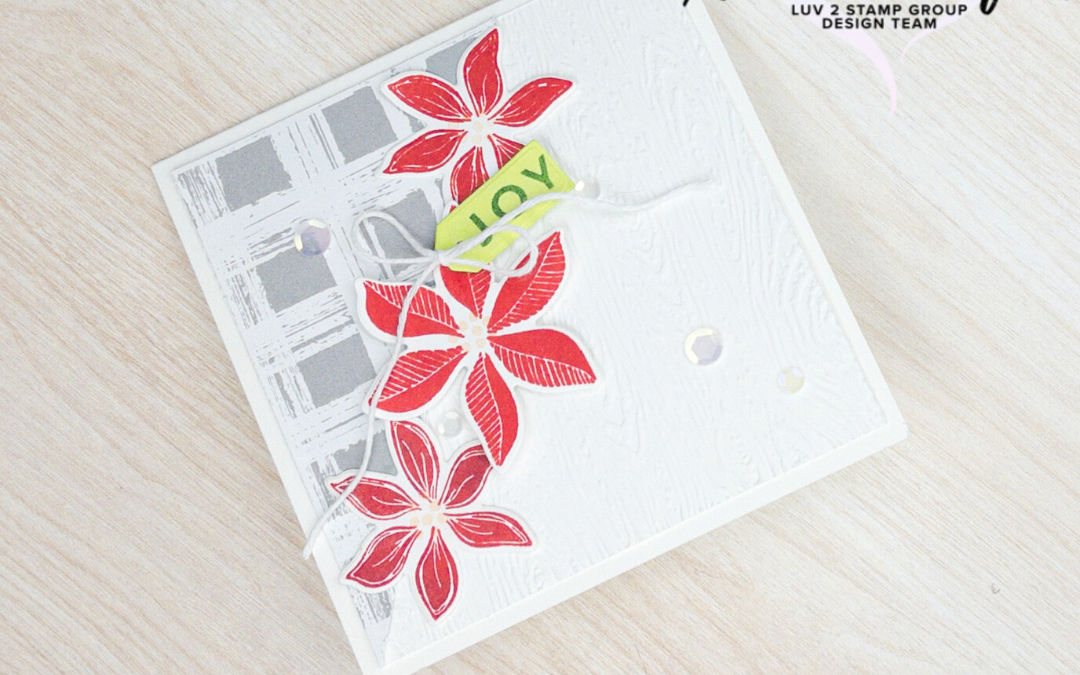
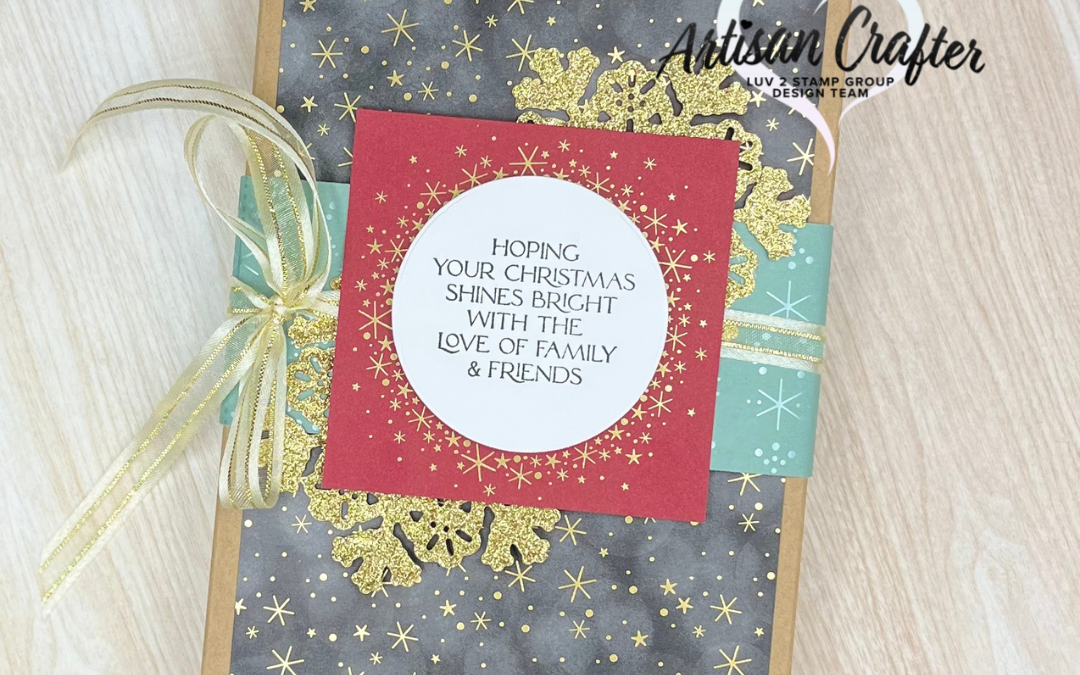
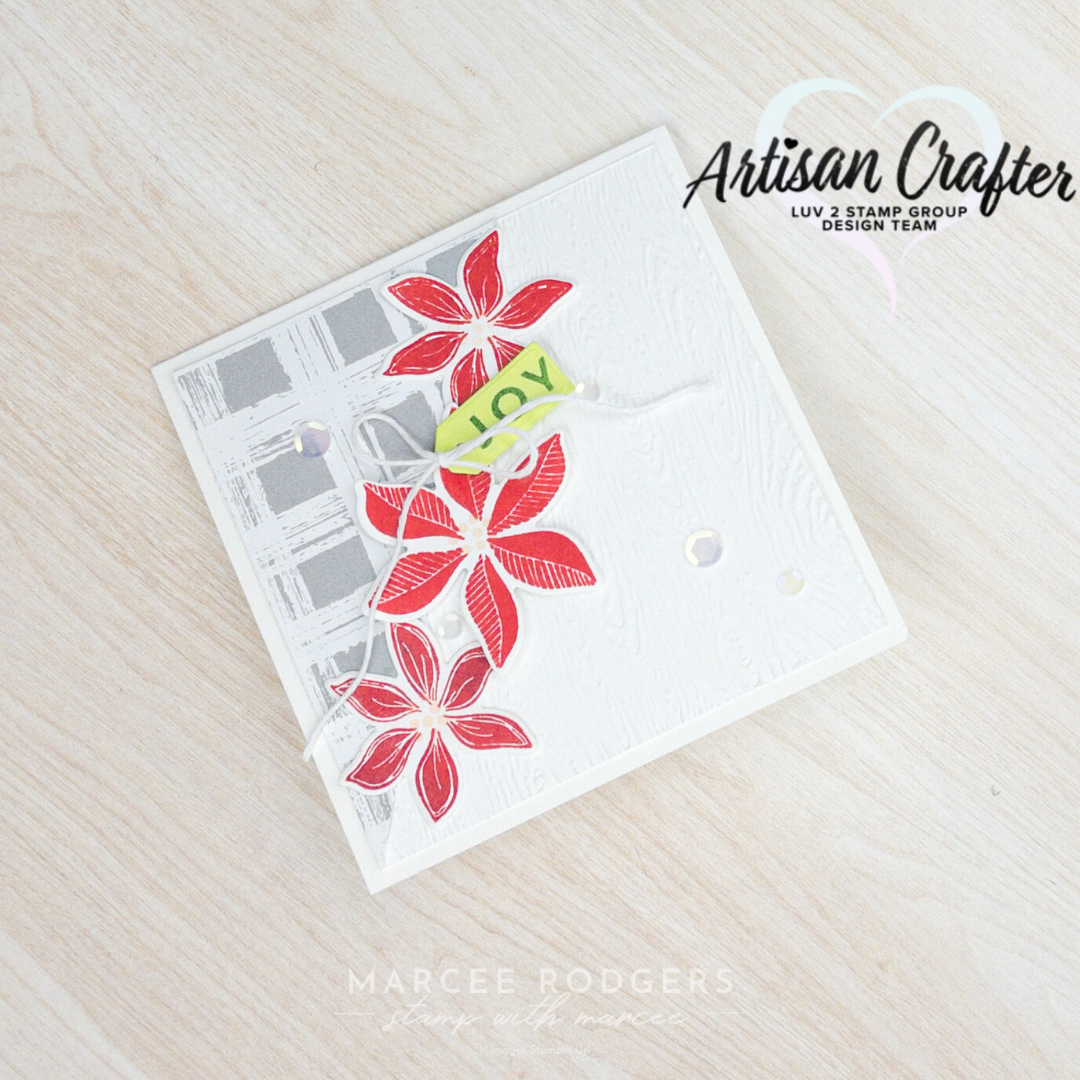
Kraft Gift Box
Black Panel: 4 x 6
Green Print Band: 2 x 12
Red Square: 3 x 3
White Circle: Cut with Layering Circles Dies
Ribbon: 16″
Oct 6, 2022 | New Release, Product Suite |
Yes, this is one of the many things I LOVE about being a Stampin’ Up Demonstrator-early access to products. This gorgeous suite of products is arriving on my doorstep today, so make sure to follow me on Instagram for the unboxing and beautiful projects.
What you need to know:
Get this now by becoming a member of my community! Yes, you can add this to your starter kit, which includes an extra $56 in product during the month of October. Check out Membership FAQ’s here.
Not a member? Order beginning November 1st.
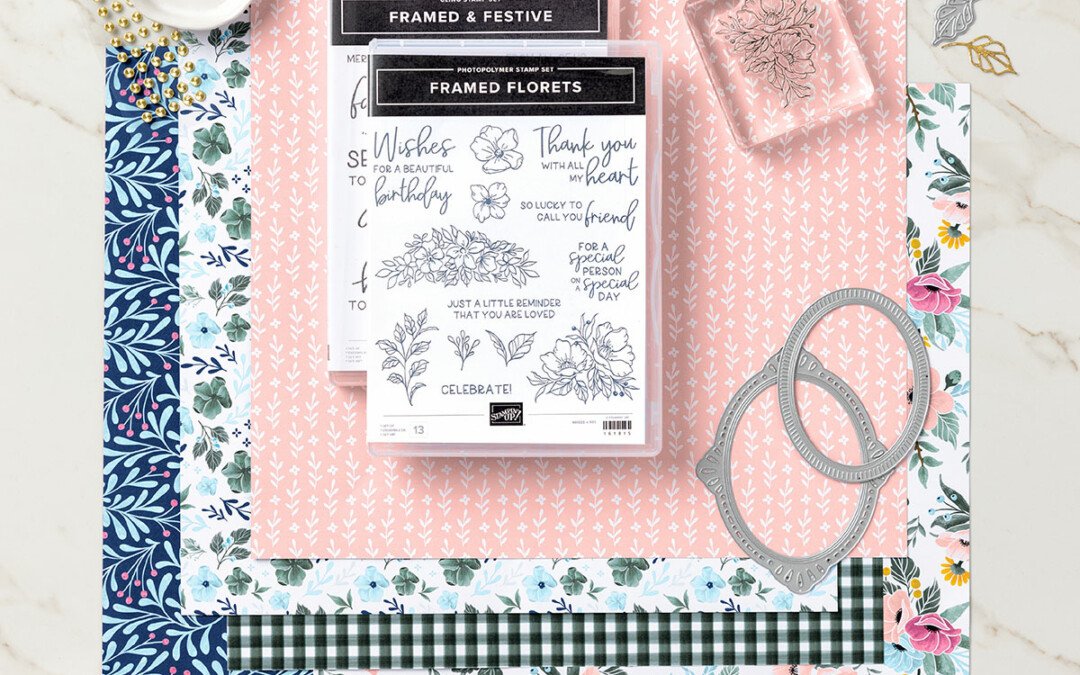
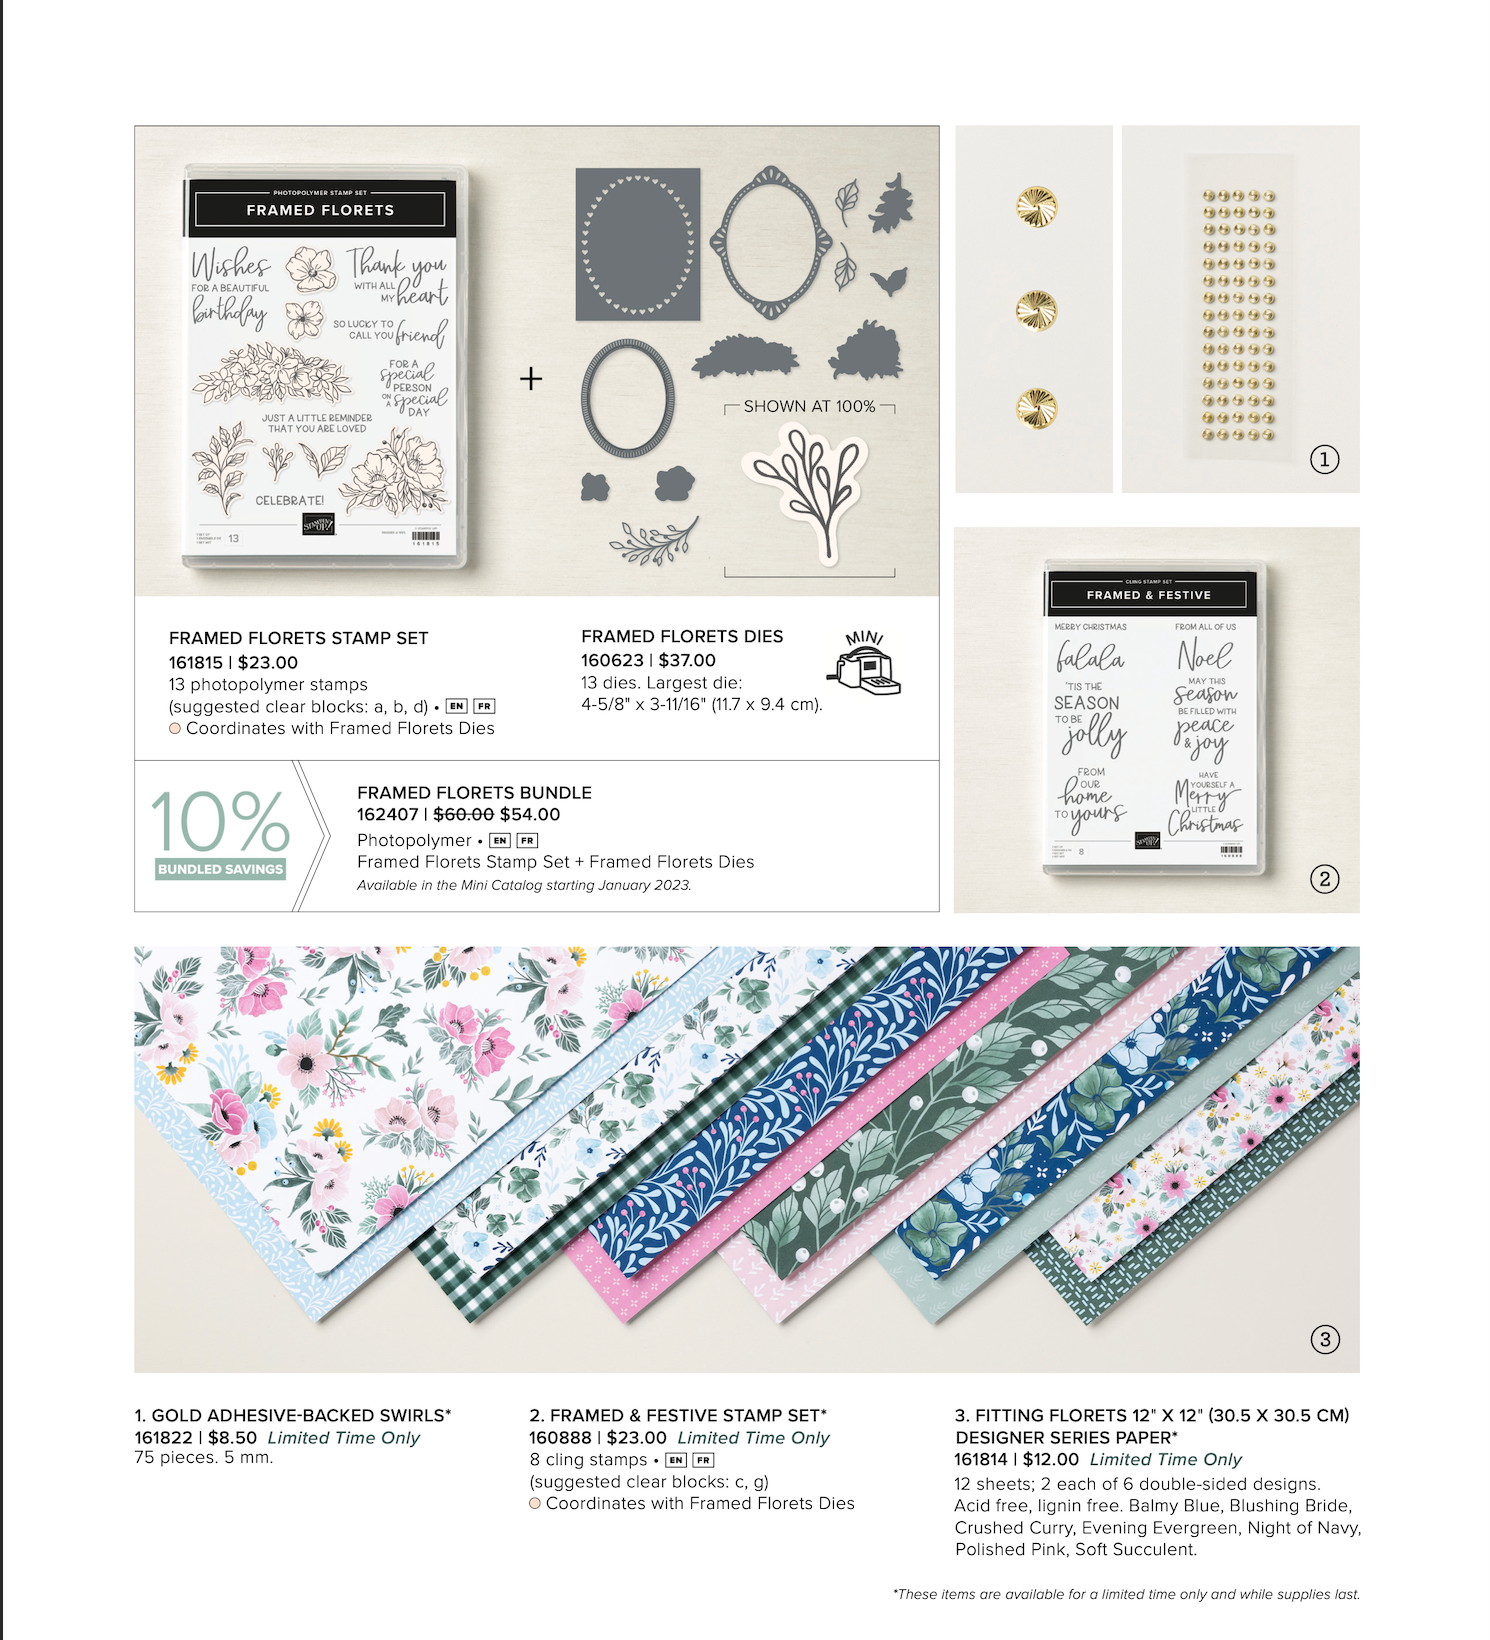
The following exclusive products are only available while supplies last:
- Framed & Festive Cling Stamp Set (item 160888)*
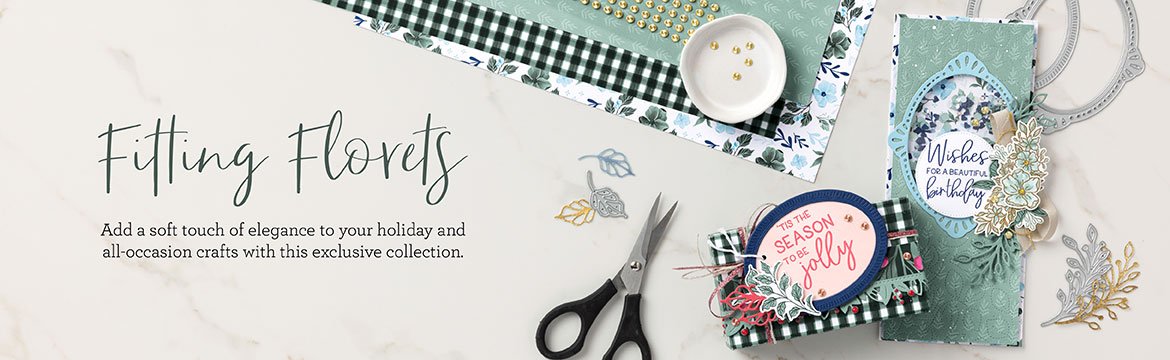
- Fitting Florets Designer Series Paper (item 161814)
- Gold Adhesive-Backed Swirls (item 161822)
Check out all the beauty in detail:
Jun 11, 2022 | Annual Catalog, Creative, Product Suite |
Today I am sharing one of the cards I made on my Live on Wednesday. If you don’t have the bundle, you need it! In the very least you need the dies. When I first saw this bundle in the new Annual Catalog I wasn’t so sure, but it is now one of my top favorites.
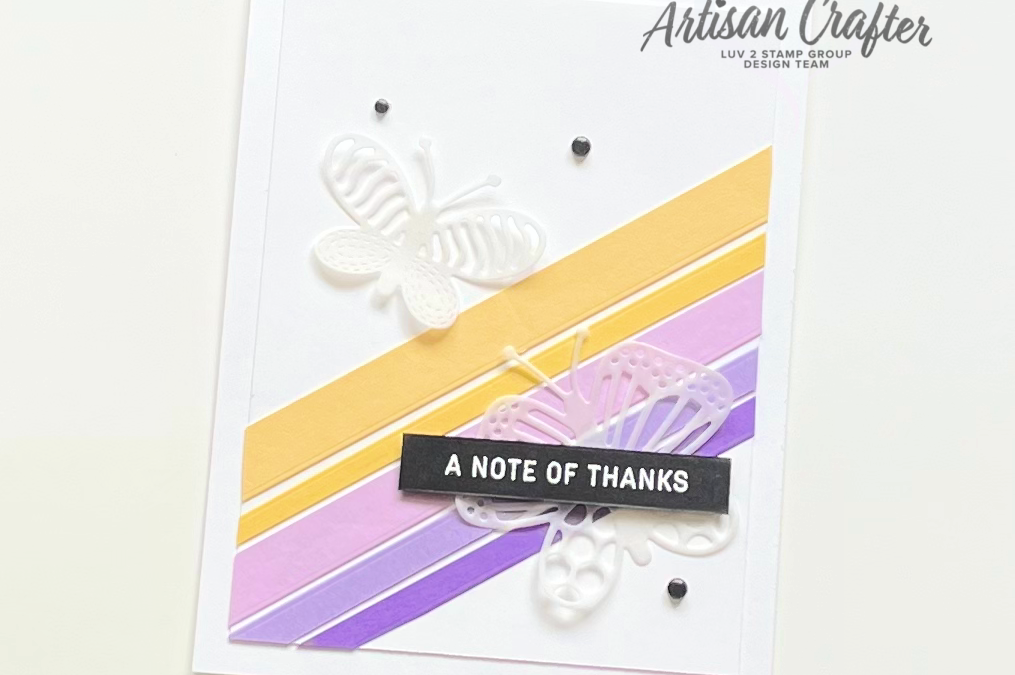
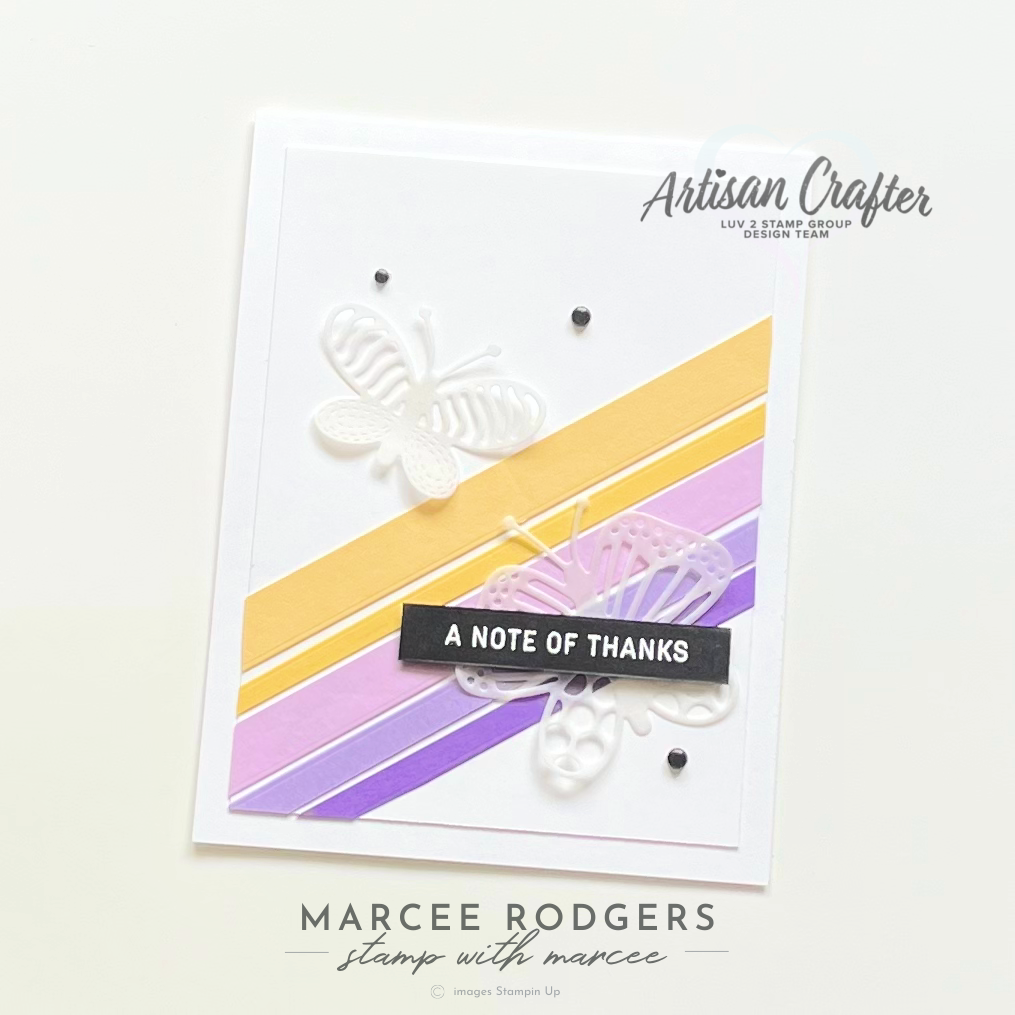
If you’re like me and have a lot of paper scraps, this is another card design they work well on. I created a great “scrap” card with the Happy Forest Friends Suite you can see here. This card uses solely card stock scraps in yellows and purples. All strips started at 5.5 inches long and were trimmed after they were adhered to the card. You can view the step by step tutorial here.
Once you have the strips laid down to your liking, it’s just a matter of adhering the butterflies, sentiment strip and embellishments. This card would be fun with many different color palettes and is a great way to use scraps.
Measurements and complete product list below.
Measurements:
Card Base-A2
Card Panel-3.75×5
Strips-So Saffron 1/2, Daffodil Delight 3/16, Fresh Freesia 7/16, Highland Heather 1/4, Gorgeous Grape 3/16
Sentiment Strip-2 7/16×3/8
Product List
Jun 11, 2022 | Annual Catalog, Creative, Product Suite |
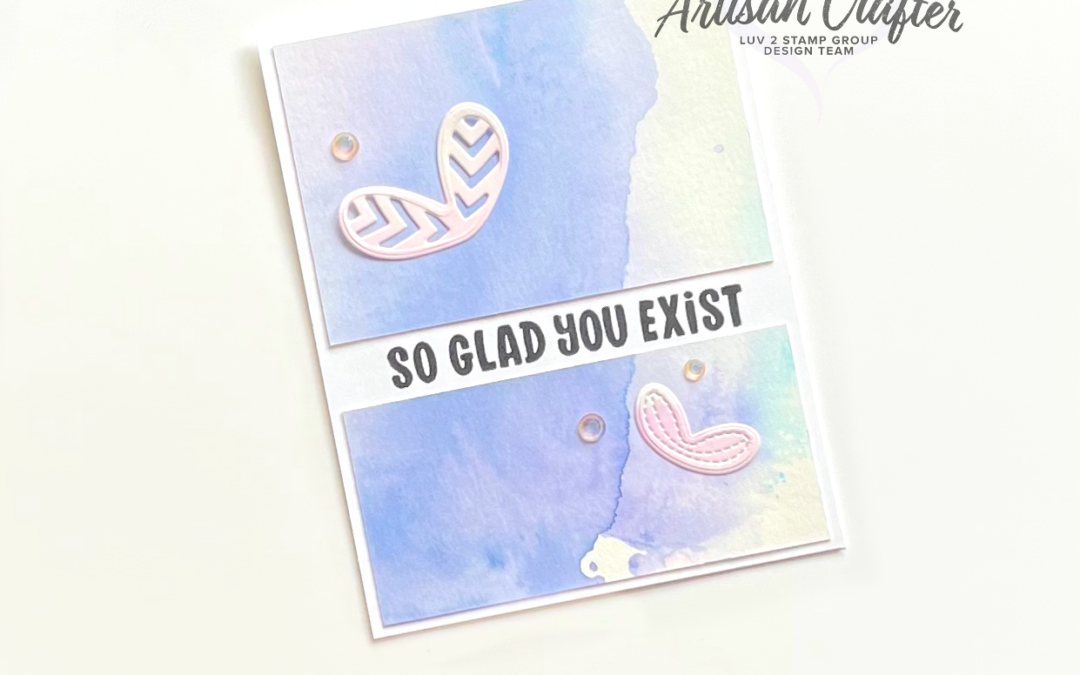
One of my favorite things to do is create backgrounds-especially watercolor. Often times I will just sit and make backgrounds not knowing if they will ever make it to a card or not. There are many ways you can create a watercolor background and for this card my process was simple. I used the back of a stamp (to get a more solid impression) on a glass mat (you can use one of your clear cutting plates), sprayed with water and laid my paper over the top. I like to keep a paper towel on hand to catch any drips once I pick up the paper. I like to turn the paper different directions and let the water take the lead. Once the paper is dry I cut it to the size I want for my card. I also love to die cut from watercolor backgrounds (like I did with the butterflies on this card) because you can get such an amazing gradient of color.
This card is super simple-make space for any sentiment you want to use and cut the panel accordingly. Then adhere your butterflies and some embellishments. If you would like to see the assembly of this card (which was a hot mess) you can view the replay of my Live here.
I have made a full product list below for your convenience and provided measurements should you like to recreate this card.

Measurements:
Base-A2
Top Panel- 4×2.75
Bottom Panel-4×2
Product List
Jun 3, 2022 | Annual Catalog, Creative, Product Suite |
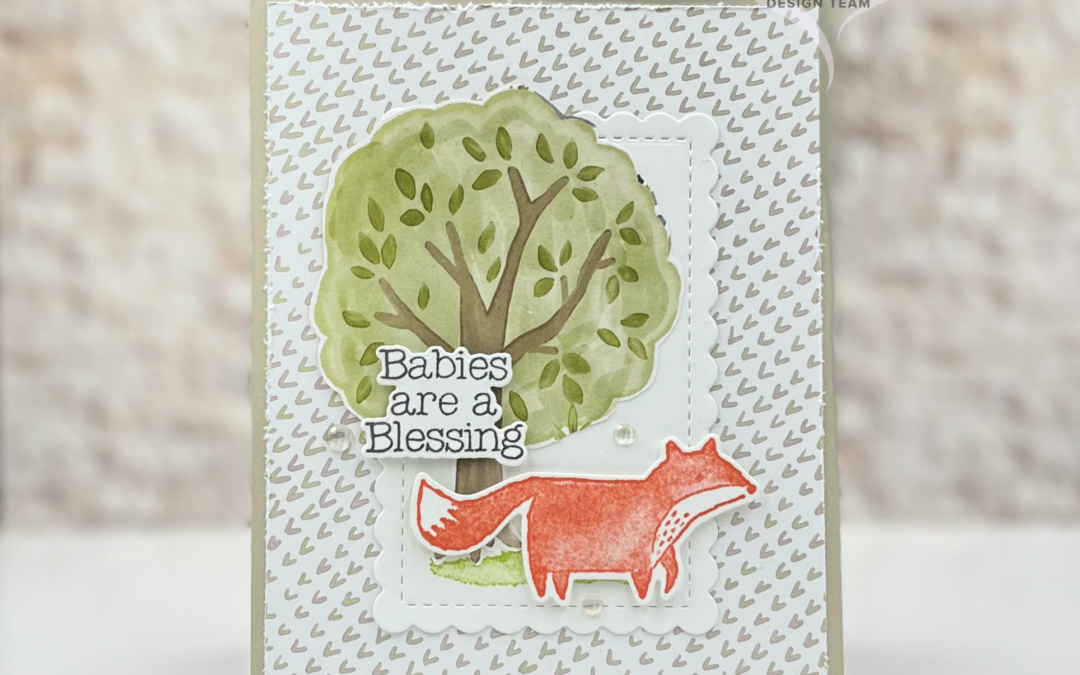
I hope you have enjoyed the cards in this series so far. Today I am sharing the 3rd and last card.
I chose to fussy cut a tree out of one of the DSP patterns-pretty easy since it’s a large image. I really love the patterns in this paper-whimsical as well as simple.
I mixed it up with the sentiment this time and use a different stamp set called. This is a great set because the dies cut out all the sentiments! Genius.
A full list of products as well as measurements are listed below.

Measurements:
Base: 4.25×5.5
Panel: 4×5.25
Product List
")
")


")


 Specialty Vellum")


")
")


")


")
")


 Designer Series Paper")


")


")
