Crafting Rustic Magic: Exploring the Rustic Crate Bundle with Coloring Tips and Tricks Using Stampin’ Blends
Welcome back to another exciting episode of my weekly YouTube series! I’m thrilled to have you join us. Today, I have a special treat in store for you as we explore the incredible Rustic Crate Bundle from Stampin’ Up! In this episode, we’re jumping straight into the heart of the creative process: coloring the Rustic Crate images using Stampin’ Blends.
The Rustic Crate Bundle from Stampin’ Up is a crafting enthusiast’s dream come true. With its charming, rustic design and versatile stamp set, it allows you to create a wide range of projects, from cards to home décor items and beyond.
Let’s talk about what makes this episode truly exciting – Stampin’ Blends! These high-quality alcohol markers are a game-changer when it comes to coloring stamped images. Whether you’re a seasoned pro or just starting on your crafting journey, Stampin’ Blends offer incredible ease and precision, making your creations truly stand out.
Why Stampin’ Blends?
1. **Seamless Blending**: One of the standout features of Stampin’ Blends is their ability to seamlessly blend colors. Whether you’re looking to create depth, shading, or vibrant gradients, Stampin’ Blends make it a breeze.
2. **Versatile**: These markers are available in a wide range of coordinating Stampin’ Up colors, ensuring that your coloring matches your cardstock and embellishments perfectly.
3. **No Streaks or Lines**: Achieve professional-looking results without worrying about streaks or lines in your coloring. Stampin’ Blends give a smooth, polished finish every time.
4. **Controlled Application**: The dual-tip design (brush and fine tip) offers precise control over your coloring, allowing you to reach even the tiniest details in your stamped images.
In today’s video, I demonstrate how to use Stampin’ Blends to color the Rustic Crate images. You’ll see how these markers effortlessly bring out the intricate details giving your project a vibrant appearance.
Throughout the video, I share some valuable tips and techniques for using Stampin’ Blends effectively.
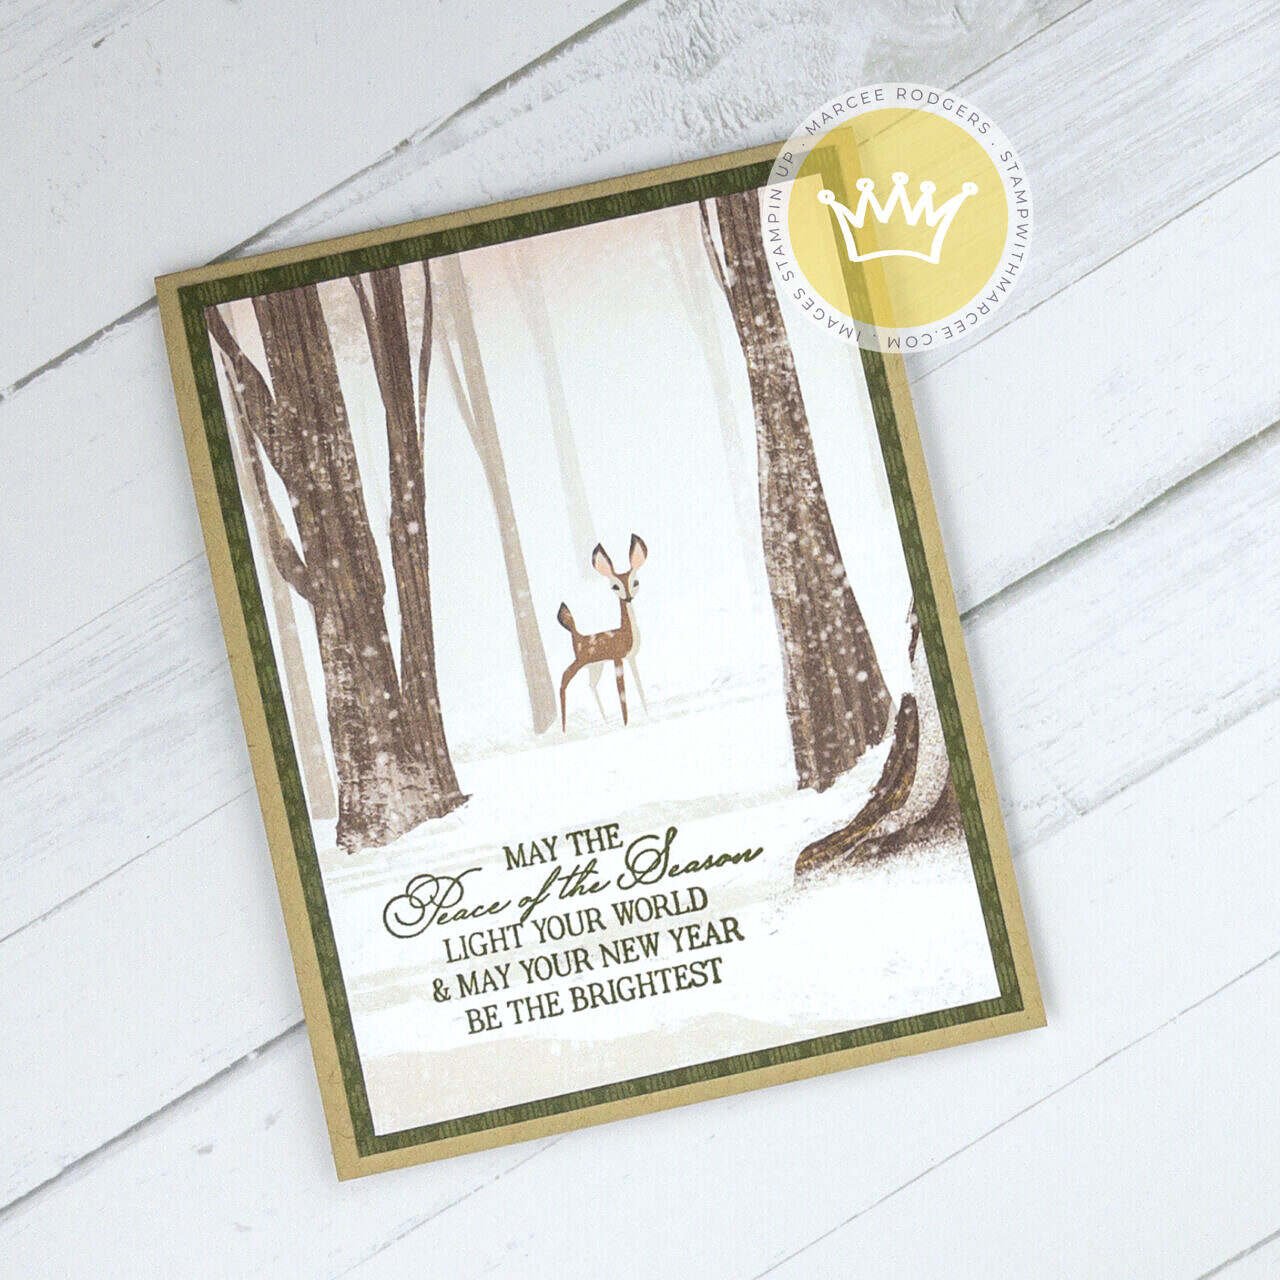
BASE: 5 1/2 X 4 1/4
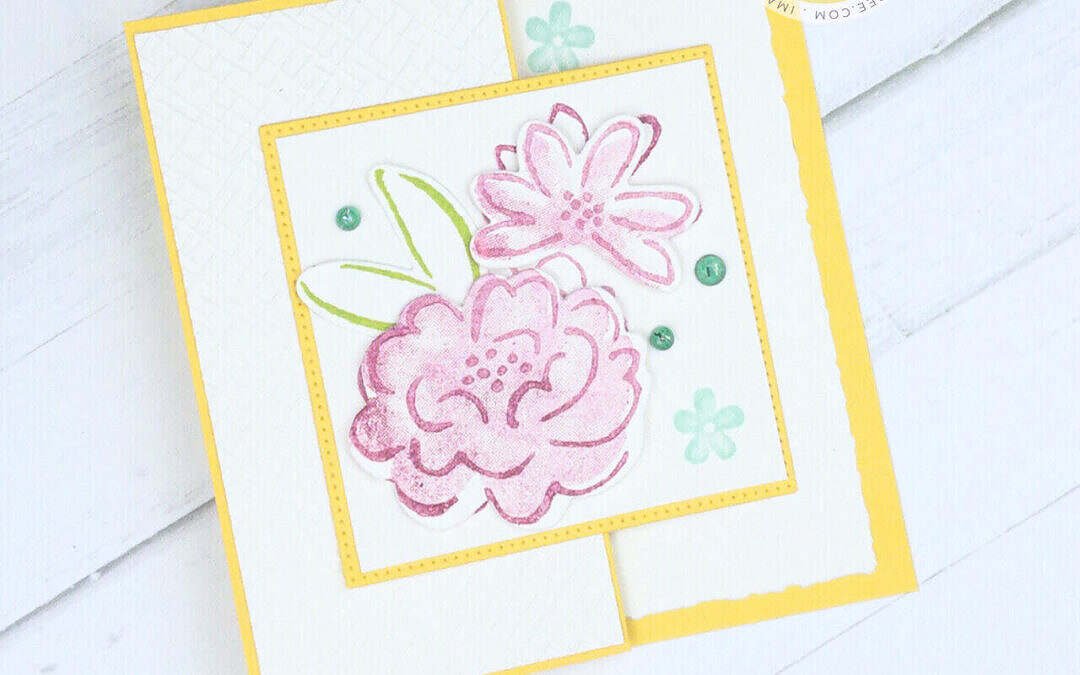
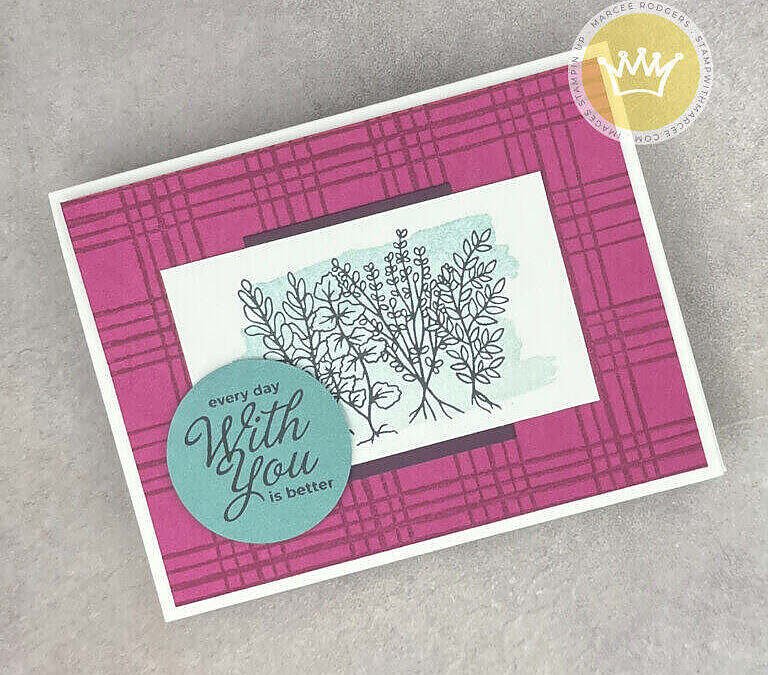
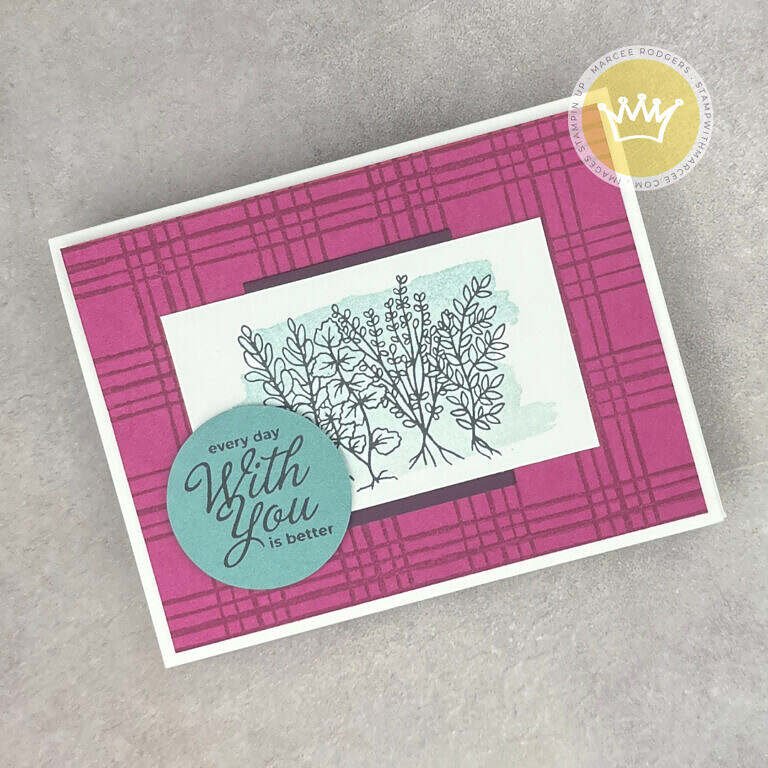
BERRY BURST PANEL: 5 1/4 X 4
STAMPED PANEL: 3 3/4 X 2 1/4
BLACKBERRY BLISS: 2 X 2 1/2

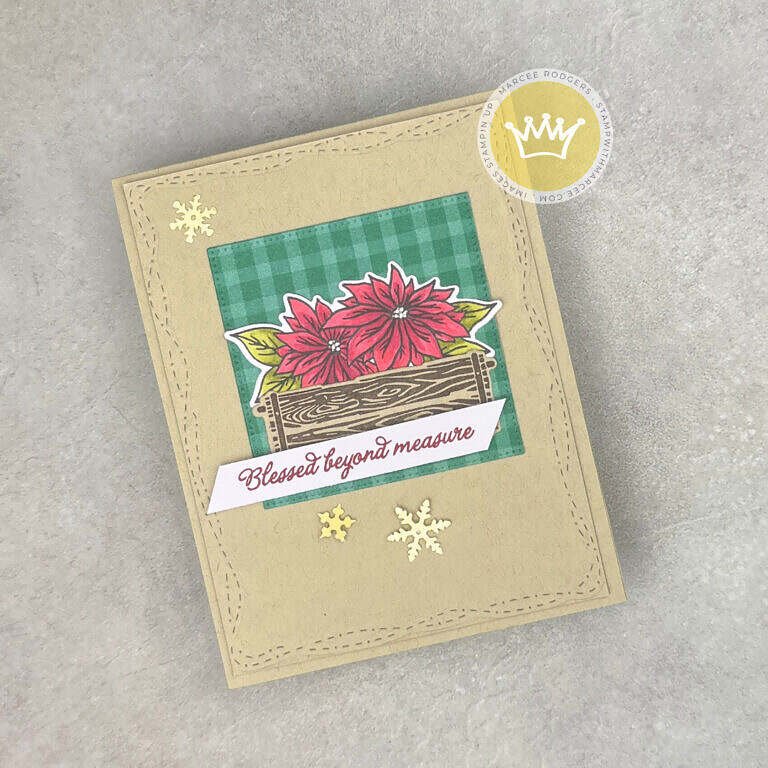
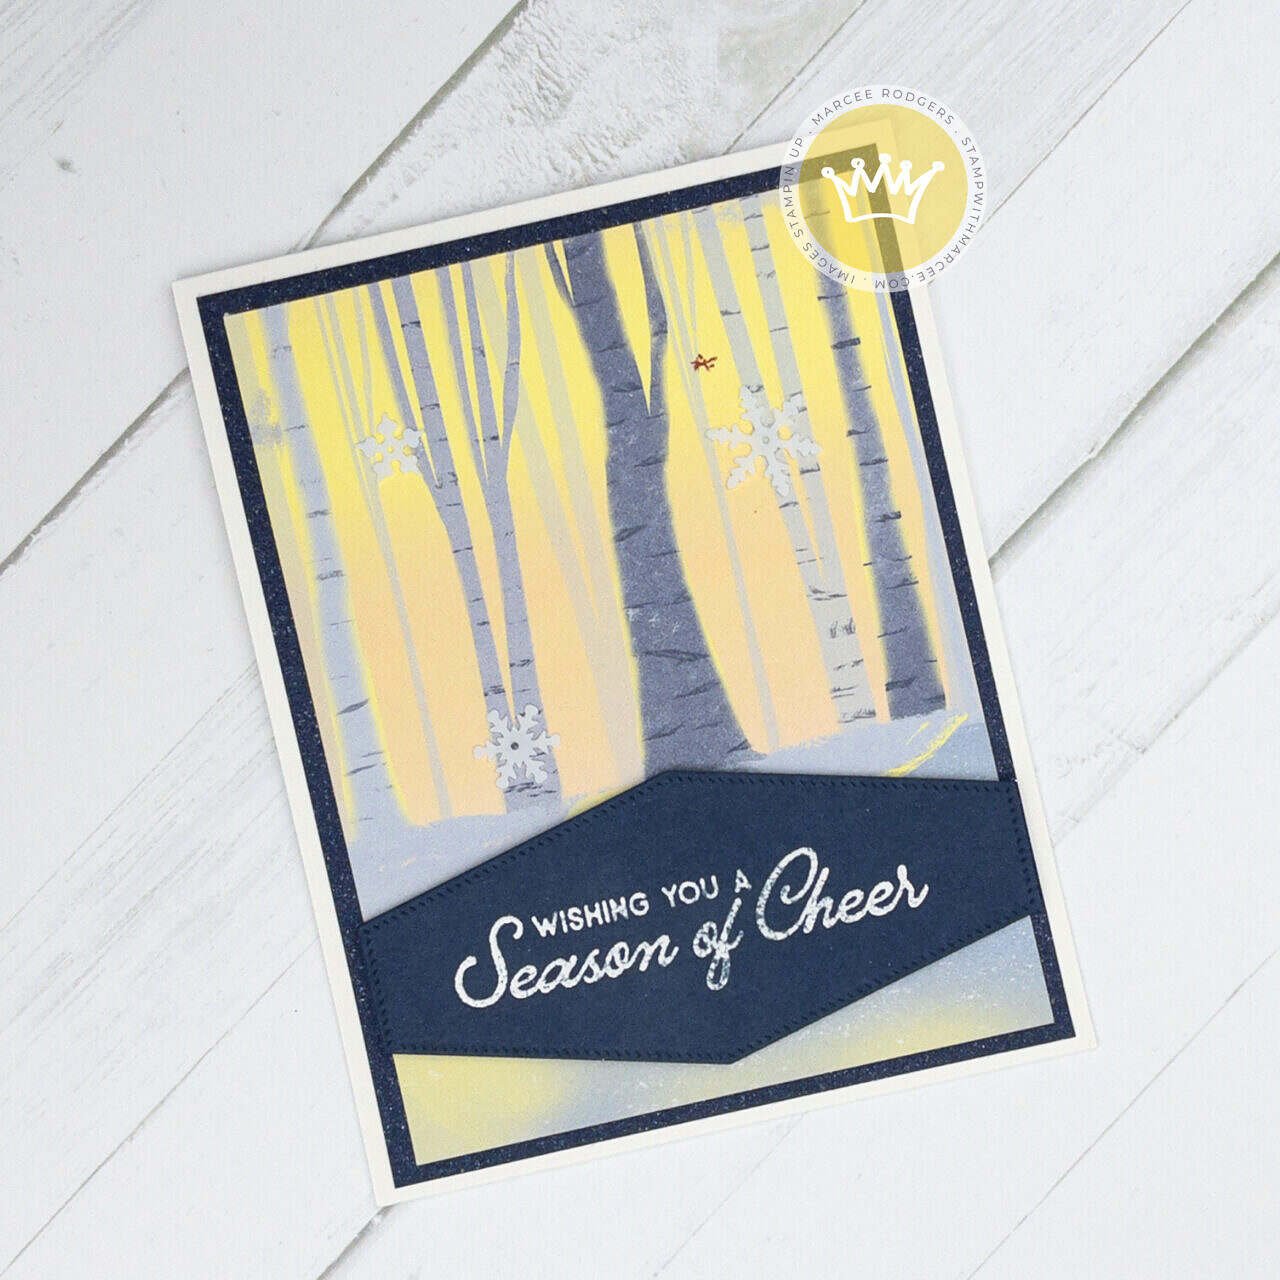
BASE: 4 1/4 X 5 1/2
PANEL: 5 1/4 X 4
DSP SQUARE: 2 3/4 X 2 3/4
SENTIMENT STRIP: 3 1/4 X 7/16

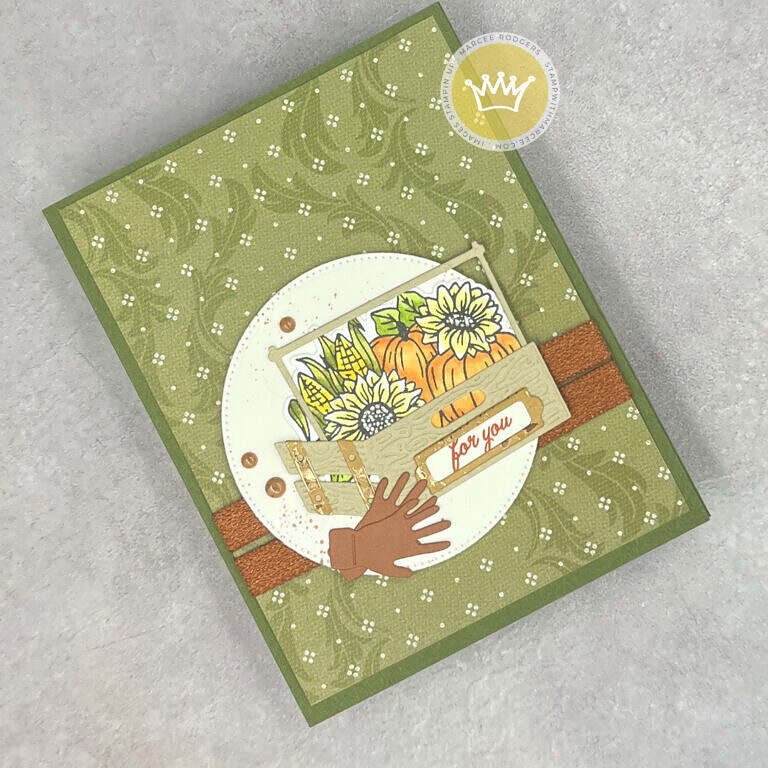
BASE: 4 1/4 X 5 1/2
PANEL: 5 1/4 X 4
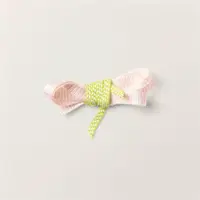
RIBBON 9″ (2)
I hope you’re as inspired to give this fantastic crafting technique a try.
Remember, creativity knows no bounds, and with the Rustic Crate Bundle and Stampin’ Blends at your fingertips, your crafting possibilities are endless. So, grab your markers and join me in the video!
Stay tuned for more exciting crafting adventures in my weekly YouTube series. Don’t forget to like, subscribe, and share my channel with your fellow crafting enthusiasts. Happy crafting!