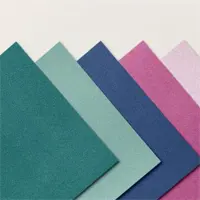
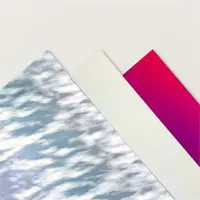
If you’re hopping over from the most recent Christmas in July YouTube video, you will find all project dimensions and a visual product list here.
I hope you enjoyed the last 5 weeks of Christmas projects and that you were inspired to use current Stampin’ Up! products to get a head start on your Holiday cards.
If you were inspired to create something, please share it and tag me! I would love to see what you’ve been up to.
Do you need a Holiday Catalog? If you aren’t currently working with a Demonstrator, I am happy to send you one free of charge. Please fill out this form by no later than 7/31.
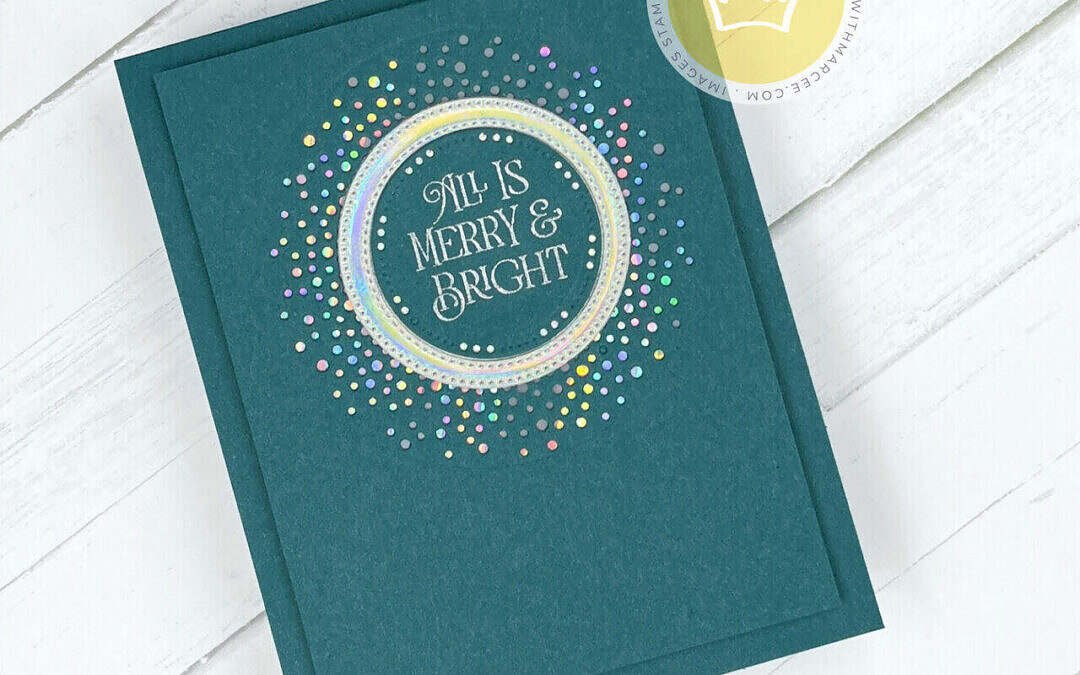
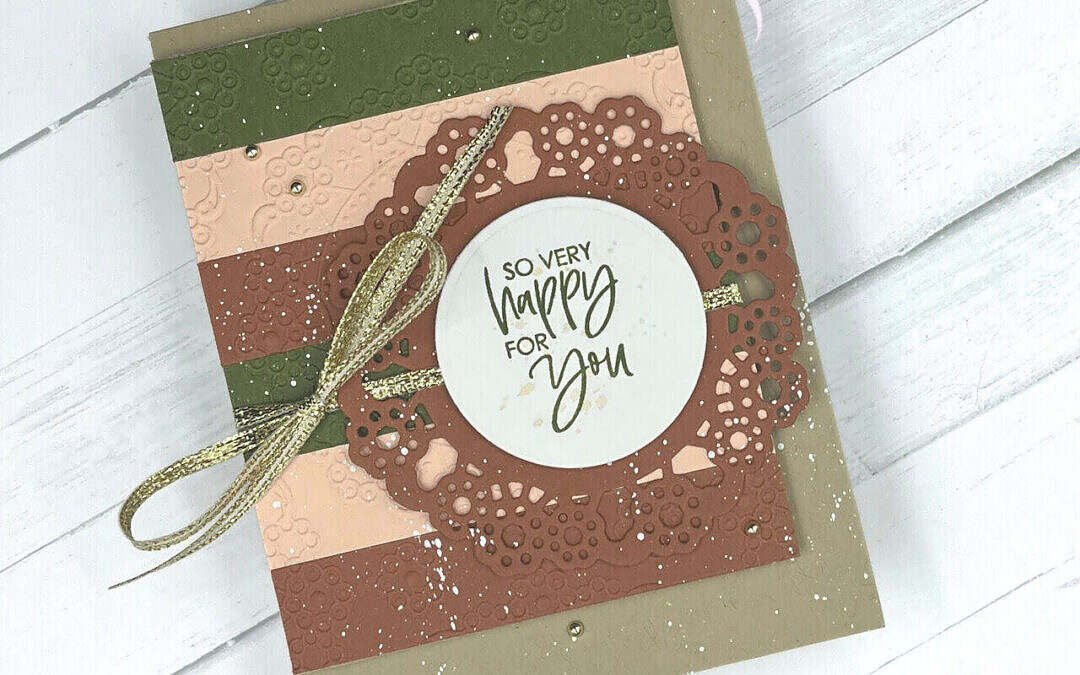
Happy Saturday friends! Today I am sharing a card I made for the Luv 2 Stamp Artisan Design Team. If you aren’t familiar with our Hybrid Embossing Folders-you are missing out. They are amazing. For this card I have used Delightful Doily from the Annual Catalog. I started by cutting 1/2 inch strips of cardstock and alternated them on piece of Crumb Cake cardstock. Once I had them adhered, I put the panel inside the Delightful Doily Embossing Folder and ran it through my Stampin’ Cut & Emboss Machine.
Next I put one of the dies inside the embossing folder along with a piece of Copper Clay cardstock and ran it through my Stampin’ Cut & Emboss Machine to emboss and cut the large doily in one pass. To complete the card, I stamped a sentiment and accent from the Color & Contour stamp set onto a piece of Basic White and cut it out with the circle die from the Delightful Doily Hybrid Embossing Folder. Next, I added some splatter with White Craft Ink, some gold Festive Pearls and a piece of Gold Trim.
If you’d like to see how to use our Hybrid Embossing Folders, I have a video here showing how to use Sweet Citrus. Still have questions? Let me know in the comments below.
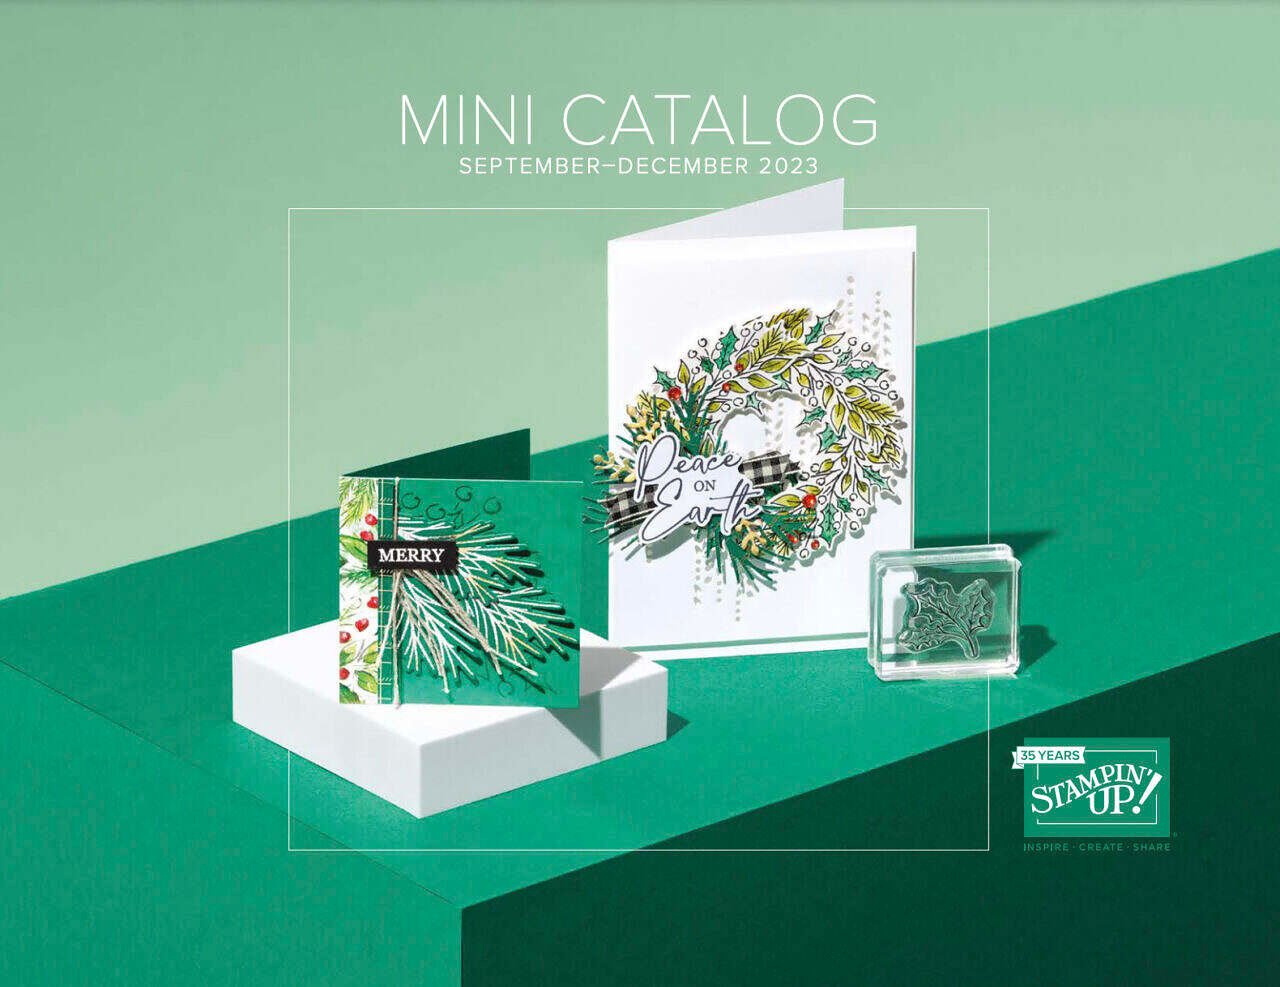
Next week I will have a ton of new goodies arriving from the Mini Catalog. I am so excited to start creating and sharing things with you in my new YouTube Series starting August 5th. While I can’t show you the inside of the catalog, I can show you the cover. Feast your eyes on this! I mean-WOW!
If you aren’t working with a Demonstrator and would like a catalog, please fill out this form and I will make sure you receive one. Want to get your hands on these products early? Join my community and get them starting August 2nd.
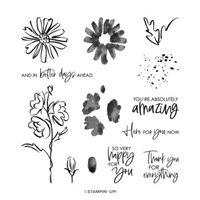
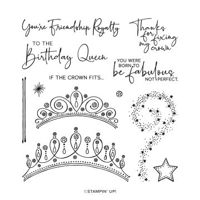
Happy Thursday! Today I am sharing a Design Team project that features the Friendship Royalty stamp set from Stampin’ Up! I love this set and that it can be for all ages.
Heat embossing is one of my favorite techniques and the stamps in this set really stand out when using this technique.
What is your favorite paper crafting technique? Let me know in the comments below.
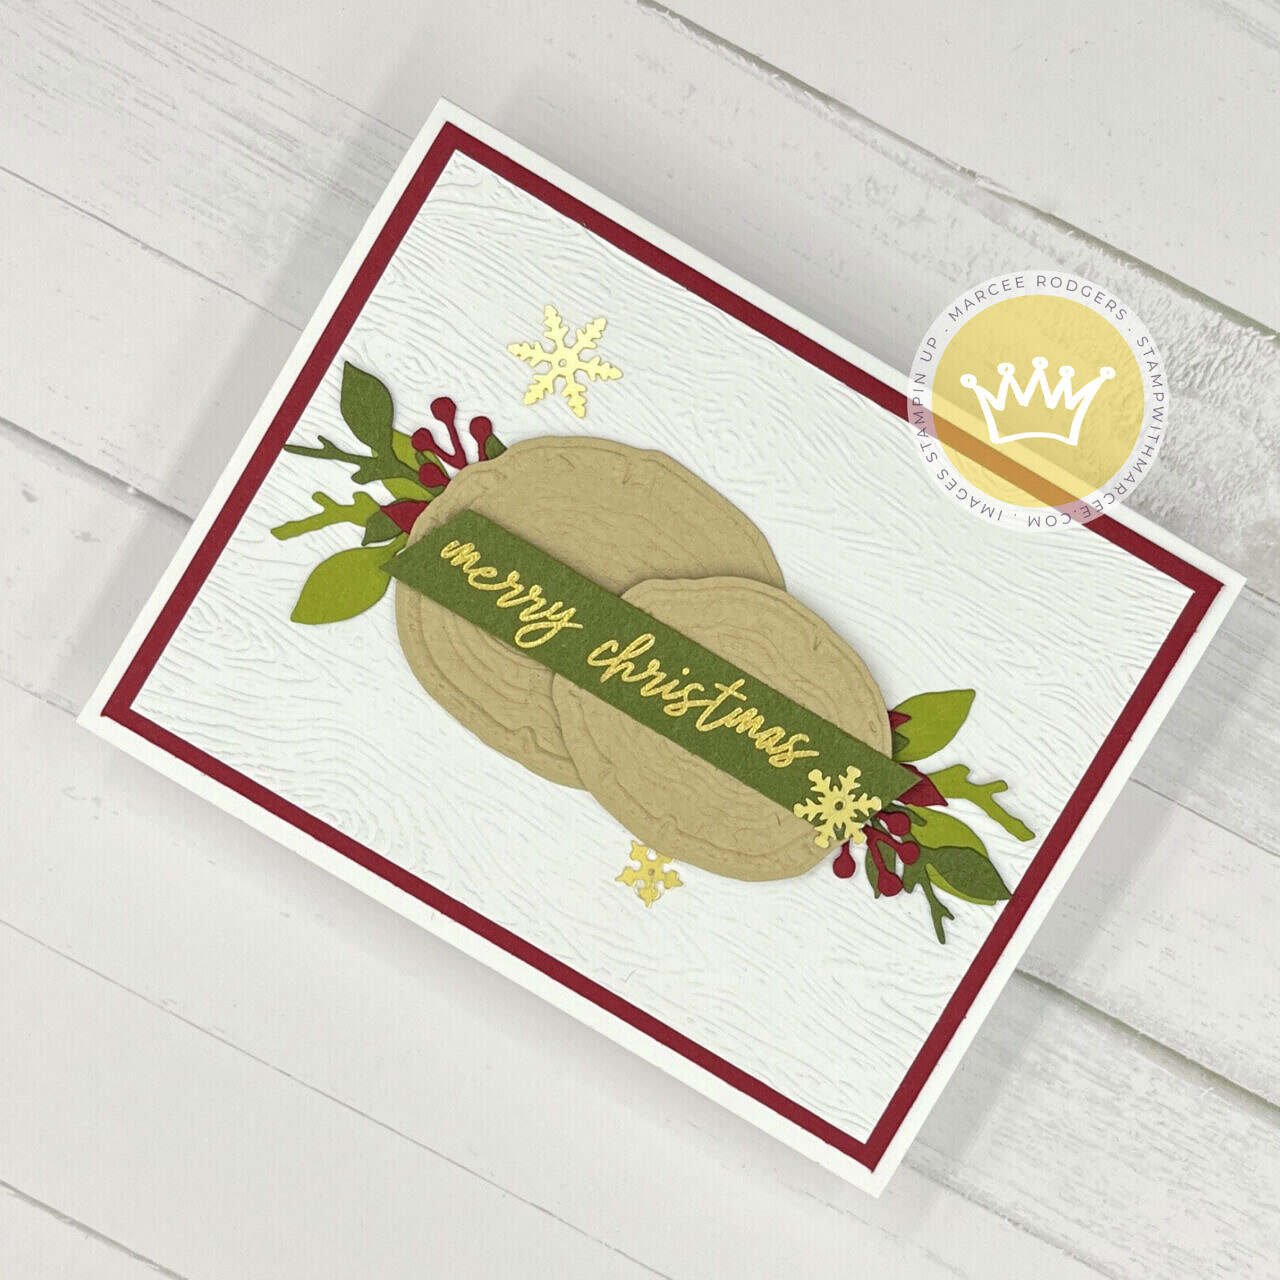
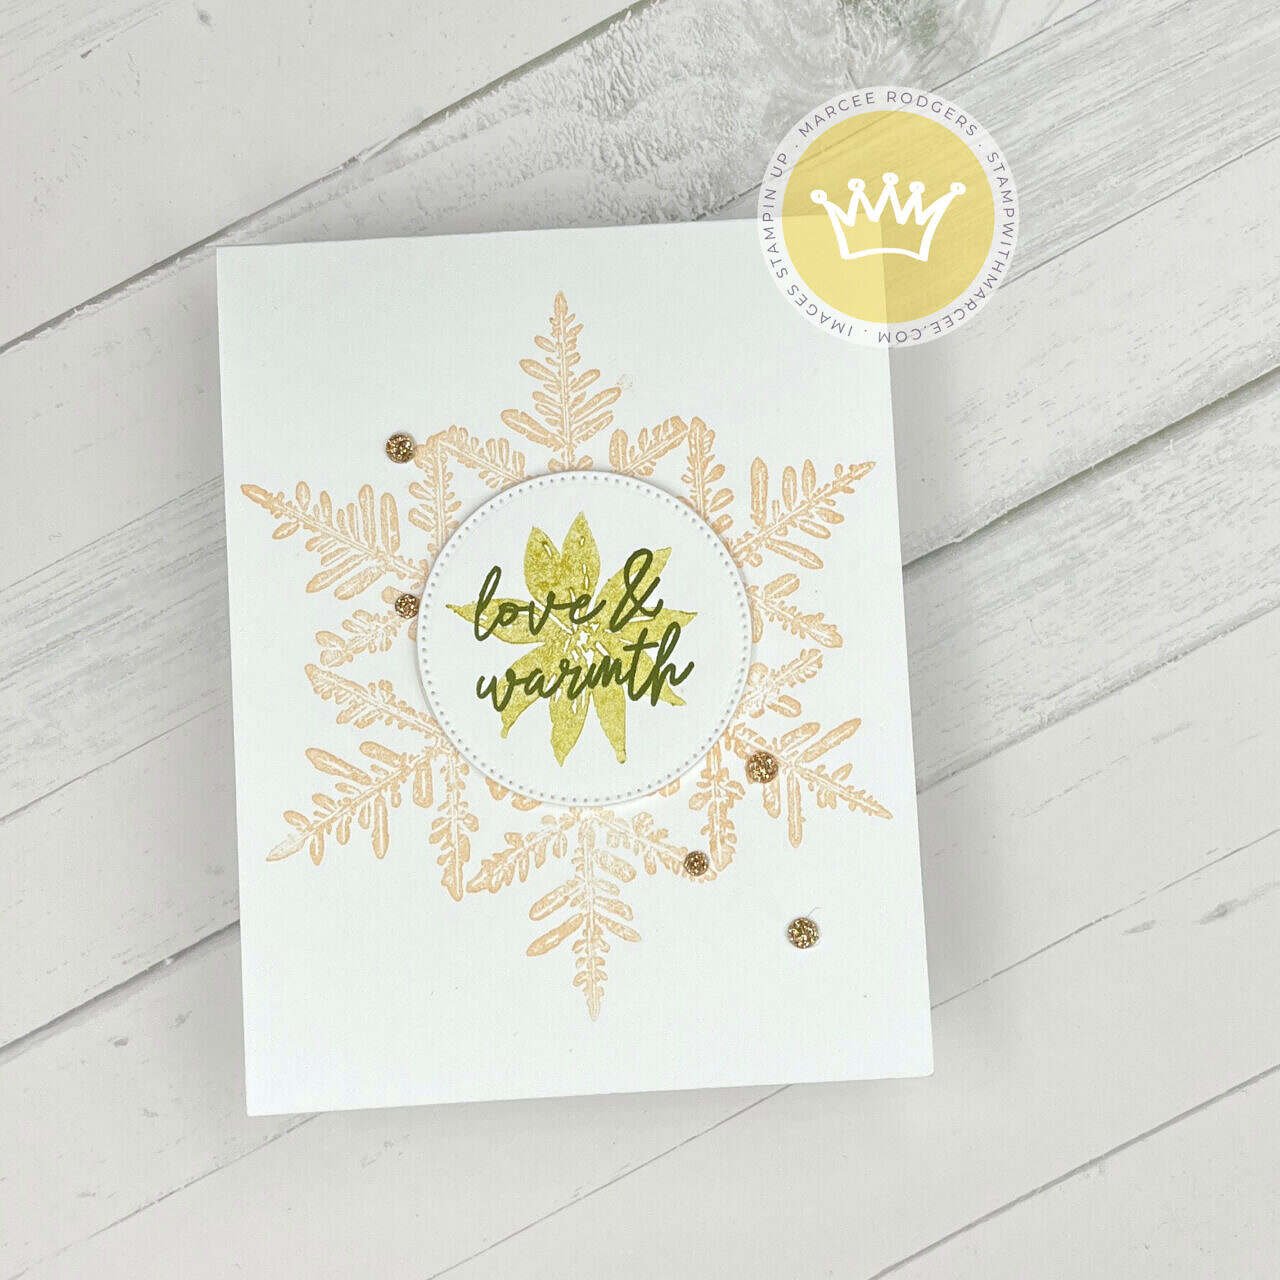
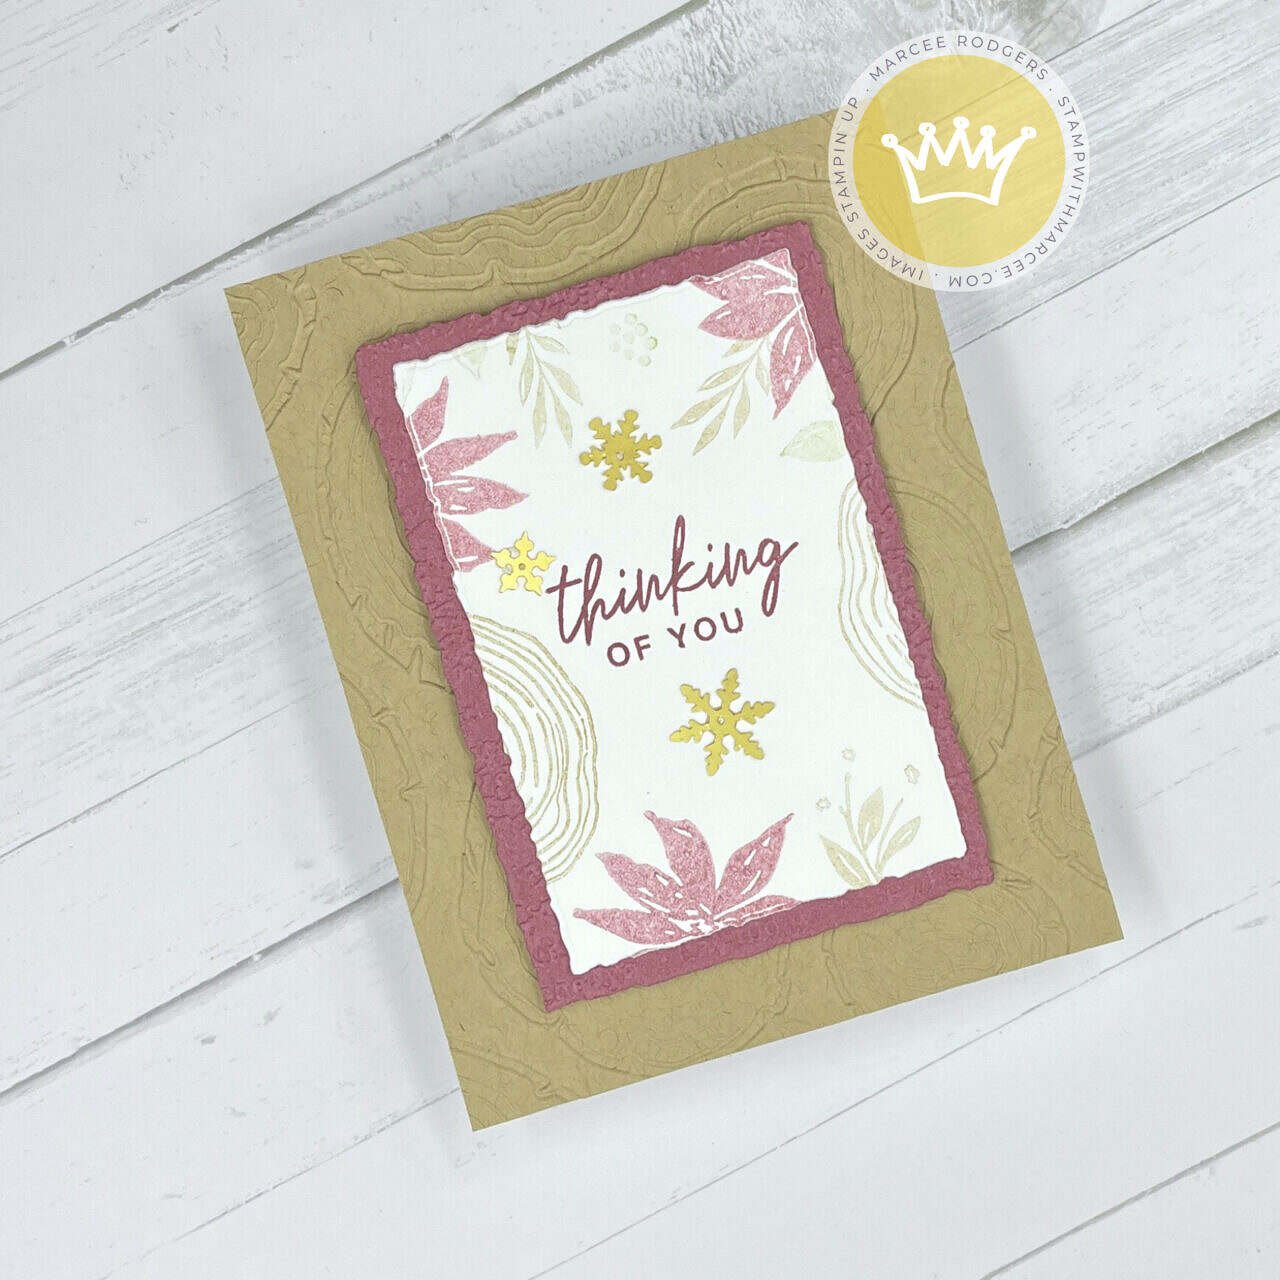
Happy Sunday! If you are popping over from YouTube and my most recent Christmas in July video, here are all the details on the cards I created. Next Saturday is the last video in the series and I have some super easy, but gorgeous cards to share with you. I hope to see you there!
Card Base: 4 1/4 x 5 1/2
Cherry Cobbler Panel: 4 x 5 1/4
White Embossed Panel: 3 3/4 x 5
Card Base: 4 1/4 x 5 1/2
Card Base: 4 1/4 x 5 1/2
Moody Mauve Panel: 3 1/2 x 5
If you missed the video, you can watch it here or below:
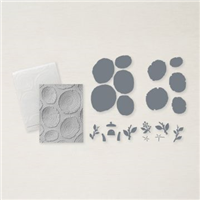
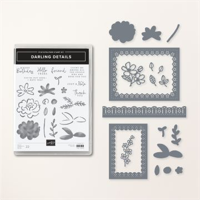
Were you able to catch yesterday’s Class To Go featuring the Darling Details bundle? This is one of the cards we made during class. I learned something new about my lighting issues (IYKYK) and reveal the moment I discovered how Tinsel Gems got their name. I also reveal a fun fact about toasters (it was a wacky day).
Speaking of Tinsel Gems, they are FREE this week when you place a $50 order in my online store using the current host code: 2XKBCMMC.
$50 will also get you a $5 coupon to spend in August and of course the card kits to make 6 cards! Details can be found here.